So, This One Time I Made Banana Pudding Cheesecake Cones…
You ever get a craving for something sweet, cold, and a little bit over the top? That’s basically how these banana pudding cheesecake cones with vanilla wafers came to be in my kitchen. The first time I made them, my cousin was visiting from Georgia and swore up and down nothing could beat old-school banana pudding. Well, challenge accepted, right? We laughed the whole way through—somehow I got more filling on the counter than in the cones (not that anyone here minds a little mess). Seriously, these cones are like summer in a bite, with a bit of mischief tossed in for good measure. And if you’ve got a sweet tooth like mine, you’ll probably try to sneak a spoonful of the cheesecake batter before it ever touches a cone. Who could blame you?
Why You’ll Love Making These
I make this when I want dessert but don’t want to fuss with a full cake (or, let’s be honest, when it’s too hot to turn the oven on). My family goes nuts for these at backyard BBQs, especially because you can walk around with a cone in hand. They’re a real hit with the kids, but grown-ups have been known to fight over the last one. Once, I forgot to buy vanilla wafers and just used shortbread cookies—nobody complained (though my aunt did give me a look). It’s also just plain fun to build these; it feels a bit like crafting, only you get to eat the final product. The only hard part? Not eating all the filling before you finish assembly. No judgement if you do though!
What You’ll Need (With My Usual Swaps)
- 8 ounces (about 225g) cream cheese, softened – I sometimes use Neufchâtel if I want it a bit lighter, but honestly, full-fat is the way to go
- 1/2 cup granulated sugar, though brown sugar gives it a deeper flavor if you’re into that
- 1 cup heavy cream (or, if I’m pressed for time, I’ll cheat and use store-bought whipped topping—don’t tell my mom)
- 1 (3.4 oz) box instant banana pudding mix – I’ve tried a few brands, even generic, and they all work fine. My grandmother swore by Jell-O, but it’s your call
- 1 cup cold milk (whole milk makes it extra creamy)
- 2 ripe bananas, sliced – Sometimes I use three if they’re small, or just one if it’s on its last leg and needs saving
- About 20 vanilla wafers, crushed (or more if you want a thicker layer—no one’s counting)
- 6-8 waffle cones – Sugar cones work too, but they’re a bit crunchier. I once tried chocolate-dipped cones, and nobody complained
- Optional: a drizzle of caramel sauce or a sprinkle of cinnamon, if you’re feeling fancy
How I Actually Make These (With Occasional Chaos)
- Beat the cream cheese and sugar together in a bowl until smooth. (This is where I usually sneak a taste. Judge away.)
- In another bowl, whisk the pudding mix and cold milk for a couple of minutes until it thickens. Don’t worry if it looks a little lumpy at first; it comes together.
- Gently fold the pudding into the cream cheese mixture. I use a rubber spatula, but sometimes a big spoon does the trick. Go slow so it stays fluffy.
- Whip your cream until it forms soft peaks (or, if you’re using pre-whipped, skip this step and feel smug). Fold that into the cheesecake-banana pudding mixture.
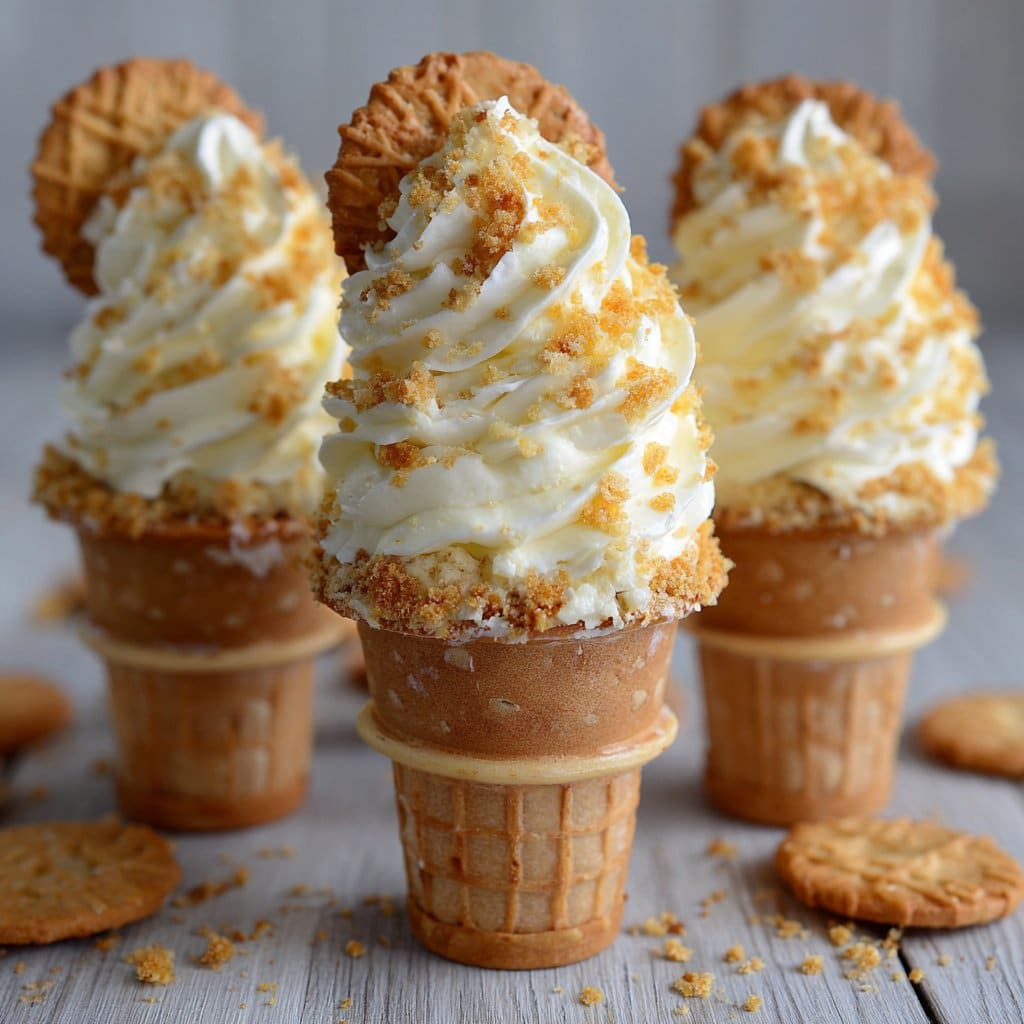
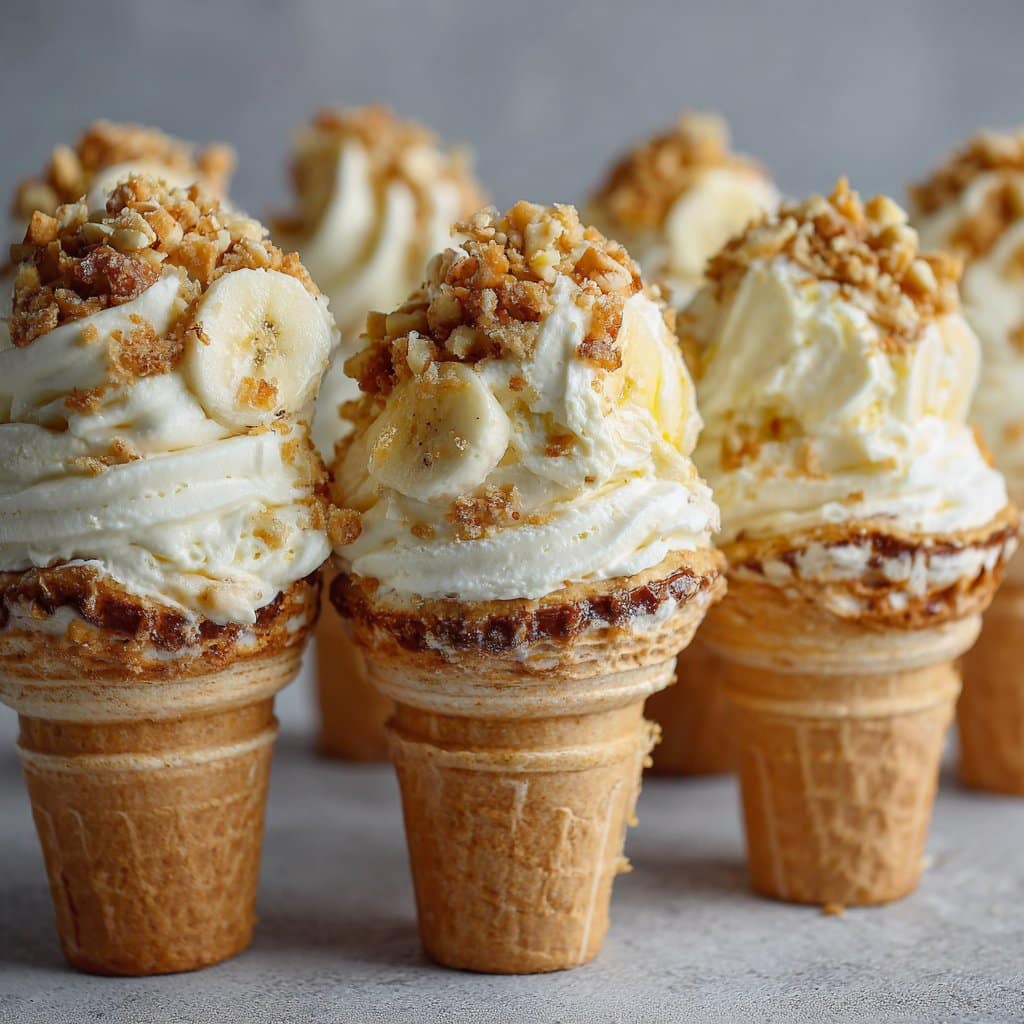
- Now, the fun part: grab your cones. Drop a spoonful of crushed wafers into each cone, then add a layer of sliced bananas. Top with a big dollop of the cheesecake pudding stuff. Repeat if you’ve got room (I never do, but maybe you packed lighter). Finish with more crushed wafers on top. Sometimes I get playful and add a whole wafer sticking out the side—looks nice, tastes even better.
- Optional: drizzle with caramel or dust with cinnamon.
- If you can stand it, stick them in the fridge for 30 minutes so they set up just a bit. But honestly, I rarely wait that long.
The “Trust Me” Notes
- If your cones start leaking at the tip, just shove a piece of banana or a wafer down there. Problem solved (mostly).
- I’ve found the filling tastes even better the next day, though that’s a rare occurrence in my house.
- Don’t stress if the filling seems too runny at first—it thickens up as it chills. If not, stuff more wafers in! (Seriously.)
Variations I’ve Tried (Some Winners, Some… Not So Much)
- I’ve swapped the bananas for strawberries once—pretty tasty, but it’s not the same vibe. Blueberries? Not my favorite.
- Mini cones for parties—cute, but fiddly as all get out. Maybe try it if you’re feeling patient or have tiny helpers.
- One time I tried chocolate wafer cookies instead of vanilla; honestly, it was a bit too much, but if you love chocolate it’s worth a go.
Do You Really Need Special Equipment?
A stand mixer makes life easier, but I’ve used a hand mixer, and once, even a whisk (my arm regretted it). No piping bag? Just use a zip-top bag and snip off a corner, or, heck, a spoon works fine. Sometimes the rustic look is better anyway.
How To Store These (If You Ever Have Leftovers)
Store assembled cones upright in a tall glass in the fridge for up to 2 days. The cones do get a little soft, but I kind of like that. The filling on its own keeps for 3 days sealed tight. Though honestly, in my house these never make it past day one—folks just circle like sharks.
How I Like To Serve These
I love plopping an extra banana slice and a wafer right on top—makes ‘em look like something you’d get at the fair. My cousin dunks hers in extra caramel sauce because, well, why not? I’ve even served these at brunch with a pot of good coffee (Stumptown is my go-to), and it’s a riot.
Things I’ve Learned (A Few Pro Tips to Save You Grief)
- I once tried rushing the chilling step and the cones got soggy—patience is a virtue here, or at least pop them in the freezer for 10 minutes if you’re in a hurry.
- Don’t overmix your cream cheese or the filling will get too runny. Actually, I find it works better if you go slow and steady.
- If you use underripe bananas, they taste weirdly starchy. Just saying.
Real Questions I’ve Heard (And My Honest Answers)
- Can I make these ahead? You can make the filling ahead, but fill the cones just before serving so they don’t get mushy. (Learned that one the hard way!)
- Do these travel well? Sort of. I’d recommend packing the cones and filling separately, then assembling on site. Or, just eat them before you leave—works every time.
- Can I use a different flavor of pudding? Totally! Vanilla or even coconut is pretty good. Chocolate is… interesting, but probably not for everyone.
- Where do you get good cones? Honestly, I just grab the store brand, but you can order fancy ones online (Ice Cream Cone Co. is fun to browse!).
- How do you keep the cones from tipping over? Oh, the age-old question! I prop ‘em up in a muffin tin, or crumple up some foil in a baking dish. Or, just hold one in each hand and call it a day.
Okay, so maybe I rambled a bit (I always do when talking about dessert), but really, these Banana Pudding Cheesecake Cones with Vanilla Wafers are as easy-going as a summer afternoon on the porch. And if you end up with extra filling, a spoon and a quiet corner is all you need. Happy making—and if you find a new variation, let me know!
Ingredients
- 6 waffle cones
- 8 oz cream cheese, softened
- 1 cup heavy whipping cream
- 1/2 cup granulated sugar
- 1 (3.4 oz) package instant banana pudding mix
- 1 cup cold milk
- 2 medium ripe bananas, sliced
- 1 cup vanilla wafers, crushed
- 1 tsp vanilla extract
Instructions
-
1In a large mixing bowl, beat the softened cream cheese and granulated sugar together until smooth and creamy.
-
2In a separate bowl, whisk together the instant banana pudding mix and cold milk until thickened, about 2 minutes.
-
3Fold the banana pudding into the cream cheese mixture, then add vanilla extract and mix until well combined.
-
4In another bowl, whip the heavy cream until stiff peaks form, then gently fold it into the banana cheesecake mixture.
-
5To assemble, layer crushed vanilla wafers and banana slices inside each waffle cone, then pipe or spoon in the cheesecake banana pudding filling. Top with additional crushed wafers and banana slices if desired.
-
6Serve immediately for best texture, or chill in the refrigerator for up to 1 hour before serving.
Approximate Information for One Serving
Nutrition Disclaimers
Number of total servings shown is approximate. Actual number of servings will depend on your preferred portion sizes.
Nutritional values shown are general guidelines and reflect information for 1 serving using the ingredients listed, not including any optional ingredients. Actual macros may vary slightly depending on specific brands and types of ingredients used.
To determine the weight of one serving, prepare the recipe as instructed. Weigh the finished recipe, then divide the weight of the finished recipe (not including the weight of the container the food is in) by the desired number of servings. Result will be the weight of one serving.
Did you make this recipe?
Please consider Pinning it!!




