Well, Here’s the Scoop on Banana Pudding No Bake Dessert
Okay, so I’ll just say it—this Banana Pudding No Bake Dessert is the kind of thing I make when I need something sweet but have zero energy for actually baking. A friend of mine once called it “the dessert that disappears faster than socks in the dryer,” and honestly, she was right. I first learned to make it at a church potluck ages ago (shout out to Mrs. Earleen, who always brought the biggest bowl and never left with leftovers). Now it’s my family’s official birthday request, and I may or may not have eaten a cold scoop for breakfast once. Or thrice. I’m not proud, but I’m also not sorry.
Why You’ll Probably Love This as Much as My Folks Do
I usually whip this up when my kids start dropping hints for something sweet but I can tell they’re hoping for more than just store-bought cookies (no shade, just facts). My family goes absolutely bonkers for this because it’s creamy, crunchy, and honestly, you don’t have to turn on the oven. Plus, if I’m running late (okay, that’s most of the time), I can throw this together faster than you can say “banana pudding no bake dessert” three times fast. The one thing that used to trip me up? I’d always worry about the bananas turning brown. Turns out, if you eat it fast enough, it’s not a problem at all.
Here’s What You Need (and Alternatives Because Life Happens)
- 3-4 ripe bananas (if yours are a bit spotty, that’s actually perfect; if you’re desperate, I’ve used frozen-thawed, but it gets a bit mushy)
- 1 box (about 3.4 oz) instant vanilla pudding mix (banana flavor works if you want to lean in, but honestly, off-brand is fine)
- 2 cups cold milk (any kind works—sometimes I use almond milk if that’s all we’ve got)
- 1 can (14 oz) sweetened condensed milk (Grandma always insisted on Eagle Brand, but I’ve tried the store brand and didn’t notice a big difference)
- 1 tub (8 oz) whipped topping like Cool Whip (homemade whipped cream is fancier, sure, but I rarely have the patience)
- 1 box vanilla wafers (Nilla Wafers are classic, but shortbread cookies or graham crackers work if you’re feeling wild)
- Pinch of salt (optional, but I think it balances the sweet)
How I Actually Make This (with Tangents)
- First, mix the instant pudding with the cold milk. Use a whisk and give it a good stir for about two minutes. It’ll start to thicken up. This is one of those times I sneak a quick taste—quality control, right?
- In a bigger bowl, combine the sweetened condensed milk with the whipped topping. Fold them together gently. Don’t go crazy—if it looks a bit lumpy, that’s totally fine.
- Add the pudding into the milk/whipped topping mixture. Stir it up until it all comes together. If you see a few streaks, don’t panic. It’ll sort itself out in the fridge.
- Grab your serving dish (I usually use a 9×13-inch pan, but sometimes I just layer it in mason jars because it looks cute). Start with a layer of cookies at the bottom, then add a layer of sliced bananas, then half the pudding mixture.
- Repeat—another cookie layer, more bananas, and the rest of the pudding. Sometimes, if I have extra cookies, I crush a handful on top for good measure.
- Cover it up and pop it in the fridge for at least 4 hours. Overnight is even better, but honestly, it’s hard to wait that long. It tastes great even if you jump the gun a little.
Notes That Took Me a Few Rounds to Figure Out
- Using super ripe bananas gives it more flavor, but don’t use the ones that are basically black—I learned that the hard way.
- If you’re in a real pinch, you can skip the sweetened condensed milk and just use extra whipped topping. It’s lighter, but not as rich.
- I once tried using coconut milk. Wasn’t my favorite, but maybe you’ll like it!
Variations (Tales of Success and Mild Disaster)
- Chocolate banana pudding: Swap in chocolate pudding mix. My husband thought this was the best thing since sliced bread.
- Strawberry twist: I added sliced strawberries between layers once. It was…okay. Turned a bit watery, so maybe use fewer berries next time.
- I even tried peanut butter cookies instead of wafers—super sweet, but fun for a change.
Equipment (and a Few Workarounds I’ve Tried)
- Medium mixing bowl (or just use a big salad bowl, honestly)
- Whisk or fork (whisk is easier, but I’ve made do with a fork and a little patience)
- 9×13-inch pan, or any deep dish. I’ve used a big Tupperware when the fancy dish was dirty.
- Plastic wrap or foil for covering, but one time I used a plate as a lid—it worked just fine!
Storing the Leftovers (Good Luck With That)
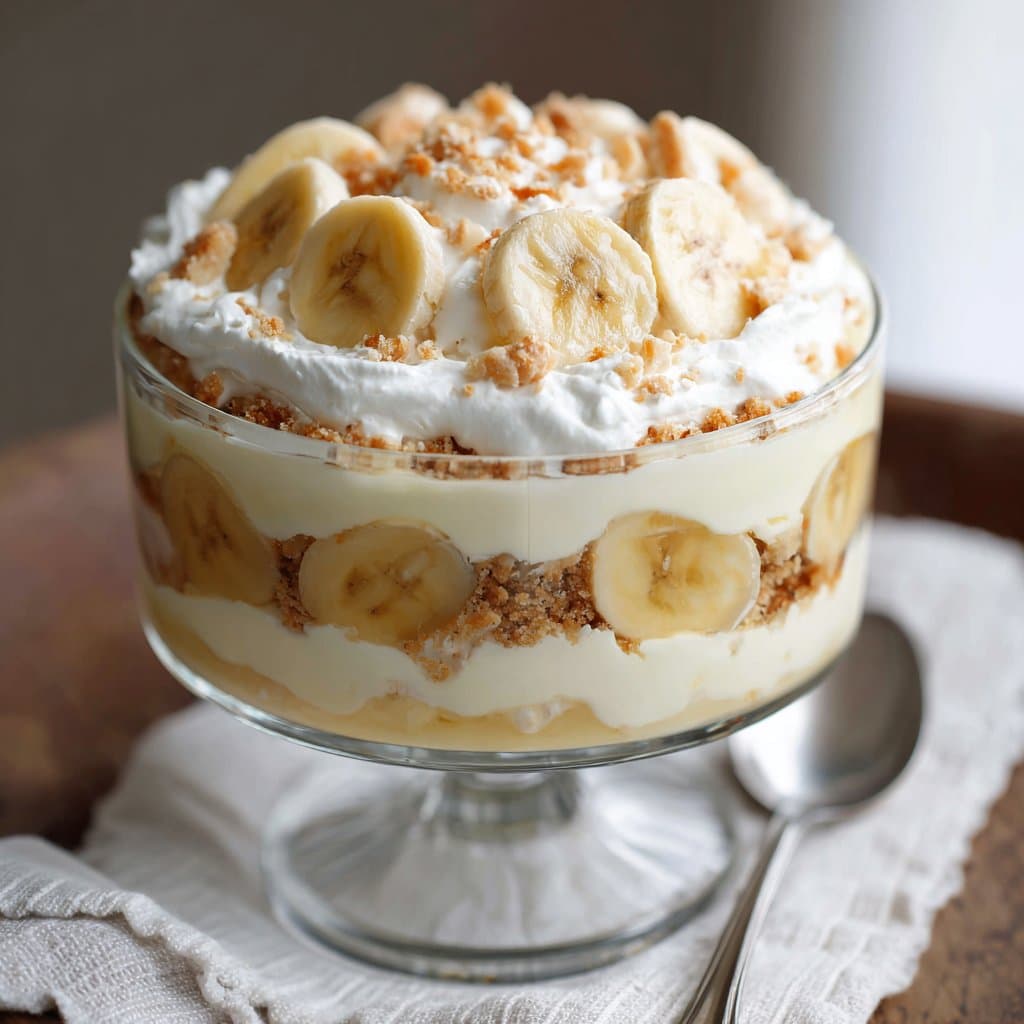
Keep it covered in the fridge, and it’s good for up to 3 days (maybe 4…but the bananas start looking a little sad). In my house, it never makes it past a day and a half. I wouldn’t recommend freezing it—the texture just gets weird. Trust me, I tried. Ended up with banana ice soup.
How I Like to Serve It (And Who Gets the First Scoop)
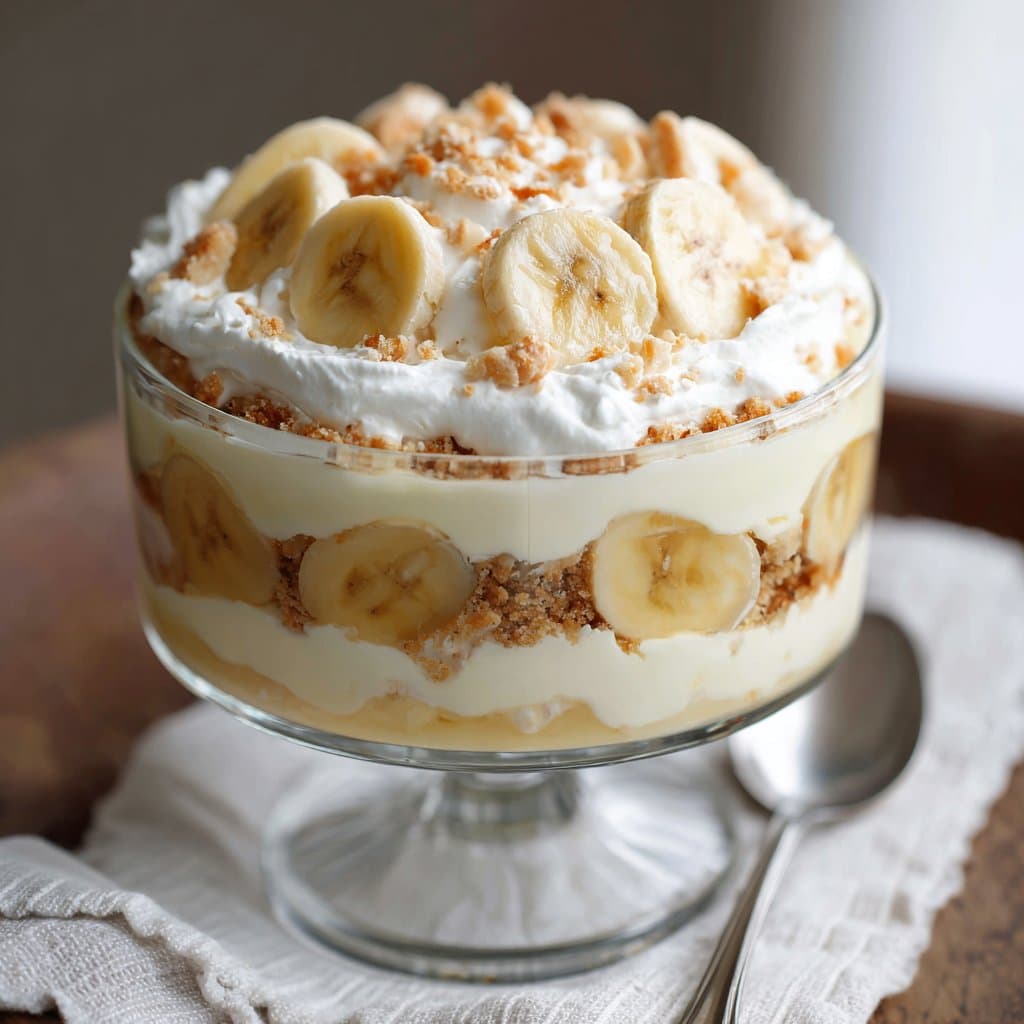
You can scoop it straight from the dish into bowls or, for a bit of a show, spoon into individual glasses and garnish with a cookie on top. I always save the biggest cookie for whoever did the dishes (sometimes it’s me, sometimes not!). On birthdays, we even stick candles in and sing a round of “Happy Birthday” before digging in. Not fancy, but it’s ours.
Pro Tips (Learned the Hard Way So You Don’t Have To)
- Let it chill at least 4 hours. I rushed it once and ended up with a soupy mess. Patience is bitter, pudding is sweet—go figure!
- Layer the bananas between cookies and pudding, not just on top. They stay fresher that way—my first attempt looked like banana fossils after a day.
- Don’t over-mix the whipped topping or it’ll deflate (I learned this after my “banana pudding pancake” disaster).
FAQ (Because Friends and Family Always Ask)
Can I use homemade whipped cream? Sure! Just make sure it’s pretty stiff—otherwise it’ll go runny real fast. Actually, I find store-bought holds up better unless you’re serving right away.
Is there a way to keep bananas from browning? Yeah, you can toss them in a bit of lemon juice, but honestly, the taste gets a tad zingy. I just bury them under the pudding.
What’s the best cookie? Well, Nilla Wafers are the OG, but graham crackers work! I once even used speculoos (those spiced cookies you get on planes)—not half bad.
Can I make it a day in advance? Absolutely. I think it tastes better the next day. The cookies go all soft and dreamy. Just don’t leave it longer than that or the bananas protest.
Where do you get your pans? Oh, I picked up my favorite glass dish at a thrift shop, but you can find deals online—try Target or Bed Bath & Beyond. Not sponsored, just what I use when I need a replacement!
Okay, slight detour—do you ever start a recipe and then realize halfway you’re missing the main ingredient? I once had to send my kid across the street to borrow bananas. The neighbors still tease me.
If you give this Banana Pudding No Bake Dessert a try, let me know how it goes—bonus points for silly stories or disasters. After all, it’s dessert; it’s supposed to be fun.
Ingredients
- 1 (5.1 oz) package instant vanilla pudding mix
- 2 cups cold milk
- 1 (8 oz) container whipped topping, thawed
- 1 (14 oz) can sweetened condensed milk
- 4 large ripe bananas, sliced
- 1 (12 oz) box vanilla wafer cookies
- 1 teaspoon vanilla extract
- 1/4 cup cream cheese, softened
Instructions
-
1In a large mixing bowl, whisk together the instant vanilla pudding mix and cold milk until smooth and thickened, about 2 minutes.
-
2Add the sweetened condensed milk, softened cream cheese, and vanilla extract to the pudding mixture. Beat until well combined and creamy.
-
3Gently fold in the whipped topping until the mixture is smooth and fluffy.
-
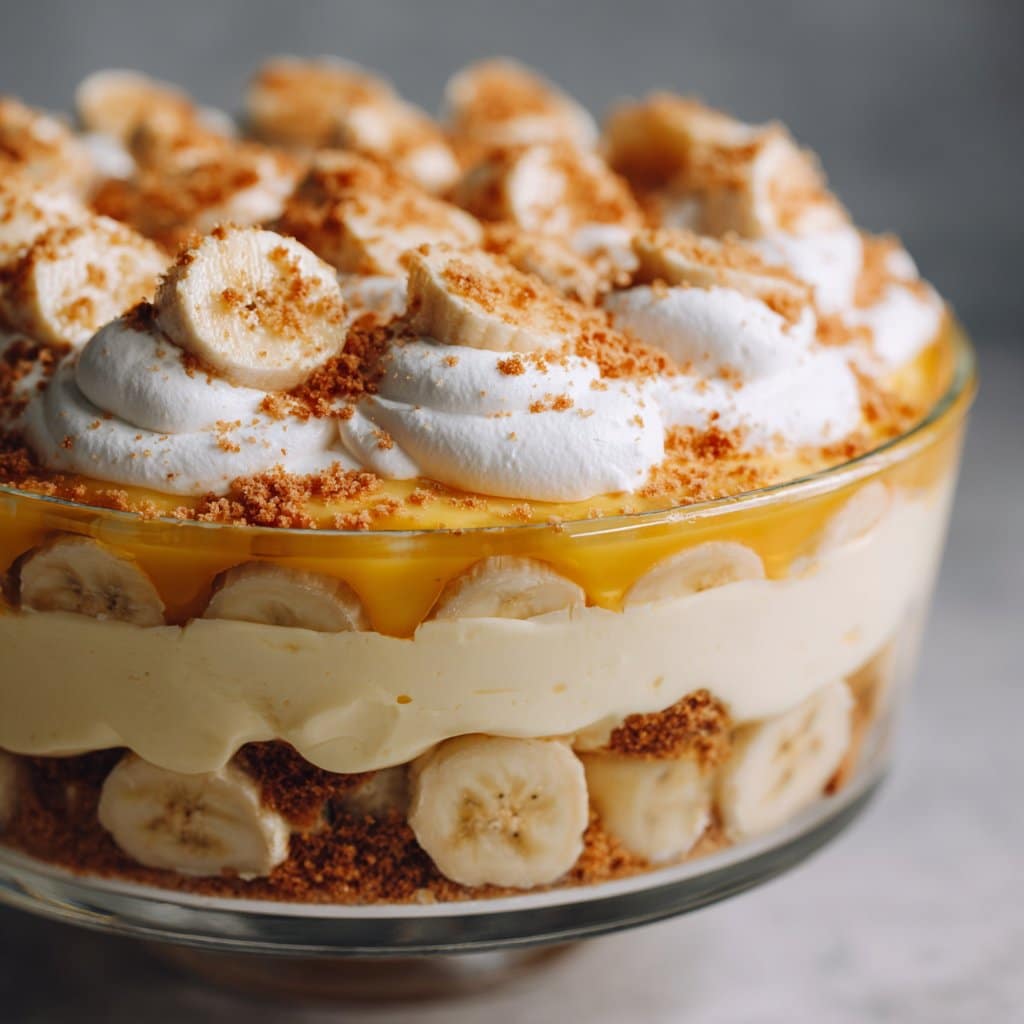
4In a 9×13 inch dish, arrange a layer of vanilla wafer cookies on the bottom. Top with half of the sliced bananas, then spread half of the pudding mixture over the bananas.
-
5Repeat the layers with the remaining cookies, bananas, and pudding mixture. Smooth the top with a spatula.
-
6Cover and refrigerate for at least 4 hours or overnight before serving to allow the flavors to meld and the dessert to set.
Approximate Information for One Serving
Nutrition Disclaimers
Number of total servings shown is approximate. Actual number of servings will depend on your preferred portion sizes.
Nutritional values shown are general guidelines and reflect information for 1 serving using the ingredients listed, not including any optional ingredients. Actual macros may vary slightly depending on specific brands and types of ingredients used.
To determine the weight of one serving, prepare the recipe as instructed. Weigh the finished recipe, then divide the weight of the finished recipe (not including the weight of the container the food is in) by the desired number of servings. Result will be the weight of one serving.
Did you make this recipe?
Please consider Pinning it!!
Ingredients
- 2 cups cold milk
- 1 package (3.4 oz) instant vanilla pudding mix
- 1 can (14 oz) sweetened condensed milk
- 1 1/2 cups heavy whipping cream
- 1 box (12 oz) vanilla wafers
- 4 large ripe bananas, sliced
- 1 teaspoon vanilla extract
- 2 tablespoons powdered sugar
Instructions
-
1In a large bowl, whisk together the cold milk and instant vanilla pudding mix until thickened, about 2 minutes.
-
2Stir in the sweetened condensed milk and vanilla extract until smooth and well combined.
-
3In a separate bowl, beat the heavy whipping cream with powdered sugar until stiff peaks form.
-
4Gently fold the whipped cream into the pudding mixture until fully incorporated.
-
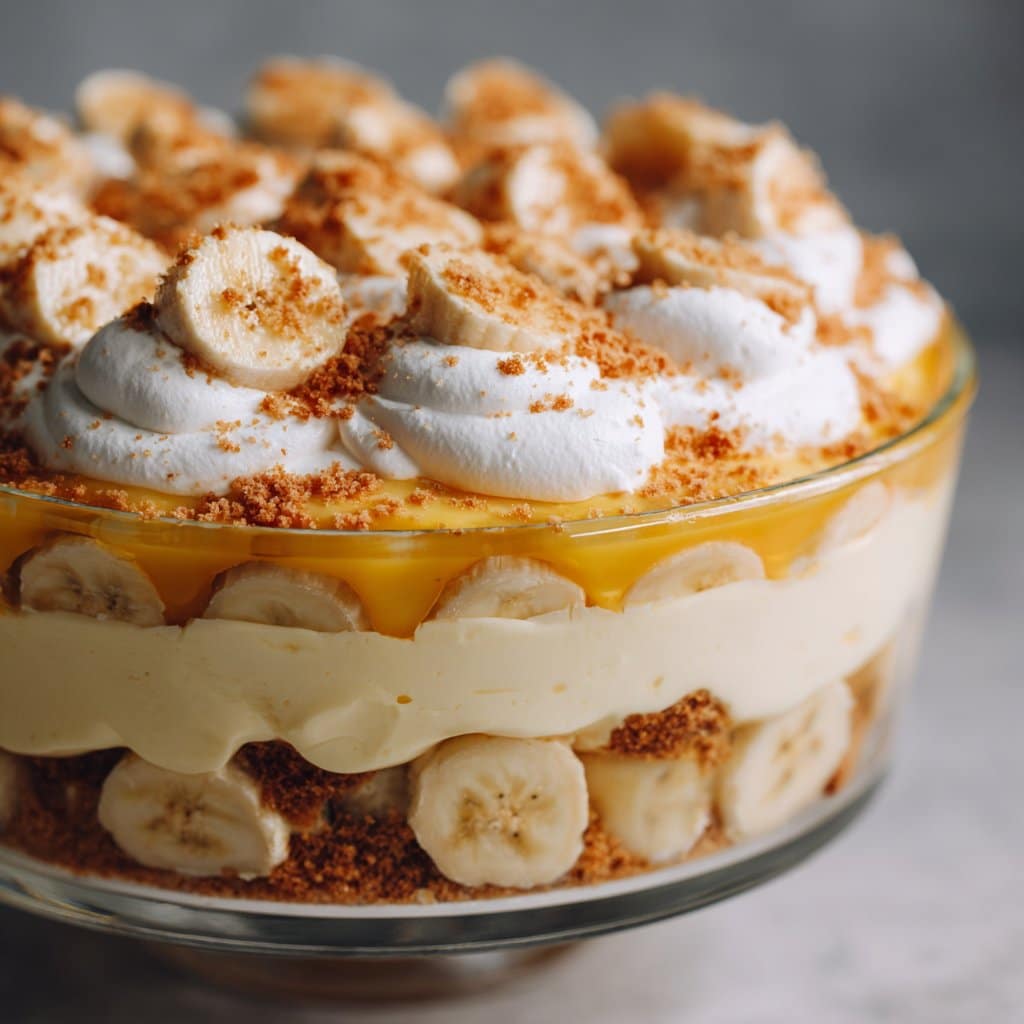
5In a 9×13 inch dish, layer vanilla wafers, sliced bananas, and pudding mixture. Repeat layers, ending with pudding on top.
-
6Cover and refrigerate for at least 2 hours before serving to allow flavors to meld.
Approximate Information for One Serving
Nutrition Disclaimers
Number of total servings shown is approximate. Actual number of servings will depend on your preferred portion sizes.
Nutritional values shown are general guidelines and reflect information for 1 serving using the ingredients listed, not including any optional ingredients. Actual macros may vary slightly depending on specific brands and types of ingredients used.
To determine the weight of one serving, prepare the recipe as instructed. Weigh the finished recipe, then divide the weight of the finished recipe (not including the weight of the container the food is in) by the desired number of servings. Result will be the weight of one serving.
Did you make this recipe?
Please consider Pinning it!!




