Let’s Talk About These Vampire Bite Cupcakes
Okay, you know those recipes that you make once and somehow they just keep reappearing at every Halloween party after? That’s these cupcakes for me. The first time I made Vampire Bite Cupcakes, I nearly dyed my whole countertop red (pro tip: red food coloring does not come out of grout easily—ask me how I know). But honestly, these little cakes are so much fun to make (and eat) that I keep coming back to them, sticky fingers and all. I even had my neighbor’s kids convinced I was a professional baker, just for a second, until they saw my kitchen. Anyway, if you want something a little gory but a lot delicious for your Halloween bash, this’ll do the trick. Or treat. Sorry, couldn’t resist.
Why You’ll Love This Recipe (Or At Least Tolerate It)
I make these when I want something that’s equal parts creepy and scrumptious—like, they actually look like a vampire took a bite out of them (hence the name, obviously). My family goes absolutely bananas for these, especially because of the gooey jam in the center. And if I’m being honest, sometimes the “blood” filling leaks and makes a glorious mess, but the kids love that bit the most. Once, I tried skipping the jam to save time—bad move. The cupcakes just didn’t have that wow factor (or the sugar rush!) without it.
What You’ll Need (And What You Can Swap)
- 1 1/2 cups all-purpose flour (I’ve used self-raising in a pinch; just skip the baking powder if you do)
- 1 cup granulated sugar (brown sugar works if you like a deeper flavor, but my grandmother swore by the white stuff—she was probably right)
- 1/2 cup unsalted butter, softened (in a real rush, I’ve melted it, but the texture goes a bit off)
- 2 large eggs
- 1/2 cup whole milk (almond milk is fine, oat milk honestly tastes a bit weird here, just my two cents)
- 1 1/2 teaspoons baking powder
- 1 pinch salt
- 1 teaspoon vanilla extract (the real stuff if you have it, but nobody’s judging here)
- 1/2 cup raspberry or strawberry jam (I use seedless, but if you like a little crunch, go wild)
- Red gel food coloring (those little tubes are magic—seriously, you barely need a drop)
- 2 cups powdered sugar (for the frosting, though sometimes I just dust with sugar if I’m feeling lazy)
- 1/4 cup heavy cream (or regular milk, but the frosting’s a bit thinner that way)
How To Make Them (With Some Winging It)
- Preheat your oven to 350°F (180°C). Grab a muffin tin and line it with paper liners. Or, you know, just grease it if you forgot the liners—been there.
- Cream the butter and sugar together until it’s fluffy-ish. You can use a stand mixer, but I usually just bash it with a wooden spoon when I can’t be bothered (great arm workout!).
- Beat in eggs, one at a time. The batter may look a bit lumpy at this point. Don’t panic, just keep going.
- Stir in vanilla, then add flour, baking powder, and salt. Alternate with the milk. I do flour-milk-flour-milk, but honestly as long as it’s all in there, who cares?
- Spoon the batter into your cupcake liners, about 2/3 full—don’t overthink it, I’ve never measured. Bake for 18–22 minutes, or until a toothpick comes out clean (or close enough, really).
- Let them cool. Patience. This is where I usually sneak a taste of the tops (quality control, right?).
- Now, the fun part: using a sharp knife or a fancy cupcake corer (which I never remember to buy), cut a small cone out of each cupcake. Fill that little hole with your jam mixed with a few drops of red food coloring for extra drama.
- Pop the cake plug back on top. It doesn’t have to fit perfectly. Nobody sees it anyway.
- For the frosting, mix powdered sugar with heavy cream until it’s spreadable. If it turns out too thick, add a splash more cream; too runny, dump in more sugar (it always works itself out).
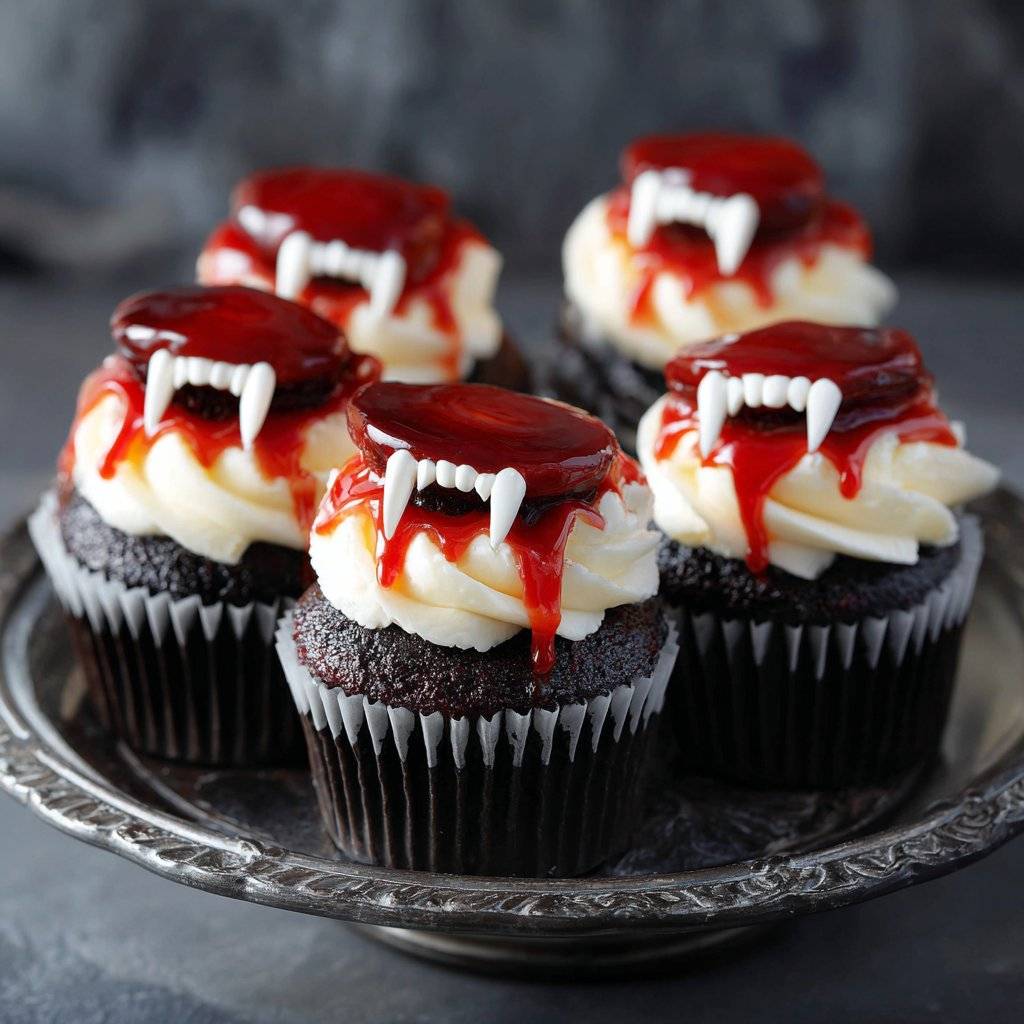
- Frost the cupcakes, then, using a skewer or the end of a spoon, poke two little ‘fang’ holes on top and drip a bit more colored jam to look like vampire bites. Don’t worry if it looks like a crime scene; that’s the point!
Things I Wish I’d Known (And Now You Do)
- If you let the cupcakes cool completely, the jam won’t melt and soak in too much. But if you can’t wait, well, you’ll just get a different effect—still tasty.
- Don’t use too much food coloring, unless you want everyone to have red teeth for the rest of the night. Learned that one the hard way.
- Actually, I find it works better if you use a piping bag for the jam, but a zip-top bag with the corner snipped off does the trick just as well.
Weird Variations I’ve Tried
- Blueberry jam for ‘alien bite’ cupcakes—looked cool, tasted just okay. I wouldn’t bother again, but my nephew thought it was hilarious.
- Chocolate cupcakes instead of vanilla. Not quite as visually shocking, but the taste? Top notch.
- Once tried filling with caramel—absolutely not the vibe, just stick with red jam.
What You Need (And What To Do If You Don’t Have It)
- Muffin tin (but I’ve used a silicone tray before—works but they’re a bit more… freeform)
- Electric mixer (or sheer determination and a wooden spoon)
- Small sharp knife or cupcake corer (or just scoop gently with a teaspoon if that’s all you’ve got)
- Piping bag or zip-top bag (or even a small spoon if you’re feeling patient)
Honestly, if you’re missing something, improvise. Half the fun is making it work with what you’ve got, right?
Keeping Them Fresh (In Theory)
These will keep in an airtight container for up to two days—but honestly, in my house, they never last more than a day! The jam does start to soak into the cake after a while, which I actually think tastes even better the next day, but your mileage may vary.
How We Serve ‘Em (And Sometimes Don’t Even Get That Far)
I like to put them on a big black platter with some fake spiderwebs (the ones you buy at the dollar store, not the real ones in my corners, ha). My sister-in-law insists on adding little plastic vampire teeth as toppers, but I think that’s overkill—unless you’re going full camp. Some years, we even set out a bowl of extra ‘blood’ for dramatic effect.
My Hard-Earned Vampire Cupcake Wisdom
- Don’t rush the cooling. I once tried to dig out the centers while they were warm and ended up with a sticky mess and half-collapsed cakes.
- Be stingy with the jam at first—it’s easier to add more than scrape it back out, trust me.
- Actually, sometimes less frosting is more. Otherwise, you end up with a sugar bomb that makes everyone jittery (but hey, it’s Halloween, so who’s judging?)
FAQs (Because People Actually Ask Me This)
- Can I make these ahead of time? Sure! I usually bake the cupcakes the day before and fill/frost them the day of, just to keep the ‘bite’ effect looking fresh. But if you do it all at once, nobody’s going to complain (except maybe my perfectionist cousin—ignore her).
- What if I don’t have red gel food coloring? You can use regular liquid, but it’s not as bright. Or just skip it—the jam alone is fine, really.
- Can I freeze them? Technically yes, but the texture gets a bit weird when defrosted. They’re better fresh. Or, you know, just eat them all (that’s what usually happens here!)
- Are they super sweet? Yes. It’s a cupcake. You could cut the sugar by a bit, but then it’s not a treat, is it?
Oh, And By the Way…
I once found a really neat trick for making perfect cupcake domes here on Sally’s Baking Addiction. And if you want another fun Halloween project, check out these monster cookies. Not sponsored, just stuff I genuinely use (and occasionally mess up, but that’s half the fun). Happy baking, and good luck getting that red dye off your hands!
Ingredients
- 1 1/2 cups all-purpose flour
- 1 cup granulated sugar
- 1/2 cup unsweetened cocoa powder
- 1 teaspoon baking powder
- 1/2 teaspoon baking soda
- 1/4 teaspoon salt
- 2 large eggs
- 1/2 cup vegetable oil
- 3/4 cup milk
- 1 teaspoon vanilla extract
- 1/2 cup raspberry jam (for filling)
- 1 cup unsalted butter (softened, for frosting)
- 2 cups powdered sugar (for frosting)
- 2 tablespoons milk (for frosting)
- Red gel food coloring (for ‘blood’ effect)
Instructions
-
1Preheat the oven to 350°F (175°C) and line a 12-cup muffin tin with cupcake liners.
-
2In a large bowl, whisk together flour, sugar, cocoa powder, baking powder, baking soda, and salt.
-
3Add eggs, vegetable oil, milk, and vanilla extract. Mix until smooth. Divide batter evenly among cupcake liners.
-
4Bake for 18-20 minutes or until a toothpick inserted in the center comes out clean. Let cupcakes cool completely.
-
5Use a small knife to cut a hole in the center of each cupcake. Fill each hole with raspberry jam to create the ‘vampire bite’ effect.
-
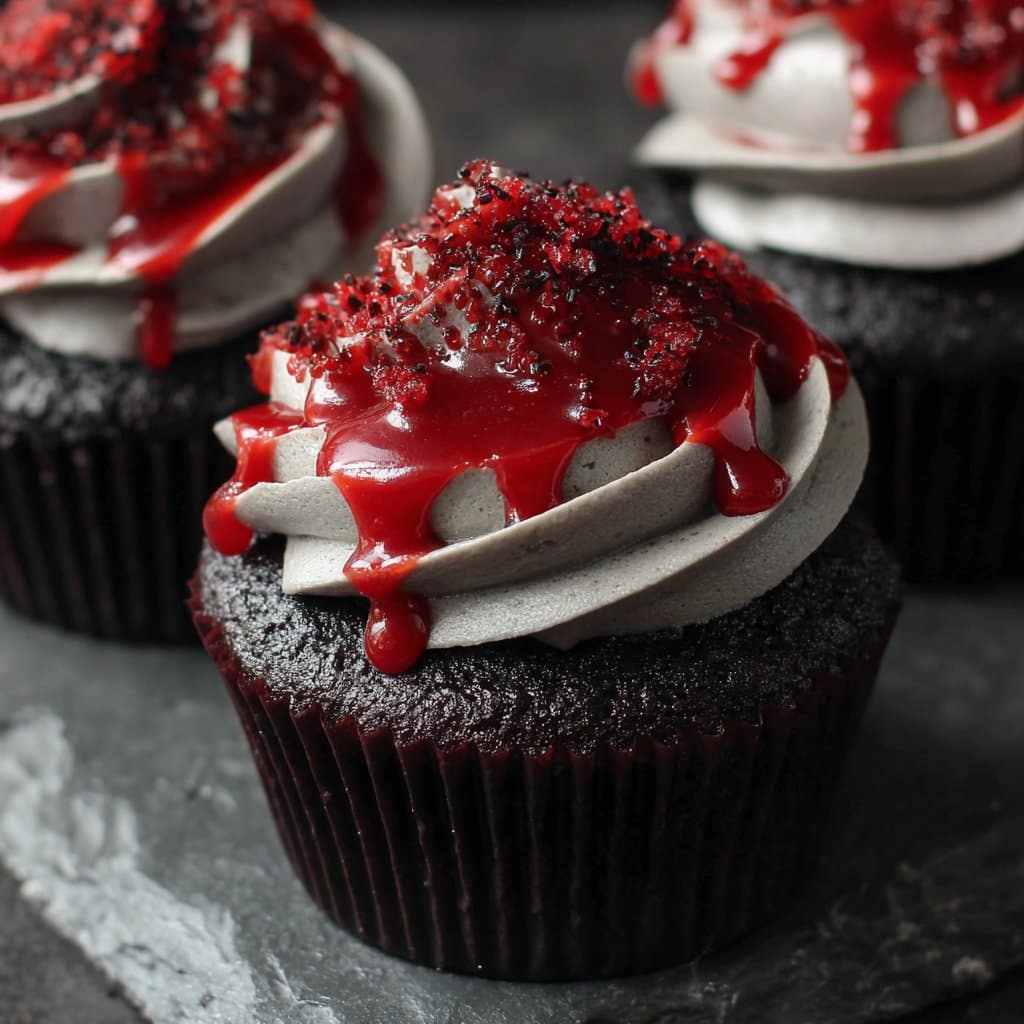
6For the frosting, beat softened butter until creamy. Gradually add powdered sugar and milk, beating until fluffy. Frost cupcakes and use red gel food coloring to create ‘blood’ drips near the jam-filled holes.
Approximate Information for One Serving
Nutrition Disclaimers
Number of total servings shown is approximate. Actual number of servings will depend on your preferred portion sizes.
Nutritional values shown are general guidelines and reflect information for 1 serving using the ingredients listed, not including any optional ingredients. Actual macros may vary slightly depending on specific brands and types of ingredients used.
To determine the weight of one serving, prepare the recipe as instructed. Weigh the finished recipe, then divide the weight of the finished recipe (not including the weight of the container the food is in) by the desired number of servings. Result will be the weight of one serving.
Did you make this recipe?
Please consider Pinning it!!




