So, Chimichangas—Let Me Tell You About These Beauties
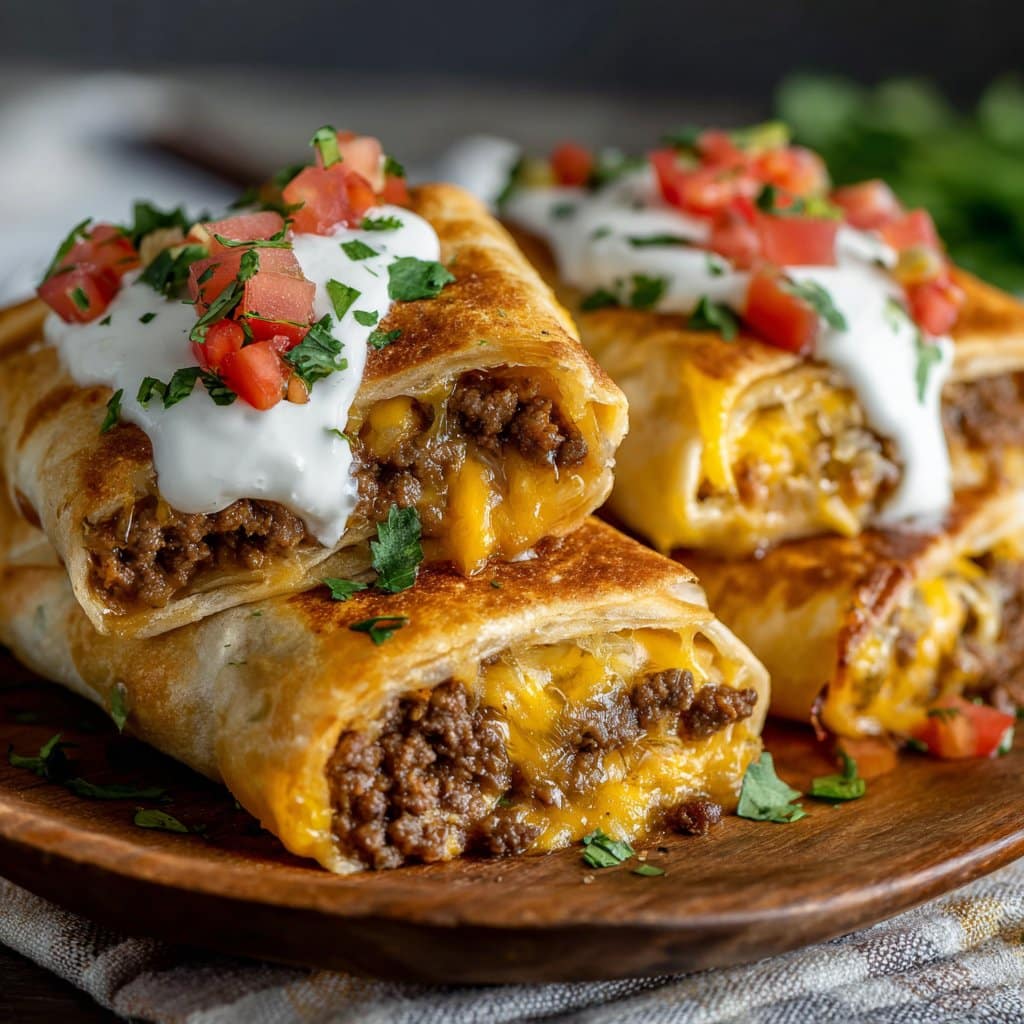
Alright, picture this: It’s a Tuesday, I’m feeling a bit lazy, but my family is circling the kitchen like hungry sharks. What do I do? I whip up these Cheesy Beef Chimichangas. Honestly, I’ve been making these since my uni days, mostly because they’re hearty, cheesy, and you can make ’em with stuff that’s probably lurking in your fridge right now. Oh, and once I tried to impress my Texan cousin with these—she said they were ‘not totally authentic but definitely addictive.’ I’ll take it.
I did once set off the smoke alarm trying to fry too many at once; don’t do that. But we still ate them (after I opened all the windows!).
Why You’ll Love This (Or At Least Why I Do)
I make this when I want something crowd-pleasing but can’t be bothered with anything fiddly. My family goes bonkers for these because they’re cheesy, crispy, and somehow feel like a treat. Plus, you can bake or fry them, depending on whether you’re feeling virtuous or, well, not. (I fry them when it’s been ‘one of those days.’) Sometimes, I get annoyed if the tortillas split, but honestly, nobody notices once they’re smothered in cheese.
Ingredients (With Real-Life Substitutions)
- 1 lb (about 450g) ground beef (I’ve used ground turkey in a pinch; works fine)
- 1 medium onion, chopped (sometimes I skip this if I’m feeling lazy or out of onions)
- 2 cloves garlic, minced (garlic powder if that’s all you’ve got—been there)
- 1 tsp cumin (or taco seasoning, if that’s lurking in your cupboard)
- 1 tsp paprika (smoked, if you want a little extra oomph)
- 1/2 tsp chili powder (totally optional, especially if kids are eating)
- 1 cup (about 250g) shredded cheddar cheese (Monterey Jack is also fab; my gran swore by it)
- 1/2 cup cream cheese (it just makes it all gooey; skip if you must, but you’ll miss it)
- 1/2 cup salsa (or chopped tomatoes—I’ll use whatever’s around)
- 6-8 large flour tortillas (burrito size; I’ve used smaller and just made more, no bother)
- Oil for frying (vegetable or canola, whatever’s hanging about)
- Optional: sliced jalapeños, green onions, or black olives for topping
How I Actually Make These (Step-by-Step, Sort Of)
- First things first, set your oven to 400°F (200°C), if you’re baking. If you’re frying, just worry about preheating the oil later.
- Brown the ground beef in a big frying pan over medium heat. Toss in the onions halfway through—don’t worry if some bits get a bit crispy, those are the best bits. Add garlic, stir in those spices, and let it all mingle for a few minutes.
- This is where I usually sneak a taste (chef’s privilege). Then, turn off the heat and stir in the cream cheese and half of the shredded cheese. Add the salsa too. It might look a bit gloopy—don’t panic, that’s what you want.
- Now, lay out your tortillas. Plop a generous dollop of the beef mixture in the center, then fold the sides in and roll up tightly. If they’re a bit overstuffed, that’s okay. They may look like wonky parcels; that’s half the fun.
- For baking: Pop them seam-side down on a lined baking tray, brush with a little oil (or spray, if you’re into that), and bake for about 20 minutes until golden and crisp. I like to sprinkle the rest of the cheese on halfway through, so it bubbles on top.
- For frying: Heat about an inch of oil in a deep pan—don’t crowd them or you’ll have a disaster (learned that the hard way). Fry a couple at a time until golden, flipping once. Drain on a rack or pile onto paper towels.
- Top with whatever you fancy—jalapeños, sour cream, more salsa, whatever’s handy. Or just eat them straight out of the pan (no judgment).
Notes From My (Messy) Kitchen
- I tried making these with corn tortillas once. It…didn’t go well. Save yourself the trouble.
- Actually, I find it works better if you let the beef mixture cool a bit before rolling, otherwise the tortillas get a bit soggy.
- If the filling leaks, just eat that first—chef’s bonus.
Variations I’ve Tried (Successes & Mishaps)
- Shredded rotisserie chicken works great instead of beef. Kids barely notice.
- Vegetarian version with black beans and sweetcorn—decent, but needs extra spice.
- I once tried to add cooked rice for bulk. It was…fine, but kind of bland. Wouldn’t bother again.
What You’ll Need (And What To Improvise With)
- Large frying pan (or a big pot—I’ve used a Dutch oven in a pinch)
- Baking tray if you’re baking (cookie sheet is fine—I’ve even used a roasting pan)
- Tongs for frying (or a big slotted spoon—just watch your fingers!)
- Mixing bowl (or just stir everything in the pan, saves on dishes)
If you don’t have a brush for the oil, just drizzle it on with a spoon. It’ll do the trick.
How To Store (If There’s Any Left)
Pop leftovers in an airtight container in the fridge. They’ll keep for a couple days but—honestly—in my house it never lasts more than a day! I think they taste even better for breakfast, cold from the fridge. Or zap ’em in the microwave (30 seconds does the job).
How I Serve These (And What My Crew Likes)
I love serving them with a big pile of guacamole—here’s a super simple guac recipe I use. My kids, meanwhile, demand sour cream and hot sauce. Sometimes, if we’re feeling extra, I’ll throw together a quick salad (not that anyone actually eats it, ha).
Oh, and this recipe pairs perfectly with an icy glass of homemade iced tea—Cookie+Kate’s recipe always hits the spot. Not that I’m sponsored or anything, but I wish I were!
Pro Tips (Learned the Hard Way)
- I once tried to rush the filling step and didn’t drain the beef properly. Soggy chimichangas. Just…don’t.
- Rolling too tightly can cause tortilla tears; but rolling too loose means filling everywhere. Takes a little practice, but you’ll get it!
- Actually, I’ve found it’s easier to let the tortillas warm a bit before rolling—they crack less.
Some Questions I’ve Actually Been Asked
- Can I make these ahead? Yep! I often assemble them the night before and keep in the fridge, then bake or fry the next day. They might just need an extra 5 minutes if cold.
- Can you freeze them? Sure can. I freeze before baking/frying—wrap individually. Reheat from frozen, just give ’em a bit longer in the oven.
- What’s the difference between baking and frying? Honestly, fried is crispier (and a bit messier). Baked is still good—just not quite as decadent. Pick your poison!
- Can I use corn tortillas? I mean, you can try, but in my experience they crack and don’t roll well; flour’s the way to go here.
- Can I make it spicier? Oh, totally! Add more chili powder or sneak in a diced jalapeño with the onions. Or just douse the finished thing in hot sauce, which is what I do half the time.
Alright, that’s about it from me. If you give these a whirl—baked or fried—let me know how it goes (and if you manage to have leftovers, teach me your ways). Happy cooking, and don’t forget to open a window if you’re frying… just in case.
Ingredients
- 1 lb ground beef
- 1 cup shredded cheddar cheese
- 1/2 cup shredded Monterey Jack cheese
- 1 small onion, finely chopped
- 2 cloves garlic, minced
- 1 teaspoon ground cumin
- 1 teaspoon chili powder
- 1/2 teaspoon salt
- 1/4 teaspoon black pepper
- 1/2 cup salsa
- 4 large flour tortillas
- Vegetable oil for frying or brushing
Instructions
-
1Preheat oven to 400°F (200°C) if baking. Heat a large skillet over medium heat and cook the ground beef until browned. Drain excess fat.
-
2Add chopped onion and garlic to the skillet and cook for 2-3 minutes until softened. Stir in cumin, chili powder, salt, pepper, and salsa. Cook for another 2 minutes.
-
3Remove from heat and stir in cheddar and Monterey Jack cheeses until melted and well combined.
-
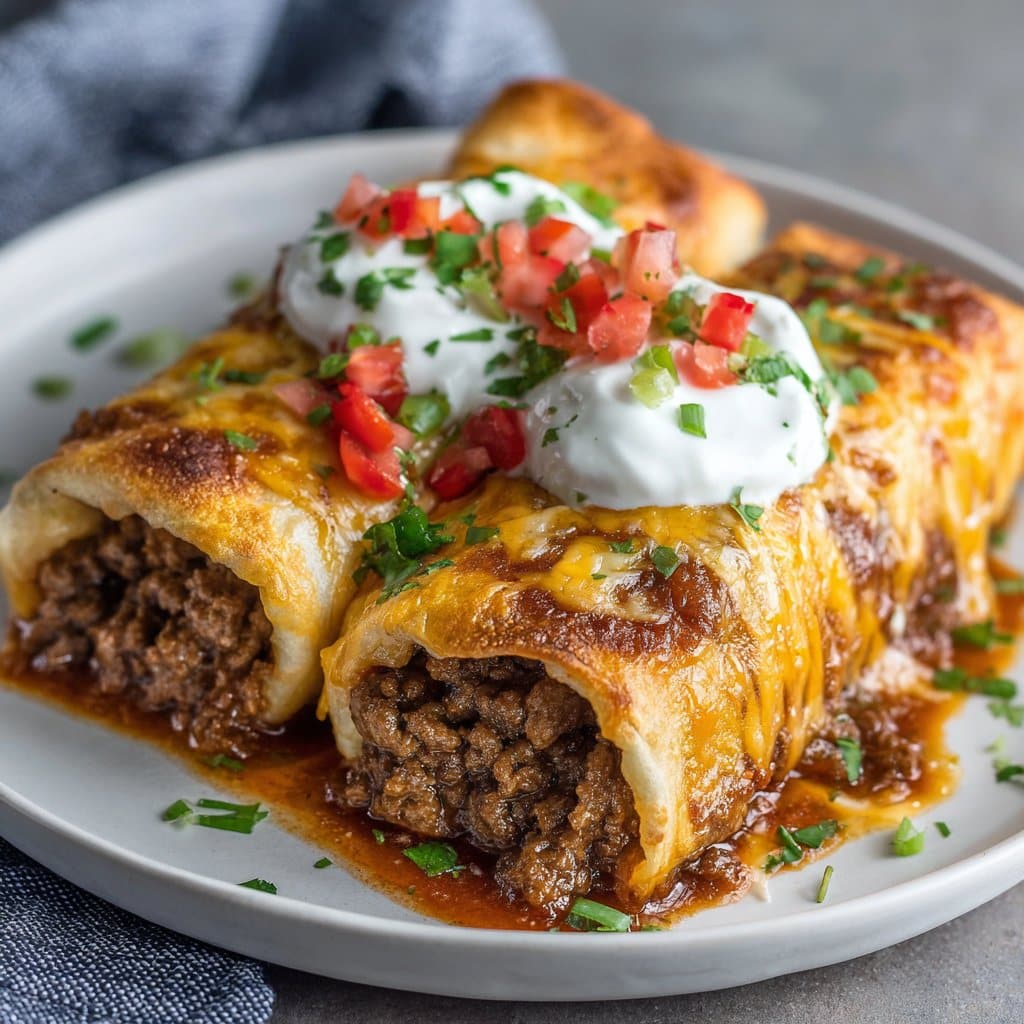
4Spoon the beef and cheese mixture evenly onto the center of each tortilla. Fold in the sides and roll up tightly to form chimichangas.
-
5For baked chimichangas: Place seam-side down on a baking sheet, brush with oil, and bake for 20-25 minutes until golden and crispy. For fried chimichangas: Heat 1 inch of oil in a skillet over medium-high heat and fry each chimichanga for 2-3 minutes per side until golden brown.
-
6Serve hot with your favorite toppings such as sour cream, guacamole, or extra salsa.
Approximate Information for One Serving
Nutrition Disclaimers
Number of total servings shown is approximate. Actual number of servings will depend on your preferred portion sizes.
Nutritional values shown are general guidelines and reflect information for 1 serving using the ingredients listed, not including any optional ingredients. Actual macros may vary slightly depending on specific brands and types of ingredients used.
To determine the weight of one serving, prepare the recipe as instructed. Weigh the finished recipe, then divide the weight of the finished recipe (not including the weight of the container the food is in) by the desired number of servings. Result will be the weight of one serving.
Did you make this recipe?
Please consider Pinning it!!




