Let Me Tell You About This Cake (And Why My Nephew Once Hid the Last Piece)
You ever have those days where you want something ridiculously chocolatey, but all your mixing bowls are dirty and you just can’t face more washing up? That’s basically how I came up with this Chocolate Caramel Dump Cake (One Bowl!). I remember the first time I made it, my nephew snuck the last piece from the fridge and left a note that just said, “Sorry, not sorry.” (Honestly, can’t blame him.) It’s the kind of recipe that doesn’t stand on ceremony—just dump, stir, bake, and try not to eat it straight out of the pan. Oh, and if you’re wondering, yes, I’ve definitely eaten it for breakfast. Once. Maybe twice.
Why I Keep Making This (And Why You Might, Too)
I make this cake whenever I need to impress people with almost zero effort, or on Sunday afternoons when the kitchen already looks like a tornado hit. My family goes a bit bonkers for the gooey caramel pockets (I mean, who wouldn’t?), and it’s saved my bacon more than once when I forgot we had guests coming. Oh, and if you’re worried about the cake looking a bit messy—don’t be. That’s half the charm. Actually, I find it works better if you don’t fuss too much. I used to freak out about lumps, but now? Meh, they vanish when baked.
What You’ll Need (But Don’t Sweat It If You Don’t Have Everything)
- 1 box chocolate cake mix (I like Devil’s Food, but honestly, use whatever’s in your cupboard. Grandma swore by Betty Crocker, but Aldi does the trick in a pinch.)
- 1 can (about 400g) of caramel (Dulce de leche is fab, or you can microwave soft caramels with a splash of milk if you’re desperate)
- 3 large eggs
- 1/2 cup (about 120ml) melted butter (margarine works if you’re out, but I find it less rich)
- 1 cup milk (or water, if you’re in a hurry—won’t be quite as rich, but edible!)
- 1 cup chocolate chips (optional, but why not go all in?)
- A handful of chopped pecans or walnuts (totally optional, sometimes I just use extra chocolate chips)
How I Make It (With a Few Cheeky Shortcuts)
- Preheat your oven to 180°C (350°F). If you forget, just tack on an extra five minutes baking time later—no one will know. Grease up a 9×13 inch pan (or whatever’s clean. I’ve used a roasting tin in emergencies).
- Dump the cake mix, eggs, melted butter, and milk into your one and only clean bowl. Stir it all together with a wooden spoon or a whisk. (Stand mixer is great, but I usually can’t be bothered. Don’t worry if it looks a bit lumpy.)
- Pour about two-thirds of the batter into your pan. Spread it out—doesn’t have to be perfect.
- Spoon the caramel over the batter in blobs. Now, here’s where I usually sneak a finger-full. For quality control, obviously.
- Top with the rest of the cake batter. If it doesn’t cover the caramel completely, no drama. It’ll swirl together in the oven.
- Sprinkle chocolate chips (and nuts, if you fancy) over the top. Sometimes I press them in with the back of a spoon, sometimes not. Up to you.
- Bake for around 35-40 minutes. You want it set at the edges but still a bit gooey in the middle. If your oven runs hot, maybe check at 30 minutes. (My old oven was a bit, well, unpredictable. Just saying.)
- Let it cool for at least 15 minutes before digging in. Or don’t—you’ll just burn your tongue like I usually do.
Stuff I’ve Learned (Sometimes the Hard Way)
- If your caramel is too thick to blob, microwave it in 10 second bursts until it’s pourable. Learnt that after nearly bending a spoon.
- Overmixing makes it a bit tough, so just stir until it’s mostly combined. Bits of flour? They’ll sort themselves out.
- Sometimes I use leftover chocolate bars, roughly chopped, instead of chocolate chips—no one’s ever complained yet.
Variations I’ve Tried (And One Dud)
- Peanut butter swirl instead of caramel: tastes brill, but gets messy. I’d add a bit less peanut butter next time.
- Salted caramel: just sprinkle some flaky salt over the caramel layer. Turns out, makes you feel like you’ve bought it from a fancy bakery.
- Once tried strawberry jam instead of caramel. Not my best idea, tasted like a weird chocolate trifle. Wouldn’t repeat!
Do You Really Need Special Equipment?
If you’ve got a big bowl and a spoon, you’re all set. I mean, a hand mixer is nice if your arm is feeling lazy, but I’ve even used a soup pot when every other bowl was dirty. Pan size? 9×13 works, but I once used a square tin and just baked a bit longer. Easy.
Keeping It Fresh (If It Lasts That Long)
Just cover the pan with foil or clingfilm and pop it in the fridge—should last about 3 days, though honestly, in my house it never makes it past day one. You can freeze it in slices for late-night cravings, but I think the texture gets a little weird. Still, desperate times call for desperate measures.
How I Serve It (And Why My Dad Adds Ice Cream)
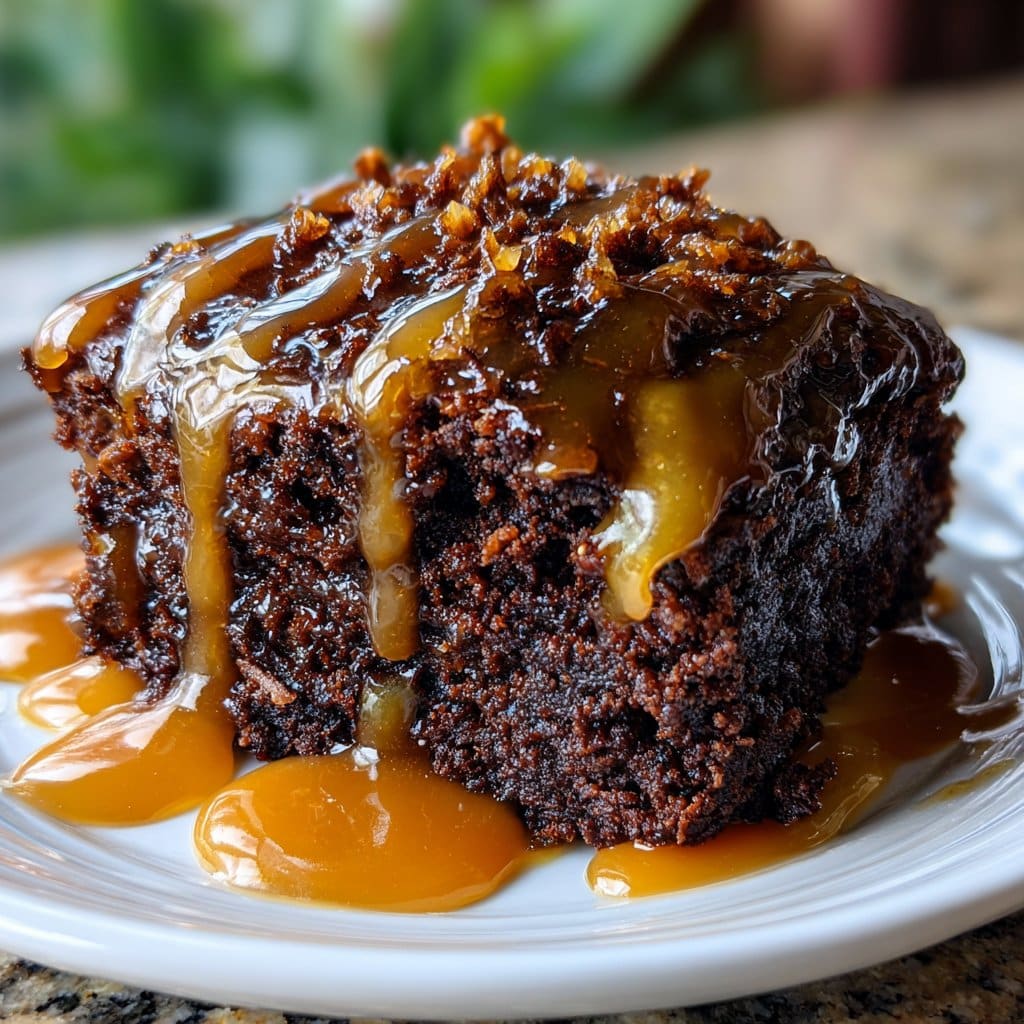
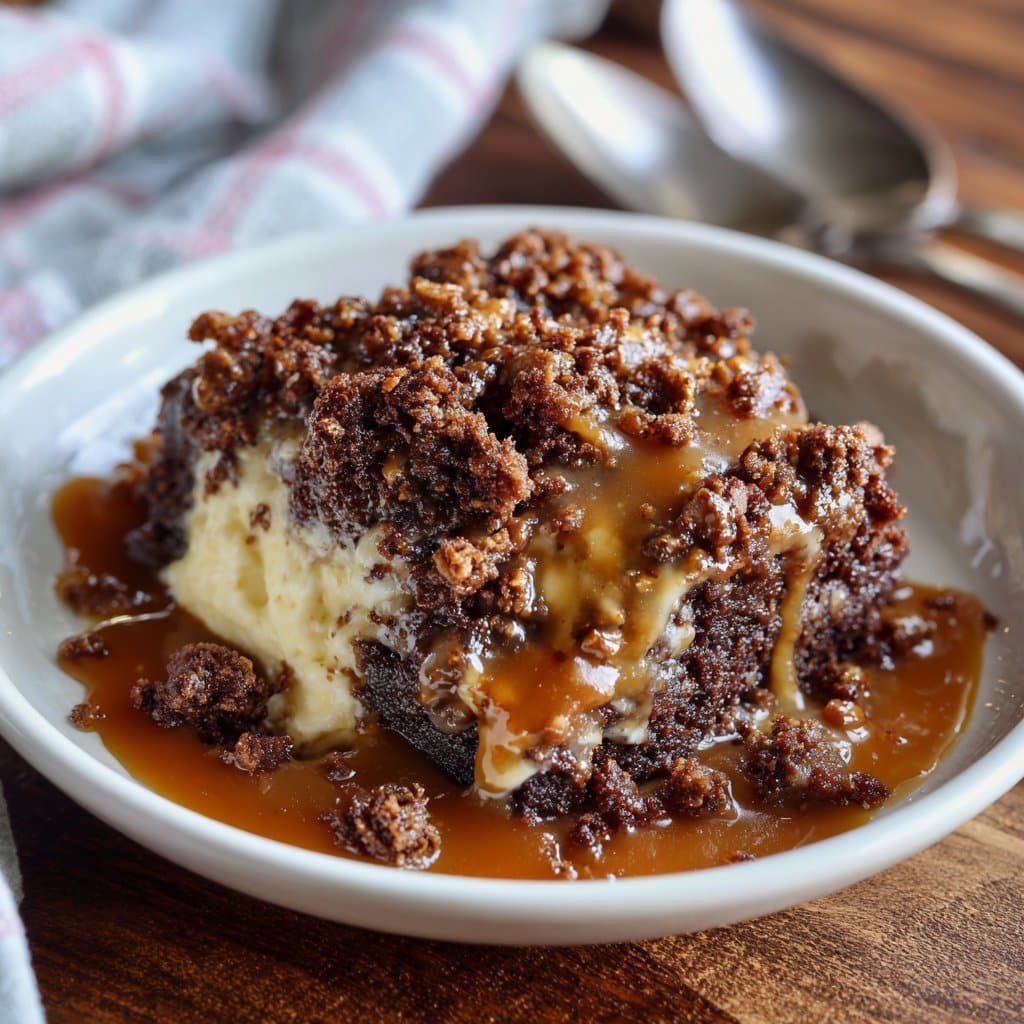
I usually serve big squares still a bit warm, straight from the pan, with a scoop of vanilla ice cream (Dad says it’s not dessert without ice cream—who am I to argue?). Sometimes, for birthdays or just because, I add a drizzle of extra caramel and a sprinkle of sea salt. If you’re feeling fancy, check out Sally’s homemade caramel sauce—it’s worth the effort, even though I rarely have the patience.
Pro Tips (AKA, Things I Messed Up So You Don’t Have To)
- Don’t rush cooling! I once tried to slice it piping hot, just made a gooey mess (tasted good, looked awful).
- If you use water instead of milk, add a splash more butter for richness. Learned that form trial and error.
- Actually, I find it tastes even better the next day—if you can wait that long.
Real Questions I’ve Gotten (And My Real Answers)
- Can I make this gluten-free?
- Yep! Just swap in a gluten-free cake mix. I’ve done it for a friend—worked great, though the texture’s a tad different.
- Do I have to use caramel?
- Not really. Peanut butter, Nutella, or even marshmallow fluff can work. Honestly, it’s pretty forgiving.
- How do I know when it’s done?
- Edges will look set and maybe pull from the pan, but the middle should jiggle a little—like a good brownie. Don’t overbake or it’ll go dry.
- What about leftovers?
- Ha! Good luck. But if you do have some, just microwave for 20 seconds to get the caramel gooey again.
- Can I use homemade cake mix?
- Definitely—if you’ve got the energy. I usually just use a box for speed, but King Arthur’s chocolate cake recipe is a good one if you want to go scratch.
Oh, and a random observation—once I left out the eggs by mistake, and it still turned out…edible. Not my proudest bake, but hey, not a total disaster. Anyway, happy baking! Let me know if your family starts hiding slices too.
Ingredients
- 1 box (15.25 oz) chocolate cake mix
- 1 can (12 oz) evaporated milk
- 1/2 cup (1 stick) unsalted butter, melted
- 1 cup semi-sweet chocolate chips
- 1 cup caramel sauce or caramel bits
- 1/2 cup chopped pecans (optional)
- 1 teaspoon vanilla extract
- Pinch of salt
Instructions
-
1Preheat your oven to 350°F (175°C). Grease a 9×13-inch baking dish.
-
2In a large bowl, combine the chocolate cake mix, evaporated milk, melted butter, vanilla extract, and a pinch of salt. Stir until just combined.
-
3Pour half of the cake batter into the prepared baking dish and spread evenly.
-
4Drizzle the caramel sauce evenly over the batter, then sprinkle with chocolate chips and chopped pecans if using.
-
5Pour the remaining cake batter over the top and gently spread to cover. Bake for 35 minutes, or until the cake is set and a toothpick inserted comes out mostly clean.
-
6Allow to cool slightly before serving. Serve warm for the best gooey texture.
Approximate Information for One Serving
Nutrition Disclaimers
Number of total servings shown is approximate. Actual number of servings will depend on your preferred portion sizes.
Nutritional values shown are general guidelines and reflect information for 1 serving using the ingredients listed, not including any optional ingredients. Actual macros may vary slightly depending on specific brands and types of ingredients used.
To determine the weight of one serving, prepare the recipe as instructed. Weigh the finished recipe, then divide the weight of the finished recipe (not including the weight of the container the food is in) by the desired number of servings. Result will be the weight of one serving.
Did you make this recipe?
Please consider Pinning it!!




