Oh hey, let me tell you about these tartlets…
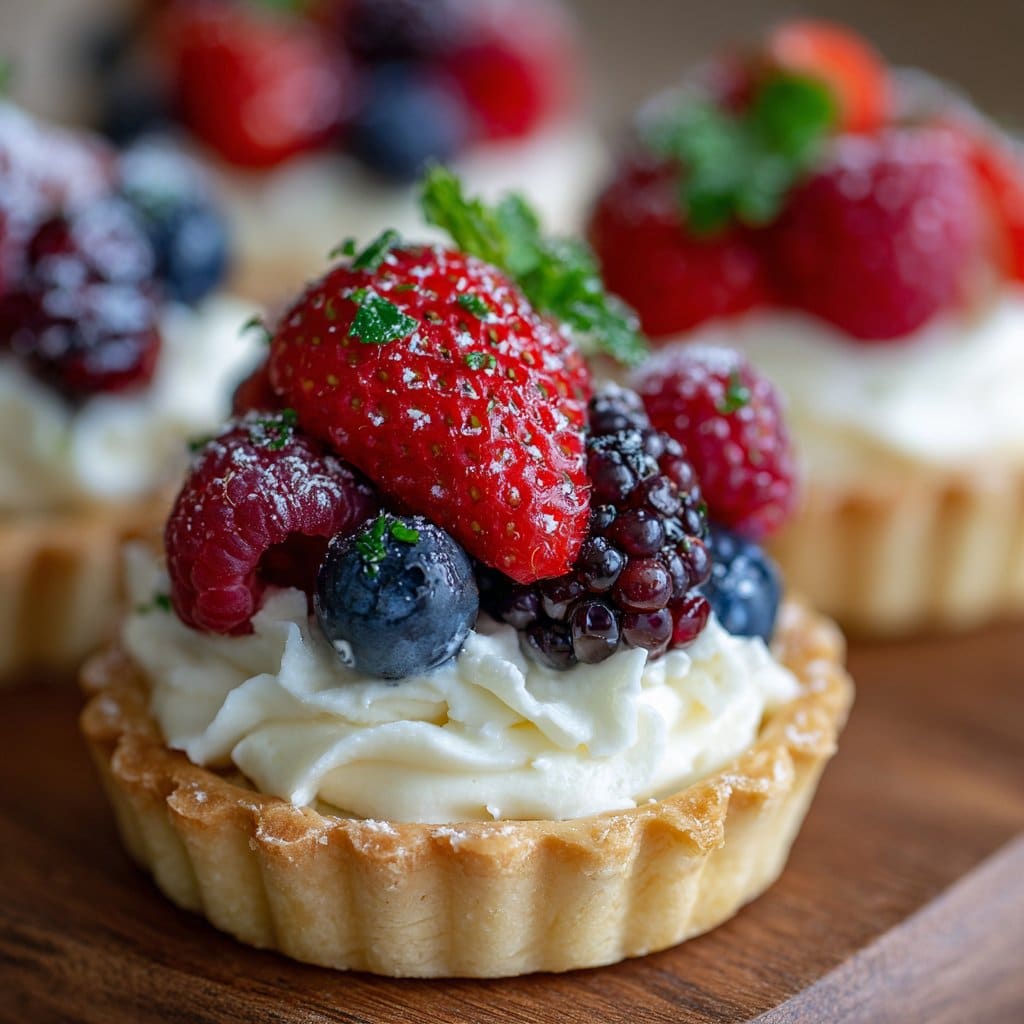
Alright, so Mini Fruit Tartlets with Cream Cheese—these honestly remind me of the time I tried to impress my mother-in-law with a ‘fancy’ dessert. (She’s the kind of woman who can whip up a soufflé without breaking a sweat. Me? Not so much!) Anyway, the first batch came out looking like sad little pancakes, but after a bit of trial and error—and maybe a little panicked texting to my cousin—they became these cute bites of creamy, fruity goodness. Which I now make for pretty much every family thing, even if half the time the kids just pick off the fruit and leave the rest. Typical, right?
Why you’ll probably love these too
I make this when I want something that looks impressive but doesn’t actually take ages. My family goes a bit wild for these at birthdays, especially if I go heavy on the berries (and skip the kiwi—my nephew is convinced they’re ‘spicy,’ go figure). Also, if you’ve ever tried making a whole tart and had the crust crack on you, these individual ones are a lifesaver. Not gonna lie, sometimes the pastry shrinks a bit, but no one’s ever complained. Oh, and they’re nice for when you want something sweet but not too sweet. (If I’m feeling lazy, I’ll just use a pre-made crust, and no one has guessed yet.)
What you’ll need (and what you can get away with)
- 1 package of mini tartlet shells (I usually use the frozen ones from the supermarket, but if you’re feeling adventurous homemade is fun—here’s a good crust recipe)
- 200g (about 7 oz) cream cheese, softened (any brand, really—my grandmother swears by Philadelphia, but store brand works fine)
- 1/4 cup powdered sugar (sometimes I swap to honey if I’m out, which works but tastes different)
- 1 tsp vanilla extract (I’ve used almond extract before… not bad, just different)
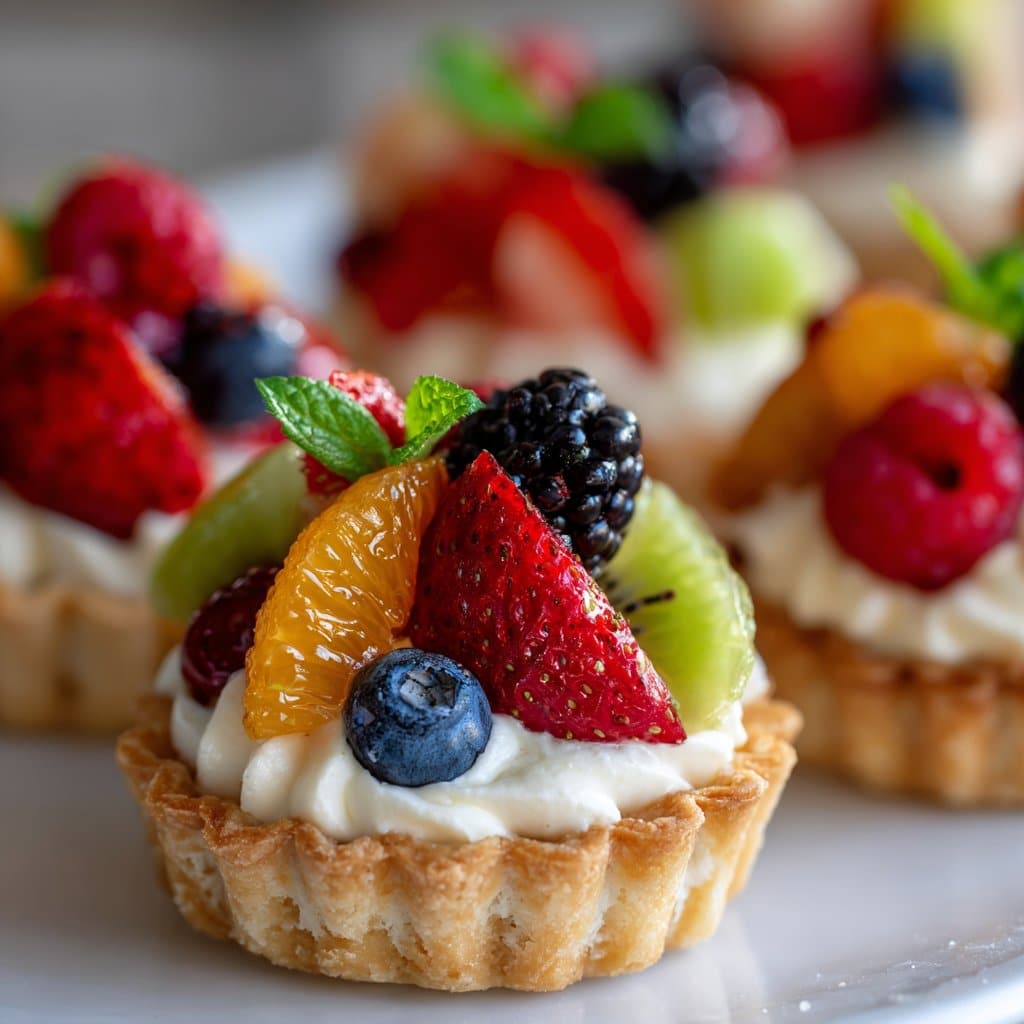
- 1-2 cups fresh fruit—strawberries, blueberries, raspberries, kiwi, mango, whatever you have (apple slices are decent in a pinch but get brown quick)
- Optional: a couple tablespoons apricot jam, for glazing (or honestly, sometimes I skip this and just dust with more powdered sugar)
How I usually throw this together
- Bake the shells. If your shells are frozen, pop them in a 180°C/350°F oven for 10ish minutes until golden. If you’re rolling out your own pastry, well, more power to you—prick the bottoms with a fork so they don’t puff up. Sometimes I forget and just mash them down with a spoon later, which works.
- Mix the filling. In a bowl, beat the cream cheese with powdered sugar and vanilla until smooth and fluffy. I use a hand mixer because I’m lazy, but a whisk works (gets your arms in shape, too). This is the bit where I’m tempted to sneak a spoonful. Actually, I always do.
- Prep your fruit. Wash and cut everything into bite-sized bits. If you’re doing this ahead, toss apple or banana slices with a bit of lemon juice so they don’t turn brown. Unless, like me, you forget and then try to hide the brown ones underneath the pretty berries. No shame!
- Fill the shells. Once the tart shells are cool (don’t rush this or the filling gets runny—ask me how I know), spoon or pipe in the cream cheese mixture. I go for a rustic look, which is code for ‘not very neat.’
- Top with fruit. Arrange the fruit in whatever artistic pattern you fancy. Or just pile it on. Both work.
- Optional glaze. If you want them shiny, warm up a little apricot jam with a splash of water and brush over the fruit. I usually skip this unless I’m feeling extra.
- Chill. Stick the tartlets in the fridge for 30 mins or so to set—unless you’re impatient like my lot, in which case just eat one straight away. Still good.
What I wish I’d known earlier (notes from my kitchen chaos)
- If you overfill the shells, the filling oozes when you bite—just embrace the mess, it’s part of the charm.
- Really, don’t try piping the filling with a plastic sandwich bag unless you’re feeling lucky. It burst on me and, well, let’s just say the dog had a good day.
- Once, I mixed the fruit into the filling instead of layering it on top. It tasted fine but looked a bit like a fruit salad had exploded. I mean, that’s one way to do it?
Variations I’ve tried (plus the one that flopped)
- Lemon zest in the filling—yes, please. Gives a nice zing.
- Chocolate chips instead of fruit: kids loved it, adults were… not convinced.
- Once, I tried a savory version with goat cheese and tomatoes. Would not recommend for dessert, but maybe for brunch?
- Adding crushed pistachios on top. Looks fancy, tastes fancy.
If you don’t have all the gear…
Honestly, I use a muffin tin when I can’t find my tartlet pans. Just press the dough in or stack the frozen shells. If you don’t have a hand mixer, a fork and some elbow grease work. And, if you’re really in a pinch, I’ve made these as ‘deconstructed’ tartlets in little cups. Not quite the same, but still tasty.
How to store these (but I doubt you’ll need to)
Pop the finished tartlets in an airtight container and stick ‘em in the fridge. They’ll last about 2 days before the crust goes a bit soggy. But honestly, in my house they never last more than a day! I mean, I read somewhere you can freeze them, but I always forget and just eat the leftovers for breakfast.
How we serve them at home
These are great at tea time, though my brother just grabs one straight from the fridge for a midnight snack. Sometimes I pile them onto a big plate and dust with way too much powdered sugar (which the kids call “snowing”). Or, if we’re feeling proper, I’ll stick a sprig of mint on top—fancy! (Not that anyone eats the mint, but it looks good for photos.)
Things I learned the hard way (pro tips from my kitchen blunders)
- I once tried rushing the cooling step; the filling melted, and they were a bit sad and floppy. Actually, I find it works better if you chill both the shells and filling before assembling.
- If your cream cheese isn’t soft enough, it goes lumpy. I tried microwaving it and ended up with a weird texture, so now I just leave it out for an hour (or zap it in 5-second bursts; careful).
- Don’t overdo the jam glaze, or you’ll end up with sticky fingers and kids bouncing off the walls.
Some questions people have asked me (and my actual answers)
- Can I use frozen fruit? Sure, but it gets mushy—fresh is better if you can swing it. If you do use frozen, thaw and pat it dry well.
- Can I make these ahead? Yep, but don’t top with fruit until just before serving or it’ll get watery (learned that the hard way!).
- Is there a vegan version? I’ve tried using coconut yogurt instead of cream cheese. It works, but you need to add a little more sugar and set it in the freezer for a bit before serving—otherwise it’s not quite right.
- Do I really need tartlet pans? Not at all! Muffin tins or even mini cupcake liners work. Or just free-form them on a baking tray if you’re feeling rebellious.
- What fruit goes best? I like a mix—berries are always a hit, but mango and kiwi look pretty. Just avoid stuff that goes brown quickly unless you plan to eat them right away.
So, give these mini fruit tartlets with cream cheese a go! They’re kind of addictive, if you ask me. And if you make them, let me know what you tried—I love hearing other people’s twists (mainly so I can steal them for next time).
Ingredients
- 1 1/4 cups all-purpose flour
- 1/2 cup unsalted butter, cold and cubed
- 1/4 cup granulated sugar
- 1/4 teaspoon salt
- 1 large egg yolk
- 8 oz cream cheese, softened
- 1/3 cup powdered sugar
- 1 teaspoon vanilla extract
- 1 cup mixed fresh fruit (strawberries, blueberries, kiwi, etc.)
- 2 tablespoons apricot jam (optional, for glaze)
Instructions
-
1Preheat the oven to 350°F (175°C). In a bowl, combine flour, granulated sugar, and salt. Cut in the cold butter until the mixture resembles coarse crumbs.
-
2Add the egg yolk and mix until the dough comes together. Press the dough evenly into mini tartlet pans. Prick the bottoms with a fork.
-
3Bake the tartlet shells for 12-15 minutes or until lightly golden. Remove from oven and let cool completely.
-
4In a medium bowl, beat the cream cheese, powdered sugar, and vanilla extract until smooth and creamy.
-
5Spoon or pipe the cream cheese filling into the cooled tartlet shells. Top with assorted fresh fruit.
-
6If desired, warm the apricot jam and brush over the fruit for a glossy finish. Serve immediately or chill until ready to serve.
Approximate Information for One Serving
Nutrition Disclaimers
Number of total servings shown is approximate. Actual number of servings will depend on your preferred portion sizes.
Nutritional values shown are general guidelines and reflect information for 1 serving using the ingredients listed, not including any optional ingredients. Actual macros may vary slightly depending on specific brands and types of ingredients used.
To determine the weight of one serving, prepare the recipe as instructed. Weigh the finished recipe, then divide the weight of the finished recipe (not including the weight of the container the food is in) by the desired number of servings. Result will be the weight of one serving.
Did you make this recipe?
Please consider Pinning it!!




