Let’s Talk About No Bake Chocolate Chip Cookie Dough Truffles (And Why I Love Them)
Alright, so you know those nights when you’re craving something sweet but firing up the oven just sounds like too much work? That is exactly when I whip up these Chocolate Chip Cookie Dough Truffles (No Bake). The first time I made them, my sister popped by unexpectedly, and the look on her face when she realized the dough was totally safe to eat (no eggs!)—honestly, worth the whole messy kitchen. If you’ve ever licked the spoon after making cookie dough (and who hasn’t, really?), these truffles are your new best mate. Oh, and once, I dropped half a tray on the floor—five-second rule, right? (Don’t tell my kids.)
Why You’re Going To Love These (Trust Me)
I make these whenever the weather’s too hot to even look at the oven, or when my kids are nagging me for something “fun”—which, coincidentally, is always when I’m out of patience. My family devours them right out of the fridge; I’ve actually caught my husband sneaking one for breakfast. Plus, you can whip them up in under 30 minutes. I used to struggle with rolling them perfectly round (mine looked more like boulders at first, to be honest), but now I just call them “rustic.” If you want to impress someone with minimal effort (and not much washing up), this is the way.
What You’ll Need (With Some Swaps and Cheats)
- 1/2 cup (115g) unsalted butter – soft, not melted. (I’ve used margarine in a pinch, and it’s fine, but the flavor isn’t quite as rich.)
- 3/4 cup (150g) brown sugar – light or dark, honestly, both work. Granulated sugar will do if that’s all you’ve got, but it’s a bit crunchier.
- 1/4 tsp salt – I usually eyeball this, but if you’re a stickler, measure it!
- 1 tsp vanilla extract – My grandmother swore by Nielsen-Massey, but I just use whatever’s on special.
- 2 tbsp milk – Any type (plant-based totally works; I tried oat milk last week, and nobody noticed!)
- 1.25 cups (160g) all-purpose flour – If you’re nervous about raw flour, you can microwave it for a minute or so, just to be safe (see why here).
- 3/4 cup (135g) mini chocolate chips – Or regular, or a chopped-up chocolate bar. Once I used white chocolate chips, and it was fab.
- 200g (about 7oz) chocolate for dipping – Dark, milk, whatever floats your boat. I sometimes melt a bit of coconut oil in to make it shinier.
How To Make Them (Casual Edition)
- Grab a medium bowl. Beat together the butter and brown sugar until it’s creamy. I use a hand mixer because my old stand mixer is a pain to lug out, but a wooden spoon and some elbow grease works, too.
- Toss in the salt, vanilla, and milk. Mix, mix, mix. At this stage, it kinda looks like caramel sludge—don’t panic, this is normal.
- Stir in the flour. It might look a bit like playdough, and if it’s way too crumbly, just add a splash more milk. This is when I usually sneak a taste (quality control, you know?).
- Fold in the chocolate chips. You might have to get in there with your hands if the dough’s being stubborn. It’s a little messy, but that’s half the fun (or so I convince myself every time).
- Scoop out small balls (I go for about a tablespoon each, but really, who’s measuring?), roll them up and pop them on a tray lined with baking paper. If they’re wobbly or oddball-shaped, that’s totally fine.
- Chill the balls in the fridge for at least 20 minutes—sometimes I get impatient and take them out after 10. They just get a bit gooier but still taste amazing.
- Meanwhile, melt your dipping chocolate. I do it in the microwave in 30-second bursts, giving it a stir in between. Or use the stovetop if you’re feeling fancy.
- Grab a fork and dunk each dough ball into the melted chocolate (it gets messy, so have some paper towels handy). Let them drip a bit, then back onto the tray.
- Back in the fridge for another 10-15 minutes until set—or until you can’t wait any longer.
What I Learned Along the Way (AKA Notes From the Trenches)
- If you skip chilling before dipping, they tend to fall apart. Not pretty, but still edible. Actually, kind of like a deconstructed truffle?
- I used to use wax paper, but baking paper is less sticky. If you forget, a bit of oil spray works in a pinch.
- Be careful with the chocolate. Once I overheated it and it seized up into a weird clump. Low and slow is the way to go.
Variations I’ve Tried (The Good, The Bad, and The Crunchy)
- Peanut butter chips instead of chocolate chips – surprisingly good, especially if you’re a Reese’s fan.
- Sprinkling sea salt on top before the chocolate sets – adds a bit of grown-up flair.
- Once I tried rolling them in cocoa powder instead of dipping them—let’s just say, it wasn’t my favorite. Too bitter for my sweet tooth.
- Mini M&Ms instead of chocolate chips—kids went wild, adults slightly less so.
Tools I Use (But Here’s What To Do If You Don’t Have Them)
- Hand mixer – Makes creaming butter much easier. If you don’t have one, a whisk will do with some effort, or even a fork in a pinch (just takes longer, and you get a bit of a workout).
- Baking paper – If you run out, try a silicone mat or just grease the tray with a bit of butter.
- Microwave or stovetop for melting chocolate. If you have neither (camping?!)… I suppose you could try setting the bowl in some hot water, but I wouldn’t really recommend it unless desperate.
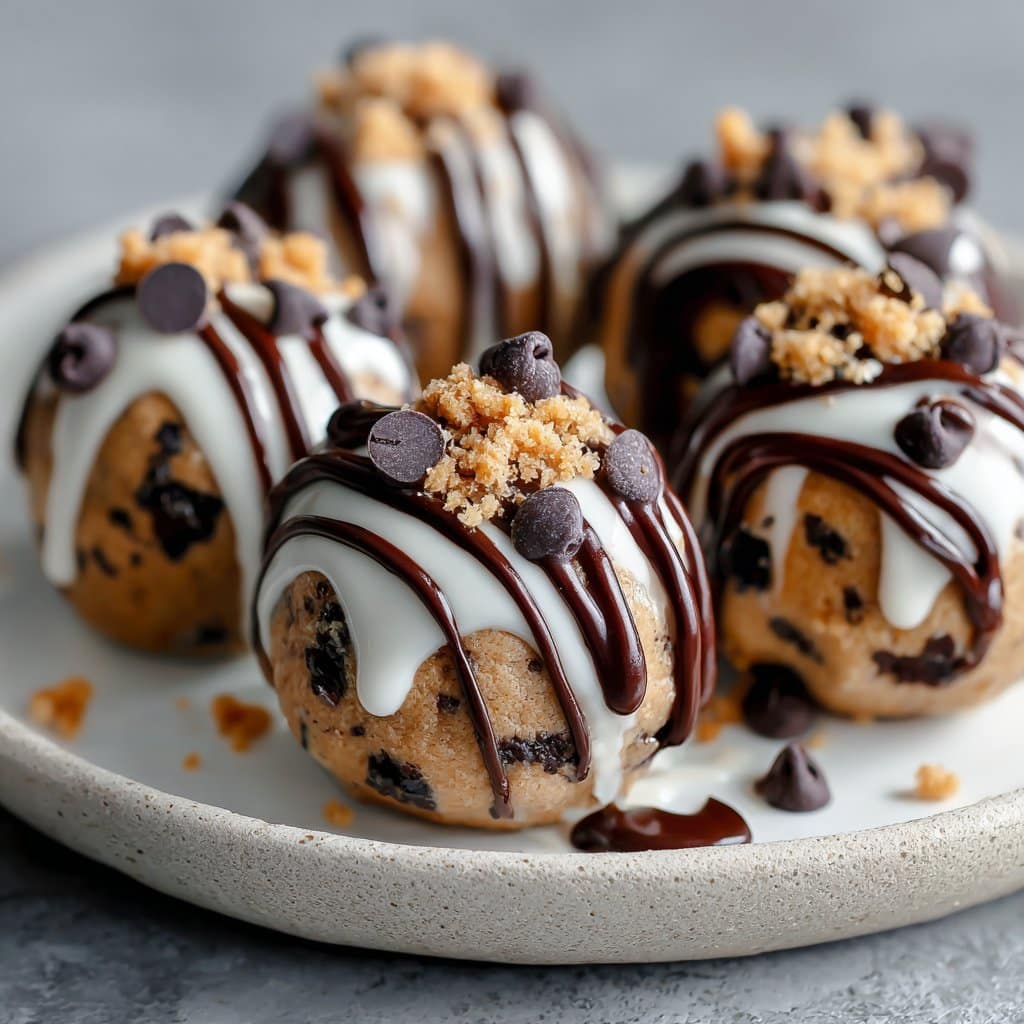
How To Store Them (If They Last That Long)
Pop ‘em in an airtight container in the fridge. They’ll keep for up to a week, but honestly, in my house it never lasts more than a day. I think they taste even better the next day when the flavors have mingled a bit. You can freeze them, too, but they’re best fresh.
How I Serve These (And a Bit About My Family’s Sweet Tooth)
I like to pile them up in a bowl and let everyone grab their own (no fancy plating here). Sometimes, for parties, I stick a cocktail stick in each one—looks posh, but takes about 30 seconds. My kids like them straight from the fridge, but my husband zaps his in the microwave for 5 seconds for that melty-center vibe. Oh, and more than once, I’ve crumbled them over vanilla ice cream. Not traditional, but highly recommended!
The Stuff I Wish I Knew (Or: Pro Tips Learned The Hard Way)
- I once tried to skip the chilling step because I was in a rush. Big mistake—ended up with truffle mush. Don’t be like me.
- Don’t overheat the chocolate. I know I said this before, but seriously, it’s a pain to rescue. If it gets gritty, add a splash of oil and cross your fingers.
- If your dough is too dry, add a bit more milk. Too wet? A spoonful of flour does the trick. It’s not an exact science.
FAQ (Things People Actually Ask Me… Sometimes Late at Night)
- Is this really safe to eat raw? Yep, just make sure you heat-treat your flour if you’re worried—here’s a quick how-to. No eggs, so you’re good.
- Can I use gluten-free flour? I’ve tried it, and it works just fine—texture’s a little different, but nothing major.
- What about vegan? Swap in vegan butter, dairy-free milk, and vegan chocolate. Done!
- Why did my chocolate seize? Oh mate, it happens. Water or too much heat is the culprit. Sometimes, a bit of coconut oil can save it, but not always.
- Can I freeze these? Yep! Just pop them in a bag once set. Thaw in the fridge for best texture.
- Do they really taste like cookie dough? I think so! My friend Jenny swears they’re even better cold, but she’s got a thing for frozen treats.
Just a quick detour before you head off to make these—if you’re as snack-happy as I am, you might love Sally’s edible cookie dough too. Or, if you want to make it a whole baking day, check out King Arthur’s classic cookie recipe. Anyway, let me know how yours turned out—unless you ate the whole batch before they made it to the fridge. No judgment here!
Ingredients
- 1/2 cup (113g) unsalted butter, softened
- 1/2 cup (100g) light brown sugar, packed
- 1/4 cup (50g) granulated sugar
- 2 tablespoons milk
- 1 teaspoon vanilla extract
- 1 1/4 cups (155g) all-purpose flour, heat-treated
- 1/2 teaspoon salt
- 3/4 cup (130g) mini chocolate chips
- 8 oz (225g) semisweet chocolate, for coating
Instructions
-
1In a large bowl, cream together the softened butter, brown sugar, and granulated sugar until light and fluffy.
-
2Mix in the milk and vanilla extract until well combined.
-
3Gradually add the heat-treated flour and salt, mixing until a soft dough forms.
-
4Fold in the mini chocolate chips.
-
5Scoop out tablespoon-sized portions of dough and roll into balls. Place on a parchment-lined baking sheet and freeze for 20 minutes.
-
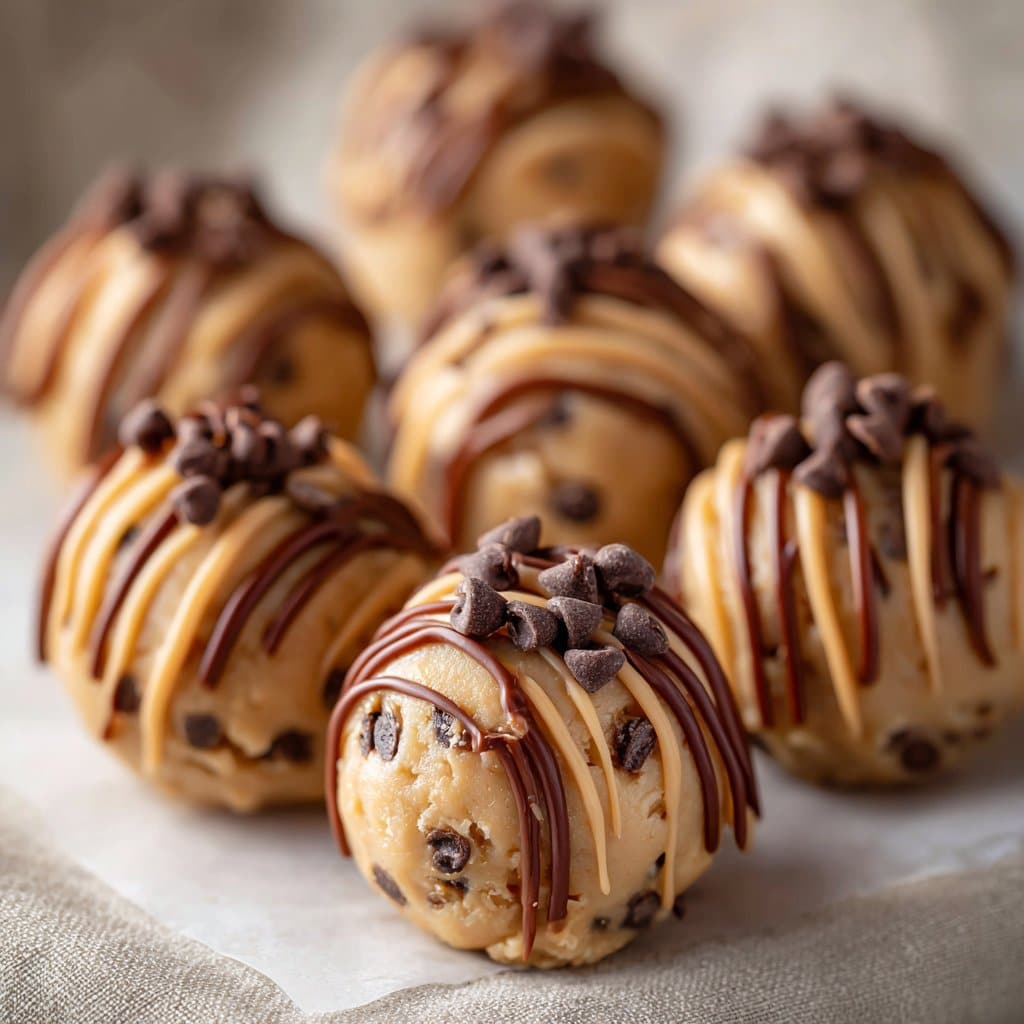
6Melt the semisweet chocolate. Dip each chilled dough ball into the melted chocolate to coat, then return to the baking sheet. Refrigerate until set.
Approximate Information for One Serving
Nutrition Disclaimers
Number of total servings shown is approximate. Actual number of servings will depend on your preferred portion sizes.
Nutritional values shown are general guidelines and reflect information for 1 serving using the ingredients listed, not including any optional ingredients. Actual macros may vary slightly depending on specific brands and types of ingredients used.
To determine the weight of one serving, prepare the recipe as instructed. Weigh the finished recipe, then divide the weight of the finished recipe (not including the weight of the container the food is in) by the desired number of servings. Result will be the weight of one serving.
Did you make this recipe?
Please consider Pinning it!!




