Let Me Tell You About Pumpkin Delight (and My Mild Obsession)
Okay, so you know those recipes that sneak up on you and suddenly they’re just part of your family lore? That’s this Pumpkin Delight with Graham Cracker Crust for me. I first made it one blustery October when my cousin dropped by unannounced (as per usual) and I had, like, half a pantry to work with. This dessert totally saved my bacon that day—and now, honestly, I can’t imagine Thanksgiving without it. Or March, for that matter. Sometimes I just make it for no reason except the can of pumpkin staring at me accusingly from the shelf.
Also: Do you ever find yourself justifying dessert for breakfast? Because…I have, more than once, with this one.
Why You’ll Probably Fall for This Too
I make this when: I want something easy but not boring. My family goes a bit mad for it because it’s creamy and pumpkiny but not overly sweet (and yes, that’s a word in my kitchen). I used to dread making crusts but honestly, the graham cracker base is so forgiving—it’s basically impossible to mess up unless you forget to melt the butter (not that I’ve ever done that… okay, maybe once).
Sometimes I’ll just make a double batch and freeze half (though, let’s be real, it never lasts that long).
The Stuff You’ll Need (Give or Take)
- 1 1/2 cups graham cracker crumbs (or, if you’re in a pinch, gingersnaps work—my friend Julie swears by them, and she’s not wrong)
- 1/3 cup melted butter (I’ve used coconut oil once and it was fine, if a bit coconutty)
- 1/4 cup sugar (granulated, but brown sugar gives it this toffee vibe)
- 1 package (8oz) cream cheese, softened (the low-fat stuff works if you must, but it’s less luscious)
- 1 cup powdered sugar (not granulated, trust me—I tried it, and it was… gritty)
- 1 cup canned pumpkin puree (not pumpkin pie filling!)
- 1 package (3.4 oz) instant vanilla pudding mix (or French vanilla, if you’re feeling fancy)
- 1/2 cup cold milk (any kind—actually, almond milk once made it a little too runny, so maybe stick with dairy if you can)
- 1 tsp pumpkin pie spice (or just toss in some cinnamon and nutmeg if you’re out)
- 1 tub (8 oz) whipped topping, thawed (homemade whipped cream if you’re up for it, but tub works fine)
Alright, Here’s How I Do It (and Sometimes Don’t)
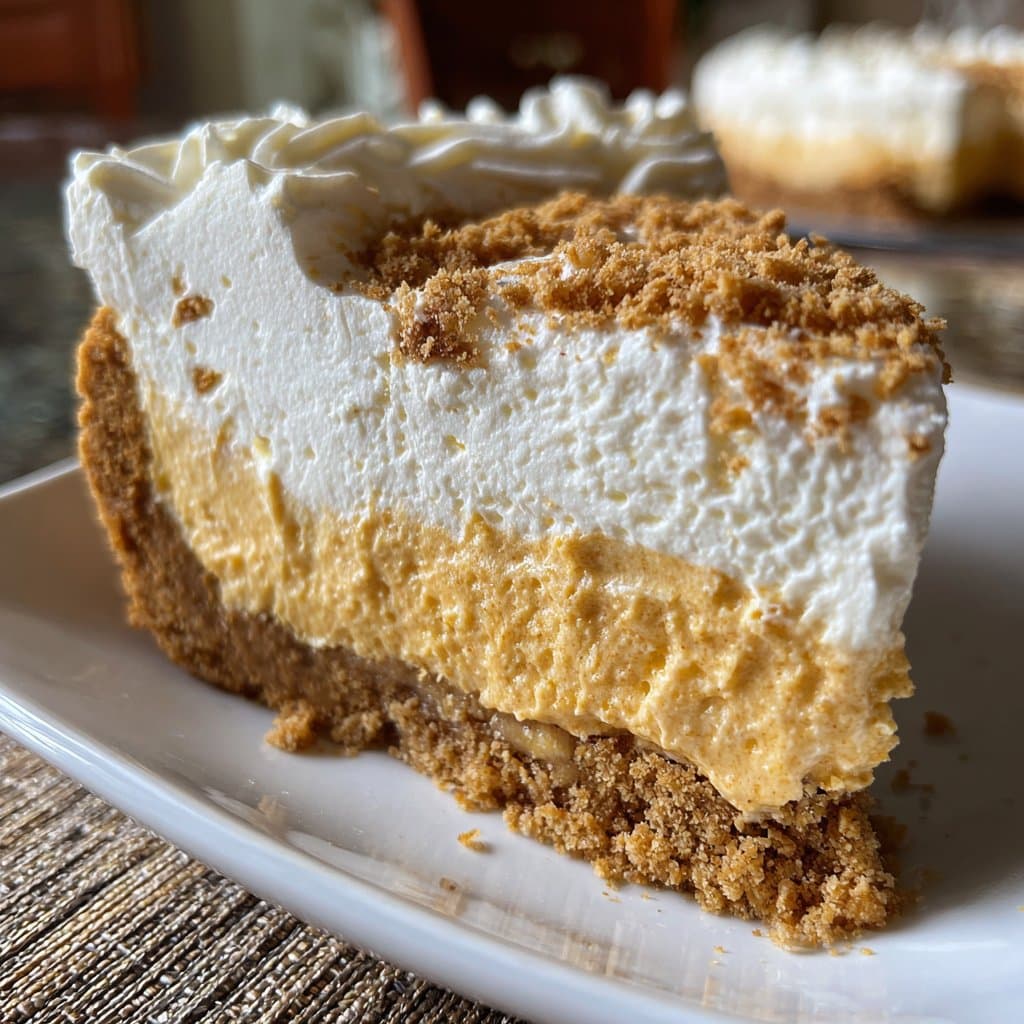
- Mix the crust: Stir the graham cracker crumbs, melted butter, and sugar in a bowl. Get in there with your hands if you like—I tend to, because honestly, it’s a mess otherwise. Press this into the bottom of a 9×9-inch pan. You want it packed pretty tight. If you have a flat-bottomed glass, that’s perfect. If not, your palm works. Bake at 350°F for 10 minutes, or skip the bake if you’re short on time (it’s a bit softer that way, but nobody’s ever complained).
- Cream cheese layer: Beat the cream cheese and powdered sugar together until it’s smooth. This is where I usually sneak a taste because—well, it’s basically cheesecake at this point. Spread it gently over the cooled crust.
- Pumpkin layer: In a separate (ish) bowl, whisk together pumpkin puree, pudding mix, milk, and pumpkin pie spice. It’ll look weird for a bit—don’t panic, it always comes together. Spread this over the cream cheese layer.
- Top it off: Dollop the whipped topping over everything and spread it out. If you want to get a little fancy, sprinkle some extra graham cracker crumbs or cinnamon on top. Or don’t. Up to you!
- Chill: Stick it in the fridge for at least 3 hours. Overnight is even better (I think it tastes better the next day, but my family rarely lets it sit that long).
Notes from My Many (MANY) Attempts
- If your cream cheese isn’t soft enough, just zap it in the microwave for 10-15 seconds. Not more, or it’ll go weird and soupy (ask me how I know).
- Don’t worry if your layers mix a little. It’s a rustic dessert, and honestly, nobody’s grading you.
- If you decide to use real whipped cream instead of the tub stuff, just make sure it’s stiff enough to spread or it’ll kind of melt in and disappear (still tastes great though).
Things I’ve Tried (and a Fail or Two)
- Once, I added a splash of bourbon to the pumpkin layer. Tasted like Thanksgiving and a little bit like rebellion. Strongly recommend if you’re into that.
- I tried swapping the graham crackers for digestive biscuits once. Not bad, but not… quite right. Sort of bland, honestly.
- I wouldn’t try it with chocolate pudding. I thought it’d be amazing, but nope. Stick to vanilla or French vanilla.
What You’ll Need in the Kitchen (or Not)
- Mixing bowls (or just wash the same one between steps, if you’re not looking to do a mountain of dishes)
- Hand mixer (but you can do it with a whisk, just takes a bit of elbow grease—don’t skip arm day!)
- 9×9-inch baking dish (or an 8×8, just a smidge thicker layers—no biggie)
- Spatula or the back of a spoon
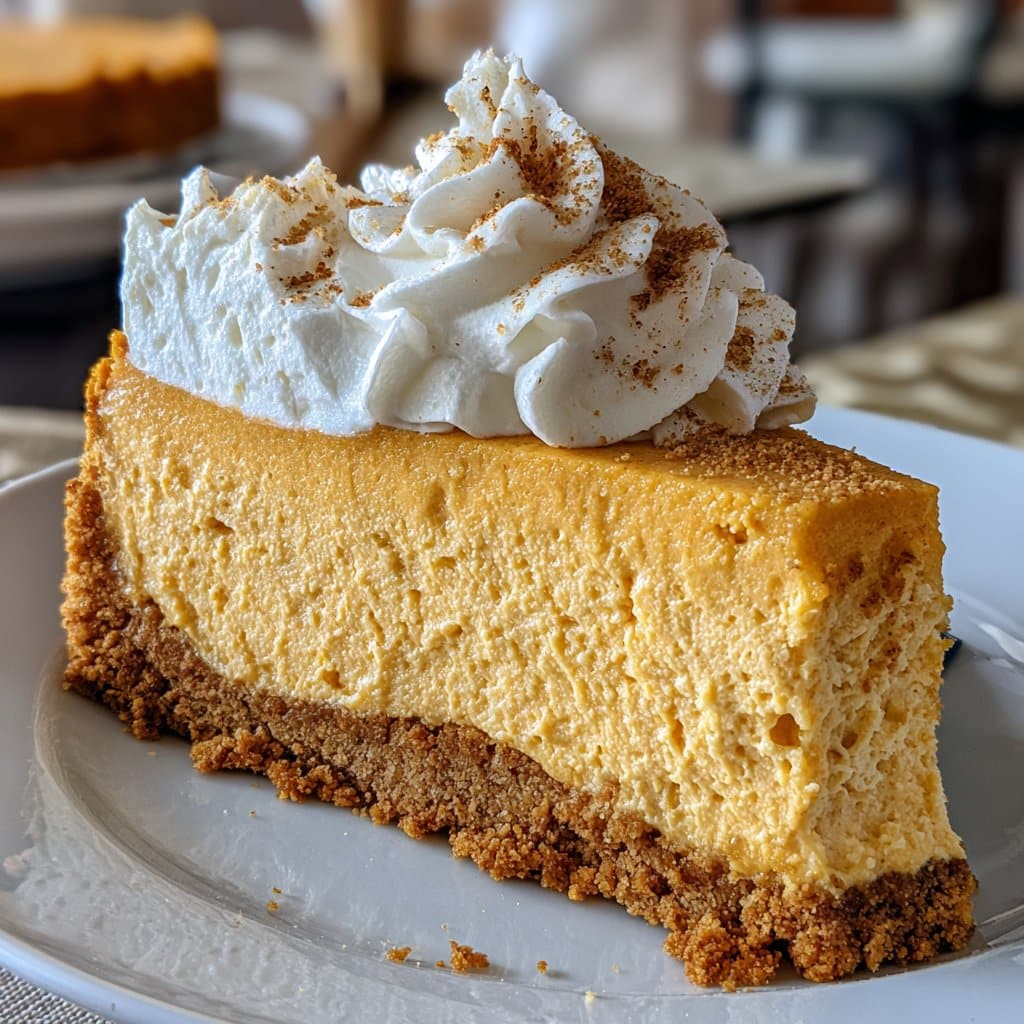
How to Store This (Assuming There’s Any Left)
Pop it in the fridge covered with foil or plastic wrap. It’ll keep for 2-3 days, though honestly, in my house it never lasts more than a day! I tried freezing it once; wasn’t a fan—the texture got a bit odd. But if you’re less picky, give it a shot!
How We Serve It (and a Bit of a Tangent)
I love it straight out of the fridge, but my aunt likes to let it sit out for 10 minutes—she says the flavors “wake up” a bit (not sure if I buy that, but it’s her quirk). At Thanksgiving, we sprinkle chopped pecans on top. Oh, and once my nephew tried it with caramel sauce—way over the top, but he loved it. Also, why do kids always want rainbow sprinkles on everything?
Stuff I Learned the Hard Way
- Rushing the chilling step? Don’t. I tried to serve it after an hour once and, well, let’s just say it’s better when it’s cold and set. Patience is a virtue, apparently.
- Don’t bother with the food processor for crumbs if you’re tired. A ziptop bag and a rolling pin work (or a wine bottle, if you’re feeling wild).
Your Questions, Answered (or at Least Attempted)
- Can I make this ahead? Yup, and actually, I find it works better if you do. The layers set up nice and firm overnight.
- Is it super sweet? Nah, not really—it’s got a nice balance, but if you’re worried, just cut back the sugar in the crust. Or add more cream cheese. Go wild.
- What if I only have pumpkin pie filling? Hm. I’d probably skip the extra sugar and pumpkin pie spice, and maybe taste as you go. It’ll be different, but not a disaster.
- Do I have to bake the crust? Honestly, not really. I like it better baked, but sometimes I just… don’t bother, especially in the summer when it’s too hot to turn on the oven.
- Where do you get your pumpkin puree? Usually from the supermarket, but if you want to make your own, I found a great guide on Serious Eats. Or you can check out King Arthur Baking for their take.
- Why is my pumpkin layer runny? Probably too much milk (been there), or maybe the whipped topping wasn’t thawed. Let it chill longer. It usually sets up.
Anyway, if you try it, let me know how yours turns out! Or if you find a swap that’s even better, please spill. I’m always up for a new twist (except chocolate pudding—never again).
Ingredients
- 1 1/2 cups graham cracker crumbs
- 1/3 cup unsalted butter, melted
- 1/4 cup granulated sugar
- 1 package (8 oz) cream cheese, softened
- 1 cup powdered sugar
- 1 can (15 oz) pumpkin puree
- 1 package (3.4 oz) instant vanilla pudding mix
- 1 teaspoon pumpkin pie spice
- 1 1/2 cups cold milk
- 2 cups whipped topping, thawed
Instructions
-
1Preheat oven to 350°F (175°C). In a medium bowl, combine graham cracker crumbs, melted butter, and granulated sugar. Press mixture firmly into the bottom of a 9×13-inch baking dish to form the crust.
-
2Bake the crust for 10 minutes, then remove from oven and let cool completely.
-
3In a large bowl, beat cream cheese and powdered sugar until smooth. Spread evenly over the cooled crust.
-
4In another bowl, whisk together pumpkin puree, instant vanilla pudding mix, pumpkin pie spice, and cold milk until thickened. Spread the pumpkin mixture over the cream cheese layer.
-
5Top with whipped topping, spreading evenly. Refrigerate for at least 2 hours before serving for best results.
Approximate Information for One Serving
Nutrition Disclaimers
Number of total servings shown is approximate. Actual number of servings will depend on your preferred portion sizes.
Nutritional values shown are general guidelines and reflect information for 1 serving using the ingredients listed, not including any optional ingredients. Actual macros may vary slightly depending on specific brands and types of ingredients used.
To determine the weight of one serving, prepare the recipe as instructed. Weigh the finished recipe, then divide the weight of the finished recipe (not including the weight of the container the food is in) by the desired number of servings. Result will be the weight of one serving.
Did you make this recipe?
Please consider Pinning it!!




