Hey, welcome into my slightly chaotic kitchen! So here’s the thing—whenever I make these Cookie Cutter Sprinkle Chocolate Bars, I can’t help but remember the first time I tried them with my youngest (who’d probably eat sprinkles form a shoe if I let her). Half the sprinkles landed on the floor, chocolate everywhere, but honestly? We had a blast and ended up with some tasty, weirdly-shaped bars. If you love a recipe with room for imperfection and a dash of nostalgia, you’re absolutely in for a treat. (Just keep a broom handy.)
Why You’ll Love These Bars (or Just Like Them, Maybe)
I make these when school’s out and the kids want to play chef. My family goes crazy for these because you can personalize them with just about anything—you want extra sprinkles, go wild. Curious about white chocolate? Eh, why not! Honestly, I sometimes make a batch just to have an excuse to stick my finger in the melted chocolate (don’t judge unless you’ve tried it). Also, let’s be honest, sometimes you just need something that looks way more impressive than it is hard. Oh, also, if you’ve ever tried to cut perfectly-shaped bars and got sad blobs instead, join the club. It’s part of the charm!
Gathering the Ingredients (and Substitute Shenanigans)
- 300g good chocolate (milk or dark—I swap half for white chocolate sometimes; my gran swore by Cadbury, but I’ll say, Lidl’s works a charm too)
- 2 tbsp butter (or coconut oil—if I’m feeling tropical, which is rare, but still)
- 1 cup sprinkles, any shape or colour (jimmies, nonpareils, stars, whatever—you do you; the more mismatch, the better!)
- Shortbread cookies (about 8, crushed up) or graham crackers; to be honest, I’ve even used digestive biscuits when I ran out
- Pinch sea salt (skip if you can’t find it; it’s not a drama)
- 1 tsp vanilla extract (optional, but it does give a nice warm note—sometimes I forget, and nobody notices)
Let’s Make Some Chocolate Bars!
- Line a baking tray—or honestly, whatever shallow tray you have—with parchment paper. Around 9×13 inches is ideal (well, ideal-ish).
- Melt that chocolate and butter together. You can use a microwave (short 30-second bursts, stirring each time) or go old-school and use a double boiler—just a heatproof bowl over gently simmering water. I actually find it works better if you chop the chocolate up first; melts faster, though you’ll survive if you forget.
- Stir in a pinch of sea salt and the vanilla if you’re using it. Smells fantastic right about now.
- Toss in your crushed cookies. I like leaving them a bit chunky—no one’s coming over to check, promise. Mix well until everything’s coated.
- Pour this mix into your lined tray, spreading it out as evenly (ish) as you can. Here’s where I usually sneak a taste. Whoops.
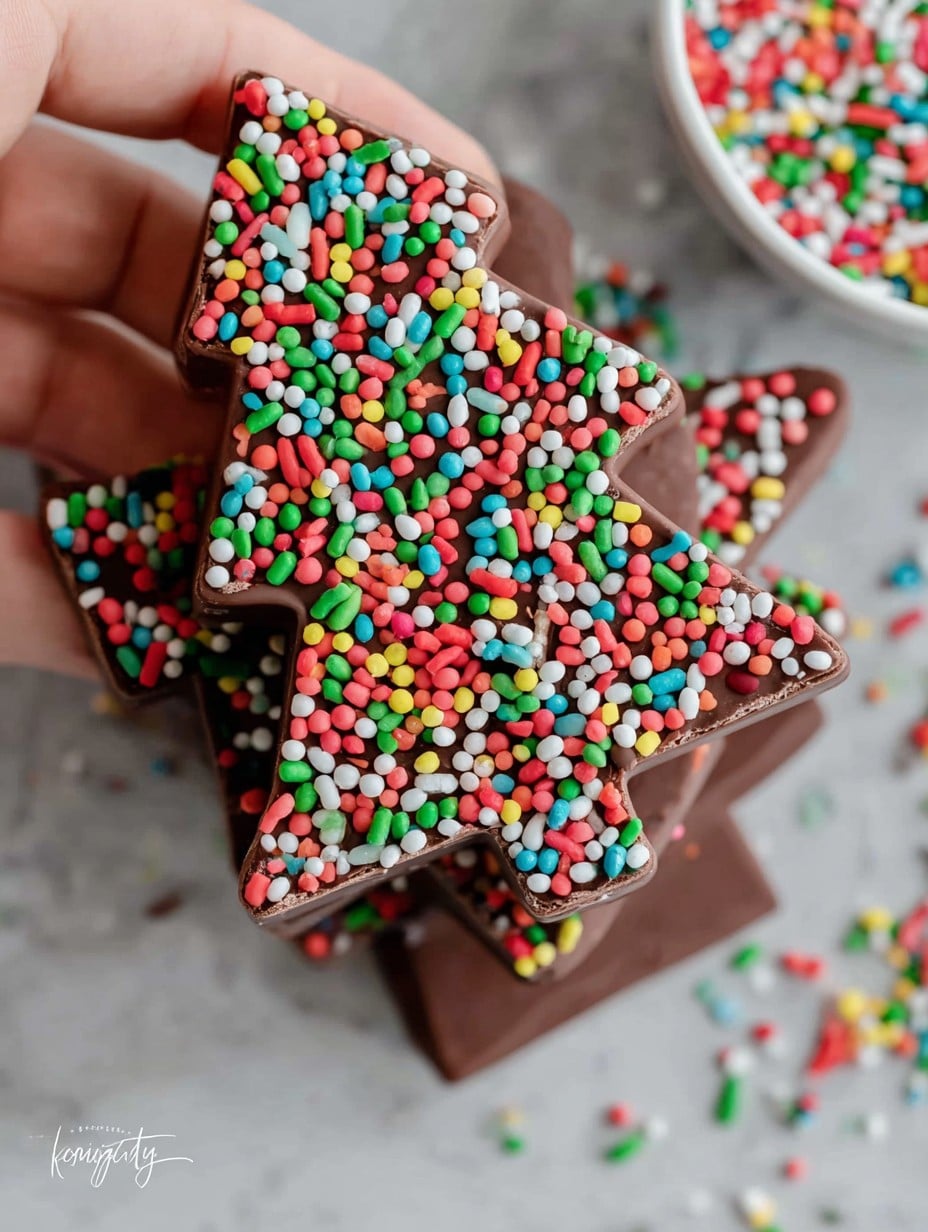
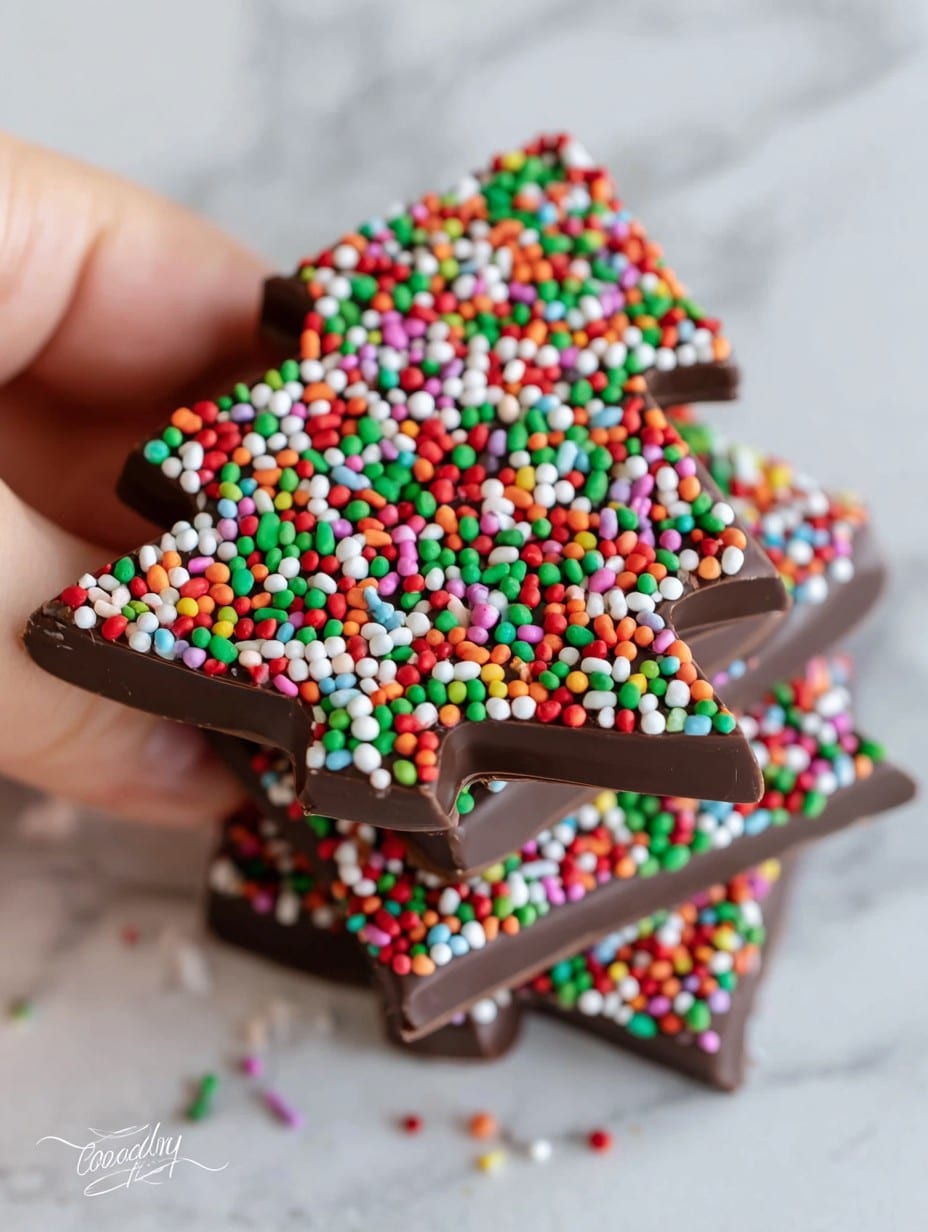
- Now: the fun bit. Scatter your sprinkles all over. Don’t be shy; go overboard. Press lightly so they stick. If you want to use cookie cutters, press them into the chocolate now (don’t lift—leave them in so the chocolate sets inside them).
- Pop the whole tray in the fridge and leave it for at least 1 hour (honestly, longer is fine; I sometimes forget about it till the next day and it’s always extra snappy then).
- Once everything’s firm, gently remove the cookie cutters and break up or cut into bars. Odd edges are for the chef’s treat (that’s the rule here—no negotiation).
Notes from the School of Experience
- If the chocolate looks a bit separated or grainy, don’t panic; sometimes cold or a splash of water gets in—just keep stirring over low heat and it usually sorts itself out. Or just roll with it; it tastes fine.
- I used to get precious about the sprinkles melting, but honestly they’re just as tasty slightly melty.
- Once, I tried using butter cookies because that’s all I had—super tasty, but a bit sweet. On second thought, maybe stick to plainer cookies if you’re not a sugar monster.
Variations and “Brilliant” Experiments
- I sometimes add shredded coconut for a bit of texture. It’s a win.
- Mini marshmallows tossed in with the cookies is a thing of beauty (but messy).
- One time, I tried mixing in raisins—nope, not my thing. But maybe you’ll love it?
- I saw someone do this with cereal (like Froot Loops) and well… it was very colourful! Maybe more for the kids; tasted sort of odd to me.
Equipment You’ll Need (or Not?)
- Baking tray (but really, any flat-ish dish)
- Parchment or wax paper
- Microwave or double boiler—if neither, set a heatproof bowl over a pot with some simmering water, but watch that you don’t fill the pot too much or you’ll end up with water in your chocolate. (Has happened here. Not ideal.)
- Cookie cutters—though if you’re cutter-less, just score the chocolate with a knife while it’s soft, or go full anarchist and break it up once solid
Storing Your Delicious Mess
Keep in an airtight container in the fridge. In theory, they’ll last a week. In practice? They’re basically gone by the next morning, especially if you have kids or snacky roommates. If they do survive, check out these chocolate storage tips—I use them if I’m pretending to be an adult about it.
How I Like to Serve ‘Em
Big plate, piled high, right smack in the middle of the table. I think it’s best with a cup of milky coffee or a tall glass of cold milk. (Tea is fine too if you’re that way inclined.) Sometimes, around Christmas, we go full tinsel and serve on my gran’s old platter with extra sprinkles on top. Because why not?
Pro Tips from My Not-So-Perfect Kitchen
- Don’t rush the setting time! I once tried to unmold them early—they just sort of melted into my hands. Wasn’t pretty.
- Let the kids do the sprinkling, but maybe corral them to the tray; otherwise, you’ll be finding sprinkles in your shoes ‘til next week (seriously, this happened last April).
- If you must cut, warm your knife in hot water—makes for cleaner edges, in theory at least, though I still end up with a wonky square or two.
Some Actual Questions Friends Have Asked Me
- Can I use white chocolate or all dark?
- Yep! Actually, I find white chocolate a bit sweeter so maybe go half-and-half. Dark is great if that’s your thing. Ooh, try ruby chocolate if you’re feeling fancy—I grabbed some once from Worldwide Chocolate for a birthday.
- How do I keep my chocolate from seizing?
- Don’t let any water into the mix and go low and slow on the heat. Even so, honestly, sometimes it just happens—just add a tiny bit of vegetable oil and keep stirring. Works…most of the time.
- Why do my sprinkles sink?
- You might be adding them when the chocolate’s still a bit too warm. Let it cool a minute, then add—you’ll see they stay mostly put.
- Do I really need cookie cutters?
- Not at all. Use what you’ve got, or just crack into shards. Rustic, but still tasty.
- Can I freeze them?
- Oh, sure. Layer with parchment and freeze. But fair warning, sprinkles sometimes go a bit weird in the freezer—still good, just less pretty.
And here’s my random aside—I once made these bars at 2am for a bake sale and accidentally fell asleep with chocolate on my sleeve. Woke up smelling sweet and deeply confused. Anyway, if you want some more cozy dessert ideas, check out Sally’s Baking Addiction (her brownies are killer!).
That’s about it—let me know if you try them! Or just swing by for a nibble, we’re always making extra. And if anyone asks, yes, I meant to make them uneven.
Ingredients
- 2 cups semi-sweet chocolate chips
- 1 tablespoon coconut oil
- 1/2 cup rainbow sprinkles
- 1/2 cup mini marshmallows
- 1/4 cup chopped nuts (optional)
- 1/2 cup crushed graham crackers
- 1/4 teaspoon sea salt
Instructions
-
1Line a baking sheet with parchment paper and set out assorted cookie cutters.
-
2Melt the chocolate chips and coconut oil together in a microwave-safe bowl in 30-second increments, stirring until smooth.
-
3Mix in the mini marshmallows, crushed graham crackers, chopped nuts (if using), and half the rainbow sprinkles.
-
4Spread the chocolate mixture evenly into the cookie cutters placed on the prepared baking sheet.
-
5Sprinkle the remaining rainbow sprinkles and sea salt on top. Gently press down to set.
-
6Refrigerate for at least 10 minutes or until set. Gently remove the chocolate bars from the cookie cutters and serve.
Approximate Information for One Serving
Nutrition Disclaimers
Number of total servings shown is approximate. Actual number of servings will depend on your preferred portion sizes.
Nutritional values shown are general guidelines and reflect information for 1 serving using the ingredients listed, not including any optional ingredients. Actual macros may vary slightly depending on specific brands and types of ingredients used.
To determine the weight of one serving, prepare the recipe as instructed. Weigh the finished recipe, then divide the weight of the finished recipe (not including the weight of the container the food is in) by the desired number of servings. Result will be the weight of one serving.
Did you make this recipe?
Please consider Pinning it!!




