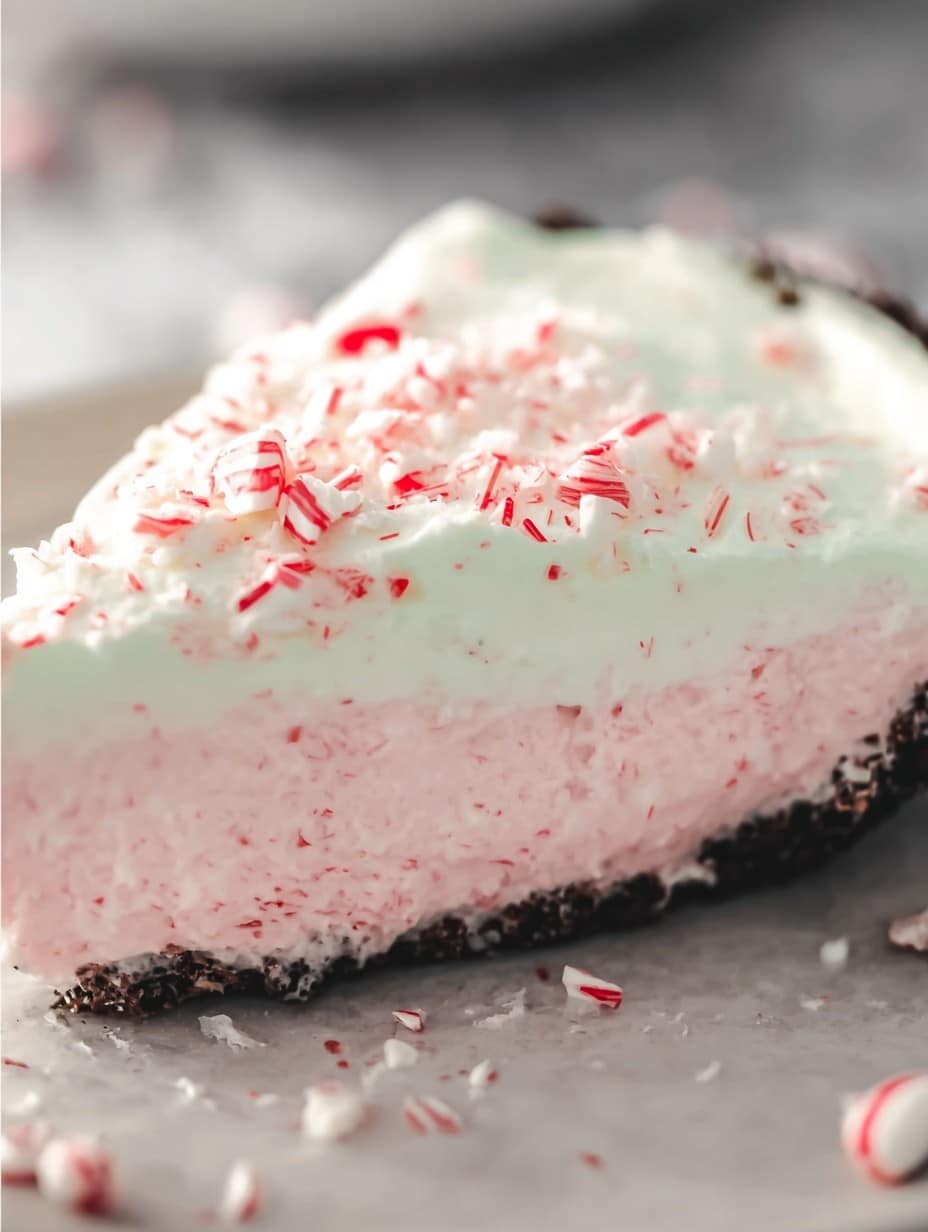
Alright, friend, let me tell you about my relationship with peppermint pie. First time I had it, I was about ten, and my aunt brought this bright pink, slightly lopsided-looking pie to Christmas. Nobody expected much, honestly. But, one bite and everyone changed their tune! I guess I’ve been chasing that unforgettable cool-creamy-minty combo ever since. Plus, when peppermint candies are cheap after Christmas and you see me filling my trolley—well, you know what I’m up to.
Why I Keep Making This (Even When it Makes a Mess)
I pull out this recipe when it’s freezing outside, or even when it’s the middle of July and I’m just craving that minty kick. My family loses their marbles for it—my daughter once tried to eat a whole slice for breakfast, which… I pretended not to notice. And if I’m being totally honest, the pink color makes it look way fancier than it is (especially if you hide the cracks with whipped cream). Plus, it’s the one dessert my cousin—who claims not to like desserts—will ask for seconds of. Not that it’s a competition, but, you know, I did win dessert last Christmas. Sometimes, the melted chocolate for the crust tries to escape everywhere, and yes, I have ruined at least two shirts—but still worth it.
What You’ll Need (And What I Grab When I’m in a Hurry)
- Oreos (about 20 or so) – If I’m out, I just use any chocolate cookie I have. My grandmother always insisted on the Nabisco ones, but whatever is on sale works fine, honestly.
- 5 tablespoons melted butter – Sometimes I only have margarine; it’s OK, just don’t tell the butter purists.
- 1 cup heavy cream (or, full disclosure, I’ve used the canned stuff in a pinch. It’s a bit sweeter.)
- 8 ounces cream cheese (soft, so leave it on the bench for a bit)
- 3/4 cup powdered sugar – if you run out, normal sugar blitzed in the blender saves the day.
- 1/2 teaspoon peppermint extract (go easy, this stuff is strong; I once overdid it and it tasted like toothpaste for weeks)
- Red gel food coloring – totally optional, but it’s much prettier pink. My sister never bothers and just calls it “rustic.”
- 3/4 cup crushed peppermint candies or canes (plus extra for sprinkling on top. Warning: crushing them is surprisingly good stress relief.)
- Extra whipped cream for topping (if you want to go completely overboard, which I usually do)
How I Throw This Peppermint Pie Together
- Crush your cookies—either in a food processor or you can whack them in a zip-top bag with a rolling pin (or, confession, a wine bottle has saved me more than once). Mix with the melted butter until it sort of stays together—think sandcastle sand.
- Press this into a pie dish. Sometimes I get fancy and use the back of a spoon, but mostly I just use my hands. Pop the crust in the freezer for a bit while you work on the filling.
- Whip your heavy cream until it holds peaks. Don’t overthink it—it should look fluffy, not buttery. Set aside somewhere cool (or just shove it in the fridge for a sec).
- In another bowl, beat the cream cheese and powdered sugar together until smooth. This is where I usually sneak a taste, just to check it’s sweet enough. Mix in peppermint extract and a smidge of food coloring until it’s the pink you like. Or not, live dangerously.
- Fold the whipped cream gently into the cream cheese mixture until blended. No need to be too precious, but don’t beat all the air out, either!
- Stir in the crushed peppermint candies. It might look a little weird—don’t panic, it always does at this point.
- Spoon everything into your chilled crust. Smooth the top with whatever tool is cleanest. Top with more whipped cream and a handful of extra crushed candy, if you’re feeling fancy—and I usually am.
- Chill at least 4 hours. Actually, I think it’s even better overnight, though I admit sometimes impatience gets the better of me.
Things I’ve Learned (Sometimes the Hard Way)
- If your crust is too crumbly, try a touch more butter. If it’s swimming, add a few more crushed cookies—trust me, been there, done that.
- Peppermint extract is powerfully minty. Start with less; you can add more but can’t take it out (I might have needed mouthwash once).
- The pie will firm up more the longer you chill it. If you slice too soon, it’ll ooze everywhere. Still tasty, though!
- If you lose your rolling pin or it’s gone walkabout, a heavy mug does the job—for crushing cookies, not for rolling dough here.
I Tried These Variations, Sometimes With Laughable Results
So, I’ve swapped in gluten-free chocolate cookies and non-dairy cream—turns out pretty well for my lactose-intolerant mate, though the filling sets a little softer (just freeze a tad longer). Once, I added mini chocolate chips. Big win. But, and hear me out, crushed spearmint candies? Just not right. My husband called it “toothpaste pie” and, well, he’s not wrong. If you want to use pre-made Oreo pie crust from the store, do it—nobody cares, least of all me.
Don’t Worry About Equipment (Improvise Away!)
If you’ve got a food processor, awesome, but thumping cookies in a bag works too. No electric mixer? I’ve done it with a whisk and some elbow grease—though, by the end, my arm was ready to drop off (might have gotten a bicep workout, though). Forgot a pie dish? Line a round cake tin with foil and just lift it out after chilling—easy as pie, ha.
Keeping Leftovers (If That Ever Happens)
Cover leftovers and stick in the fridge; it’ll stay decent for up to 3 days. But honestly, in my house it never lasts more than a day! One time, I tried freezing it—totally changes the texture, but makes it more like peppermint ice cream cake. Not bad at all.
How I Like to Serve It
Usually, I throw a few extra candies on top for crunch. My personal treat is to drizzle hot fudge over the slice (a proper winter warmer, if you ask me). For parties, I cut little squares so people feel less guilty about taking seconds. My uncle Ron likes his with a cup of strong black coffee, which isn’t traditional exactly, but it works.
Lessons I Learned The Hard Way (So You Don’t Have To)
- I once tried skipping the chilling step and ended up with peppermint goo pie. Now, I always let it sit the full 4 hours, even if the smell makes me want to dig in early.
- Don’t use too much extract—it’ll haunt you. I learned that by accident, and so did my taste buds.
- Chill the crust while you’re making the filling. Keeps it firmer, and (I think) keeps the cookies a bit crunchier.
Your Peppermint Pie Questions, Answered
- Can I make peppermint pie ahead of time?
Absolutely! I actually think it tastes better the next day. Just keep it covered in the fridge; the flavors get friendlier. - Can I use Cool Whip or something instead of whipping cream?
Yeah, I’ve done it more than once. The pie ends up lighter and sweeter, but it totally works. Some folks even prefer it—my neighbor swears by it for ease. - My filling looks weird, kind of grainy?
Don’t worry, it’s those crushed candies. They melt a bit as it sits. If it’s really lumpy, maybe the cream cheese was a bit too cold; try beating it more next time. Or just embrace it—it tastes the same. - Can I freeze this pie?
You can, but it’ll be harder and more like an ice cream pie. Not a bad thing! Just let it thaw a little before slicing—otherwise, get the chisel ready. - Help, my crust falls apart. Is it ruined?
Nope! I usually just patch with extra whipped cream, or call it deconstructed. People eat it regardless; trust me on that one.
Oh, before I forget—a little digression—did you see that viral video of the guy balancing three stacks of Oreos while making pie? Don’t try it. Makes a right mess. (And trust me, crumbs in the keyboard are more trouble than they’re worth.)
If you want to see some more tips on pie crusts, I got actual help watching King Arthur’s pie crust video after about my third disaster.
Anyway! Enjoy, and let me know if you come up with any wild new versions (unless they use parsley—learned that one the hard way).
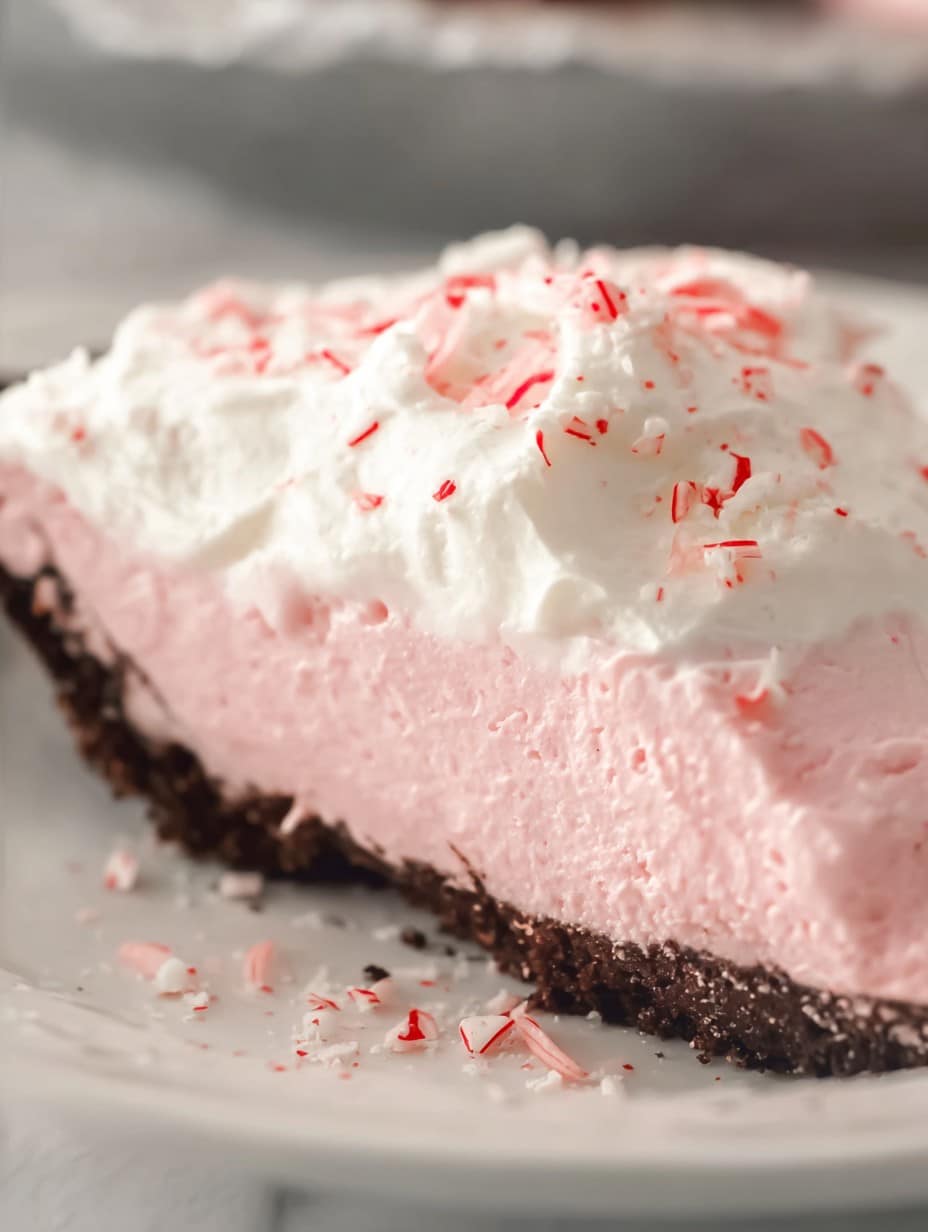
Ingredients
- 1 chocolate cookie pie crust (9-inch)
- 1 1/2 cups heavy whipping cream
- 1/2 cup powdered sugar
- 1 (8 oz) block cream cheese, softened
- 1/2 teaspoon pure peppermint extract
- 2-3 drops red food coloring
- 1 cup crushed peppermint candies plus extra for topping
- 1/2 cup mini chocolate chips
Instructions
-
1In a large mixing bowl, beat the heavy whipping cream and powdered sugar until stiff peaks form; set aside.
-
2In another bowl, beat the softened cream cheese until smooth, then add peppermint extract and red food coloring; mix until well combined.
-
3Gently fold the whipped cream into the cream cheese mixture until fully incorporated.
-
4Stir in the crushed peppermint candies and mini chocolate chips.
-
5Spread the peppermint filling evenly into the chocolate cookie crust.
-
6Refrigerate for at least 2 hours. Garnish with additional crushed peppermint candies before serving.
Approximate Information for One Serving
Nutrition Disclaimers
Number of total servings shown is approximate. Actual number of servings will depend on your preferred portion sizes.
Nutritional values shown are general guidelines and reflect information for 1 serving using the ingredients listed, not including any optional ingredients. Actual macros may vary slightly depending on specific brands and types of ingredients used.
To determine the weight of one serving, prepare the recipe as instructed. Weigh the finished recipe, then divide the weight of the finished recipe (not including the weight of the container the food is in) by the desired number of servings. Result will be the weight of one serving.
Did you make this recipe?
Please consider Pinning it!!




