Let’s Chat About Date Snickers (And Why I Keep Making Them)
Alright, so here’s the deal: Date Snickers are the snack I reach for when I want something that feels fancy but takes, like, ten minutes—maybe less if I’m not distracted by Instagram (which is rarely). The first time I made these, I honestly thought, “Can it really be that easy?” Spoiler: it can. I made a batch for my sister last Christmas, and she called me the next day to say her kids had already demolished them and, could I please make more? I mean, clearly they’re onto something. And I’ll admit, sometimes I hide a couple in the back of the fridge for myself because, well, I’m only human.
Why You’ll Go Nuts for These (Like I Do)
I make this when I want to feel healthy-ish but also a little bit decadent (because, chocolate). My partner calls these “grown-up candy bars” and, honestly, that’s spot on. My family goes crazy for this because they’re sweet, salty, chewy, and have just enough crunch—plus, you don’t even have to turn on the oven. And look, I once tried making these with store-brand dates and they turned out fine, but when I use those big medjool dates from the farmer’s market, they’re next level. Oh, and if you’ve ever been frustrated by sticky caramel or burnt sugar (been there!), these give you all the caramel vibes with, like, zero drama.
Here’s What You’ll Need (Substitutions Welcome!)
- 10-12 medjool dates, pitted (regular dates are okay if that’s what you’ve got—just try for the softer ones)
- 1/3 cup peanut butter (I sometimes use almond butter if I’m feeling fancy. My gran swore by crunchy, but honestly, smooth is easier to work with)
- 1/4 cup roasted peanuts, roughly chopped (or skip ‘em if you don’t have any, or swap in cashews or even sunflower seeds—I won’t tell)
- 100g dark chocolate (milk is fine, but I think dark gives you that real Snickers kick. I’ve even used chocolate chips in a pinch)
- Pinch of flaky sea salt (optional, but wow does it make a difference)
- Teaspoon of coconut oil (optional; helps the chocolate set nicely but I forget it half the time)
How I Actually Make Date Snickers (Step By Step, Ish)
- First, slice your dates lengthwise—don’t cut all the way through, just enough so you can open them up like little boats. Remove the pits (this is where I usually eat one or two ‘by mistake’).
- Take a small spoon and fill each date with your peanut butter (or whatever nut butter you’ve got). It gets a bit messy—I just lick my fingers and move on.
- Sprinkle the chopped peanuts inside. If you’re in a rush, honestly throwing in whole nuts works too (it’s all going to the same place, right?).
- Close the dates up as best you can. Don’t worry if they look a little stuffed—they’re not on Instagram yet.
- Melt your chocolate in the microwave or on the stove. If you’re using the microwave, do 20-second bursts and stir; if you’re using the stove, low and slow is best (learned that one the hard way…)
- Dip each stuffed date into the melted chocolate. I use a fork and let the extra drip off—sometimes I just drizzle the chocolate over if I’m feeling lazy or short on time; it’s all good.
- Place them on a parchment-lined plate or tray. Sprinkle with flaky salt if you’ve got it (seriously, don’t skip this unless you really hate salt), then pop them in the fridge for 20-30 minutes, or until the chocolate is set. This is where I usually sneak one that isn’t quite set—who cares?
Stuff I Figured Out Along the Way (Notes)
- If your dates are a bit dry, soak them in warm water for 10 minutes first—it makes them plump and soft, and I wish someone had told me that sooner.
- The chocolate doesn’t need to be perfect. A few streaks or lumps just make it look homemade (which it is!).
- Actually, I find it works better if you assemble all your dates before melting the chocolate—otherwise, you’ll be juggling sticky fingers and a rapidly-setting bowl of chocolate. But sometimes I forget and just make it work.
Variations I’ve Tried (Not All Were Winners…)
- I tried using tahini instead of peanut butter once—honestly, it was a bit too earthy for me, but maybe you’ll love it?
- Swapped in pistachios for peanuts, and wow, that was a winner. The colour is gorgeous too.
- Added dried cranberries for a holiday vibe—sort of worked, but the texture was weird, so probably skip that one.
Equipment (But You Really Don’t Need Much)
- Small sharp knife (or your kitchen scissors, if that’s what’s clean)
- Bowl for melting chocolate (I use a glass one but any microwave-safe thing is fine)
- Parchment paper or even just a regular old plate, if you don’t mind peeling off a bit of chocolate
- If you’re short a microwave, just use a stovetop and a regular pot; not fancy, but it works
How to Store These (If They Last That Long)
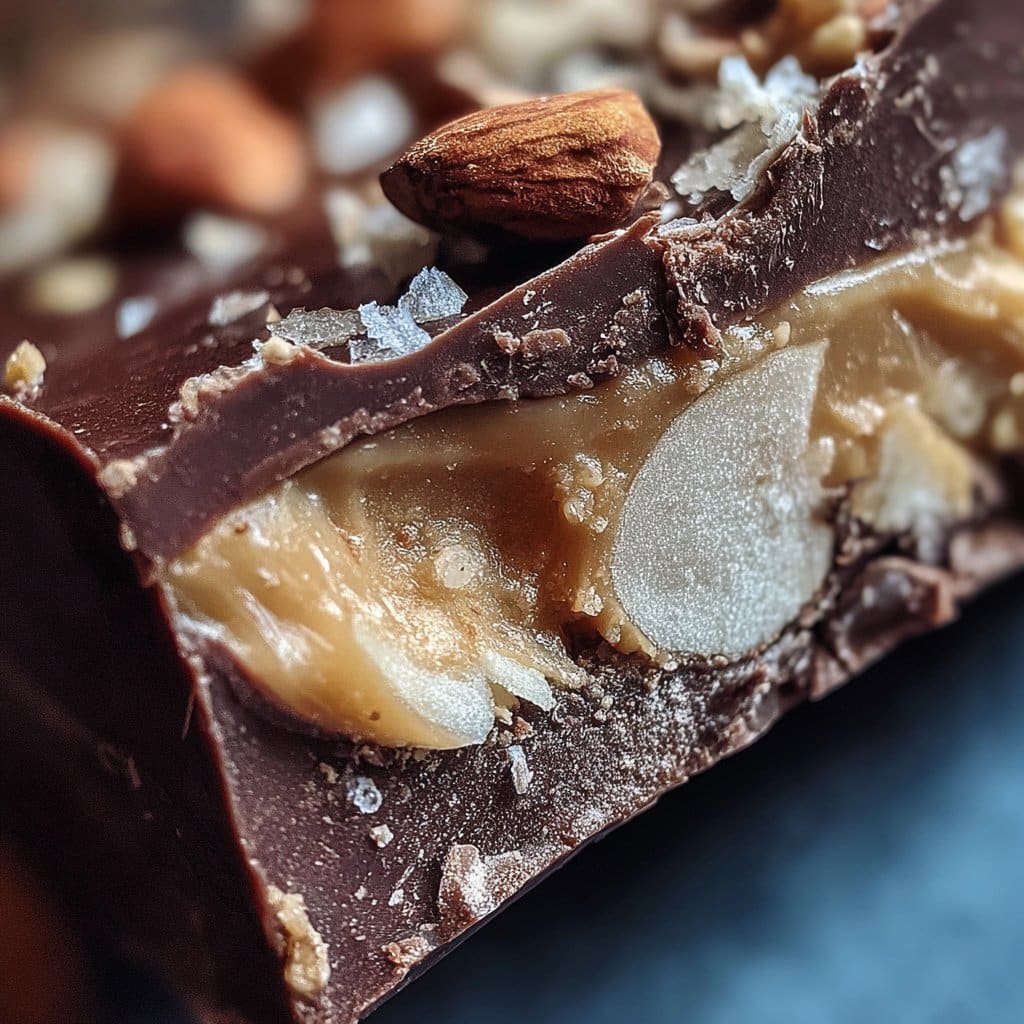
Pop them in a container and keep in the fridge for, I dunno, up to a week? Though honestly, in my house it never lasts more than a day! In the summer they get a little melty if left out, so I’d say fridge is best. Freezer works too, and they’re amazing straight form frozen.
How I Serve Date Snickers (A Little Family Tradition)
I love these with a hot cup of tea in the afternoon, but my little cousin dunks them in her hot chocolate and says it’s the best thing ever. Sometimes I chop them up and sprinkle over oatmeal—sounds weird, but trust me, it’s a game changer. Oh, and they look cute piled up on a little plate for movie night.
Learned the Hard Way: Pro Tips
- Don’t rush the chocolate-melting step—I once tried to crank the heat and ended up with a gritty mess. Go slow, it’s worth it.
- Overfilling the dates makes them impossible to close, so just a little goes a long way (though I still do it every single time).
- If you use salted nuts, maybe skip the flaky salt on top—or not! Depends how salty you like things.
FAQ (Stuff People Actually Ask Me…)
- Is there a way to make these nut-free?
- Yep! Sunflower seed butter and roasted pumpkin seeds are brill. They don’t taste exactly the same, but it’s still yum.
- Can I use regular dates?
- Sure, but they’re smaller and sometimes a bit tougher. If you go this route, soak ‘em for a few minutes in warm water first.
- What kind of chocolate is best?
- I’m partial to dark, but use whatever you have. If you like it sweeter, milk chocolate all the way.
- Can kids make these?
- Yes, though you’ll probably have peanut butter on the ceiling. Or maybe that’s just my family!
- How do I get the chocolate super smooth?
- Add a tiny bit of coconut oil. Or don’t, it’ll work anyway. Don’t stress about it.
- Got any good sources for medjool dates?
- Oh, totally—nuts.com has great ones, and if I’m in a pinch, Whole Foods always has a decent selection.
On a totally unrelated note, once I tried to use these as a hiking snack—turns out, they melt everywhere if it’s hot, so lesson learned. Anyway, let me know if you make them, or if you find an even weirder combo that works!
Ingredients
- 16 large Medjool dates, pitted
- 1/2 cup creamy peanut butter
- 1/3 cup roasted salted peanuts, chopped
- 1 cup dark chocolate chips
- 1 tablespoon coconut oil
- 1/4 teaspoon sea salt
- 1/2 teaspoon vanilla extract
- 2 tablespoons crushed pretzels (optional, for extra crunch)
Instructions
-
1Slice each Medjool date lengthwise and remove the pit, creating a pocket.
-
2Fill each date with about 1 teaspoon of creamy peanut butter.
-
3Sprinkle chopped roasted peanuts and crushed pretzels (if using) over the peanut butter in each date.
-
4In a microwave-safe bowl, melt dark chocolate chips with coconut oil in 30-second intervals, stirring until smooth. Stir in vanilla extract.
-
5Dip each stuffed date into the melted chocolate to coat, then place on a parchment-lined tray. Sprinkle with sea salt.
-
6Refrigerate the dates for at least 15 minutes, or until the chocolate is set. Serve chilled.
Approximate Information for One Serving
Nutrition Disclaimers
Number of total servings shown is approximate. Actual number of servings will depend on your preferred portion sizes.
Nutritional values shown are general guidelines and reflect information for 1 serving using the ingredients listed, not including any optional ingredients. Actual macros may vary slightly depending on specific brands and types of ingredients used.
To determine the weight of one serving, prepare the recipe as instructed. Weigh the finished recipe, then divide the weight of the finished recipe (not including the weight of the container the food is in) by the desired number of servings. Result will be the weight of one serving.
Did you make this recipe?
Please consider Pinning it!!




