The Way I Stumbled Onto This Yaki Udon (And Fell In Love)
So picture this: it’s Wednesday, raining sideways, you’re starving, and all the takeout noodles are soggier than a wet sock. Ages ago, that was me. Then I remembered my old trip to Osaka (which involved probably too much sake and a truly hilarious karaoke night) and how amazing the yaki udon in a smoky alleyway spot tasted. Obviously, I thought, how hard can it be to whip up? Turns out—not hard! So now, every time I throw this together, I get a little memory blast, and my kitchen smells like magic (also soy sauce, mostly soy sauce). Oh, and once I tried to flip the noodles with a spatula flourish—let’s just say the cat was very interested in dinner that night. Anyway…
Why You’ll Love This (Or, How It Saved My Wednesday)
I make this yaki udon when “someone” (usually me) forgot to meal plan—it comes together faster than you can shout, “who ate all the leftovers?”. My family goes absolutely barmy for this because it’s got that savory-sweet balance, but you can sneak in loads of veg when they aren’t looking. It’s forgiving, too; if you’re the sort who burns garlic (guilty), this one gives you plenty of chances to redeem yourself. (On a bad day, I just go heavier on the sauce. No judgment.)
What You’ll Need (Substitutions Welcome)
- Udon noodles (400g fresh, or frozen—but I’ll grab the vacuum-packed kind when Tesco’s shelves are empty; works just fine!)
- Protein: sliced beef, chicken thigh, or tofu (I usually use tofu if it’s Monday, no clue why)
- Veggies: cabbage (about 2 cups shredded, but spinach or bok choy also work—in a pinch, I even used kale)
- Carrots, thinly sliced (a big handful, or whatever’s lurking in your fridge drawer)
- Green onion: 2 stalks, but honestly, chives are OK if you’re desperate
- Garlic: 2-3 cloves, smashed and chopped; more if you’re feeling it
- Soy sauce: 3 tbsp (Grandma said go tamari but regular’s fine!)
- Oyster sauce: 2 tbsp (or hoisin in a pinch… just don’t tell the purists)
- Mirin: 1 tbsp (left it out once—wasn’t a disaster, just a bit less punchy)
- Sesame oil: a drizzle (it’s optional but if you do have it, total gamechanger)
- Sesame seeds & bonito flakes for garnish (no stress if you skip these)
Sort-of Precise, Sort-of Casual Directions
- First, prep all your veggies and protein. I tend to do this while blasting a silly Spotify playlist; it makes the chopping fly by.
- Bring a kettle to a boil and pour it over the udon noodles in a colander; let them hang out a minute to loosen up and drain. (If you got the fresh sort, no need for this bit; straight in they go.)
- Grab your biggest frying pan or a trusty old wok (I use a battered old nonstick, and actually, it works better if I don’t overcrowd it—ask me how I know) and heat a glug of oil over medium-high heat.
- Protein in first! Stir-fry your beef, chicken, or tofu for a couple minutes ‘til just cooked. Push ‘em to one side (or out, if your pan’s tiny; it’s fine to use a plate).
- Veggies take the stage: carrots, cabbage, garlic—toss ‘em in. A pinch of salt, too. Let them fry for about 3 minutes. If they look a bit limp, you’re about right. This is where I usually sneak a taste—vital, really.
- Noodles back in, then pour over the soy sauce, oyster sauce, mirin, and a tiny drizzle of sesame oil. Give it all a good toss; tangle those noodles. Don’t worry if it looks oddly dark or glossy—it sorts itself out by the end.
- Return the protein to the pan, toss again (‘flourish’ optional and only if you like cleaning up stray noodles). Give it a few minutes on medium—just enough so everything looks friendly together.
- Top with green onions, sesame seeds, and if you’ve got them, bonito flakes. Serve hot! (Though if you end up snacking straight from the pan… well. Happens to the best of us.)
Things I Learnt (Sometimes the Hard Way)
- Don’t over-sauce at the start! Sauce soaks in as it cooks. I’ve drowned many a decent noodle.
- If you’re using frozen noodles, let them thaw for a bit—otherwise they sort of clump. Annoying, but fixable with a splash of water in the pan.
- Never turn your back for long—things go from golden to burnt faster than you think, especially if you’re mid-digression about your favorite anime (guilty).
Variations (Some Genius, Some Laughable)
- Swapped tofu for leftover roast chicken once—worked a treat!
- Added kimchi for a tangy, funky punch; would highly recommend, unless you’re anti-ferment.
- Tried buckwheat soba noodles instead of udon—I mean, it was edible, but… wouldn’t rush to do that again.
What If I Don’t Have a Wok?
No wok, no worries mate! I’ve used a giant sauté pan, even a roasting pan on the hob once (that was a wild experiment). With a bit of patience, it all works out—just be sure not to crowd the pan.
Will It Last in the Fridge?
Technically, you can keep leftovers in the fridge for up to 2 days—just toss ‘em in a container. But honestly, in my house, it never lasts more than a day. Maybe two hours. (Actually, the cold noodles make a sneaky midnight snack!)
How I Like to Serve It
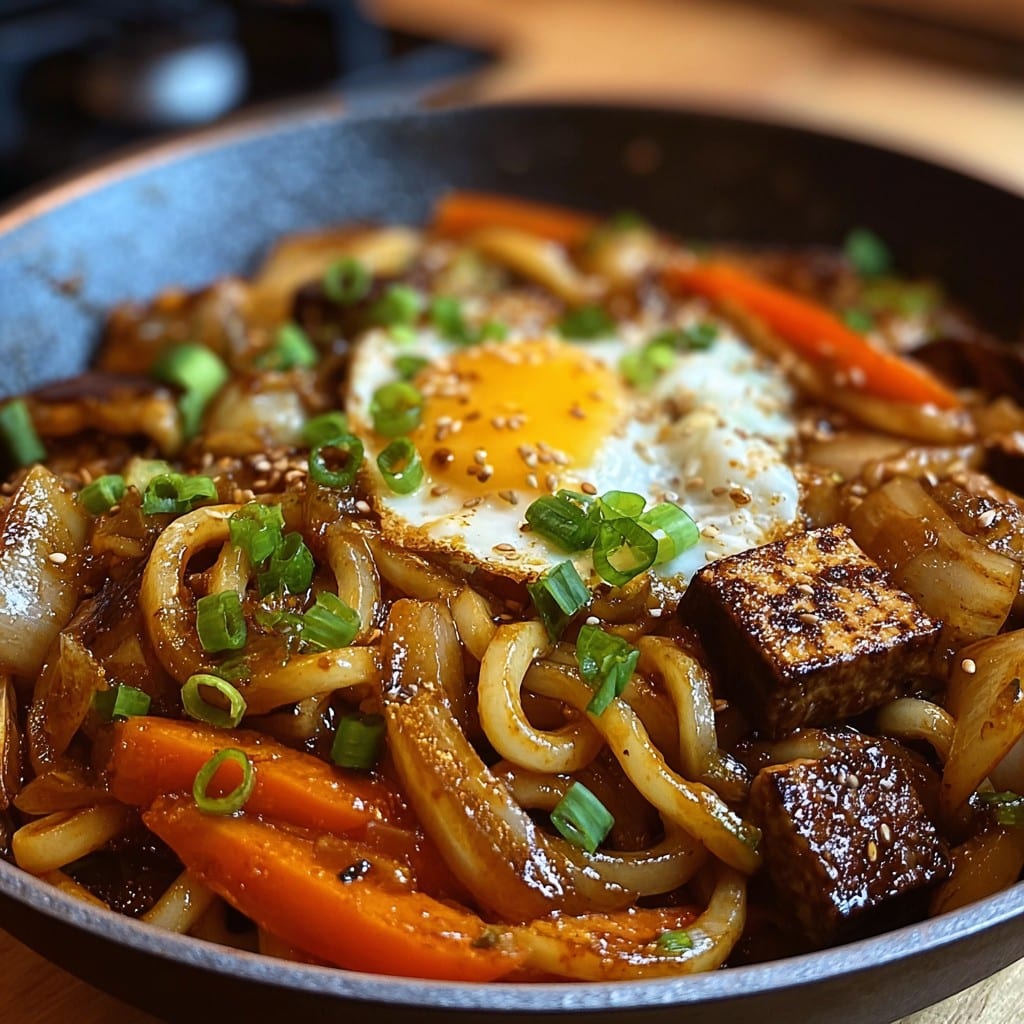
At the table, the whole pan goes down and everyone piles up their plates—sprinkle extra green onions, maybe a dollop of Kewpie mayo if you’re feeling proper Japanese-style. Sometimes, we add a fried egg on top (a tradition form my university days; don’t ask why, just try it).
A Couple Lessons Learned the Hard Way
- I once tried rushing the veggie stir-fry step—everything ended up uneven, with half raw cabbage and half soggy. Take those extra two minutes, trust me.
- Forgetting the final sesame oil drizzle? It’s not the end of the world, but it does miss a certain oomph. Also, stir the noodles gently; I got a bit too enthusiastic with the spatula once and shredded everything—tastes fine, looks a mess.
Questions Folks Have Actually Asked Me
- Can I use dried udon noodles?
- Yep! Just cook ‘em according to the pack. I think fresh or frozen are a touch chewier (in a good way), but honestly, use what’s on hand.
- Do I have to use oyster sauce?
- Nah, hoisin or mushroom glaze also works. The world won’t end, promise.
- How spicy can I make it?
- Go wild! Add chili oil, fresh chilies, or sriracha. Some folks even stir in a spoonful of gochujang (find it at Korean Bapsang). Follow your palate.
- Is there a particular pan or brand you like?
- I’ve used my grandmother’s ancient wok and a nonstick from IKEA—both worked. If you’re curious about good woks, I’d check out this Serious Eats guide, actually helped me pick my last one.
- Is it vegetarian?
- If you skip bonito flakes and go for tofu and veggie-based sauces, you’re golden.
Oh, total aside: I once made this for a friend’s ‘90s movie night, and we all agreed it was the perfect carb-load for yelling at the TV (in a good way). Just saying, yaki udon brings people together, whether you’re into karaoke or curled up with a mug of tea. So, give it a whirl—and if you get a noodle on the floor, three-second rule definitely applies.
Ingredients
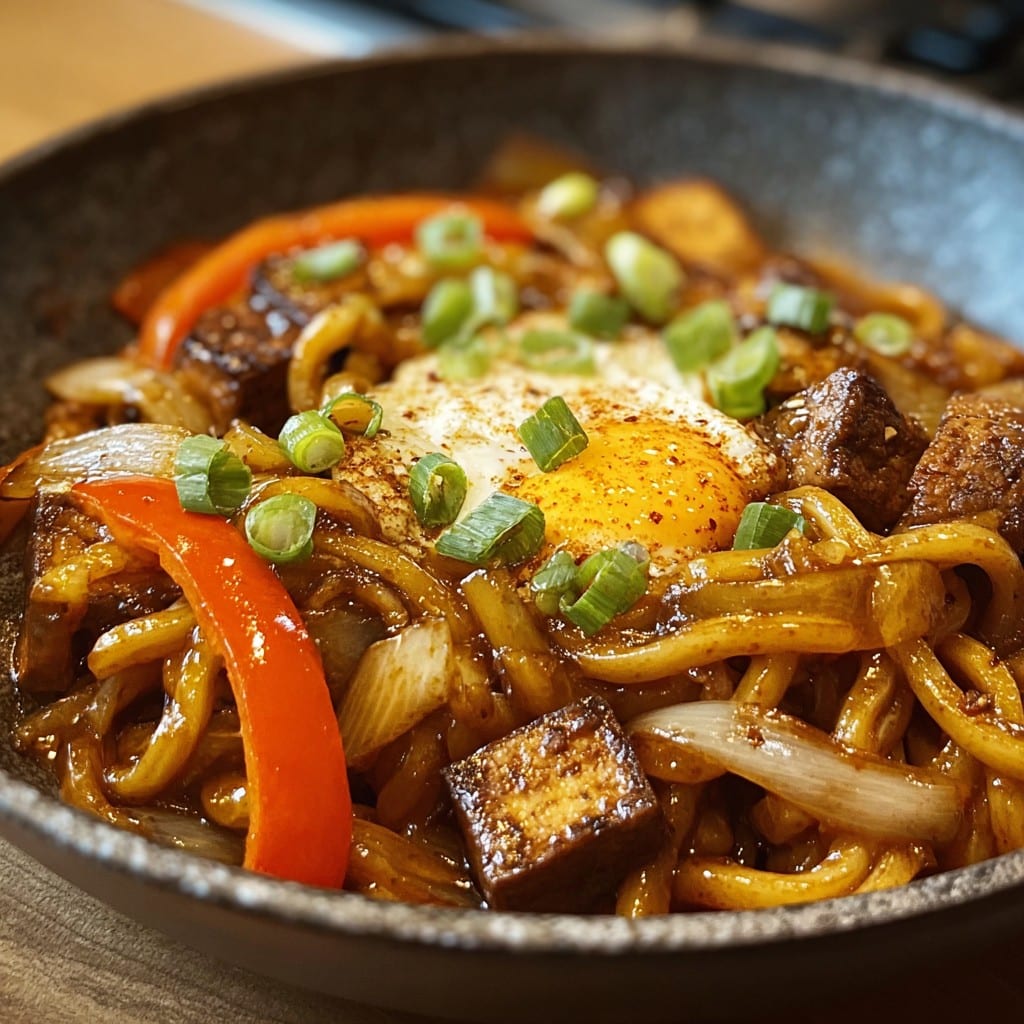
- 14 oz (400 g) fresh udon noodles
- 8 oz (225 g) pork loin, thinly sliced
- 1 cup cabbage, shredded
- 1/2 cup carrots, julienned
- 1/2 onion, thinly sliced
- 2 green onions, chopped
- 2 tbsp soy sauce
- 1 tbsp oyster sauce
- 1 tbsp mirin
- 1 tbsp vegetable oil
- Salt and pepper to taste
Instructions
-
1Heat the vegetable oil in a large skillet or wok over medium-high heat.
-
2Add the sliced pork and stir-fry until just cooked through, about 2-3 minutes.
-
3Add the onion, cabbage, and carrots, and cook for another 2-3 minutes until the vegetables are slightly tender.
-
4Add the fresh udon noodles to the skillet, breaking them up gently with tongs.
-
5Pour in the soy sauce, oyster sauce, and mirin. Toss everything together to coat the noodles and ingredients evenly.
-
6Season with salt and pepper, then garnish with chopped green onions. Serve hot.
Approximate Information for One Serving
Nutrition Disclaimers
Number of total servings shown is approximate. Actual number of servings will depend on your preferred portion sizes.
Nutritional values shown are general guidelines and reflect information for 1 serving using the ingredients listed, not including any optional ingredients. Actual macros may vary slightly depending on specific brands and types of ingredients used.
To determine the weight of one serving, prepare the recipe as instructed. Weigh the finished recipe, then divide the weight of the finished recipe (not including the weight of the container the food is in) by the desired number of servings. Result will be the weight of one serving.
Did you make this recipe?
Please consider Pinning it!!




