Hey Friend! Why Tex-Mex Casserole Feels Like Home
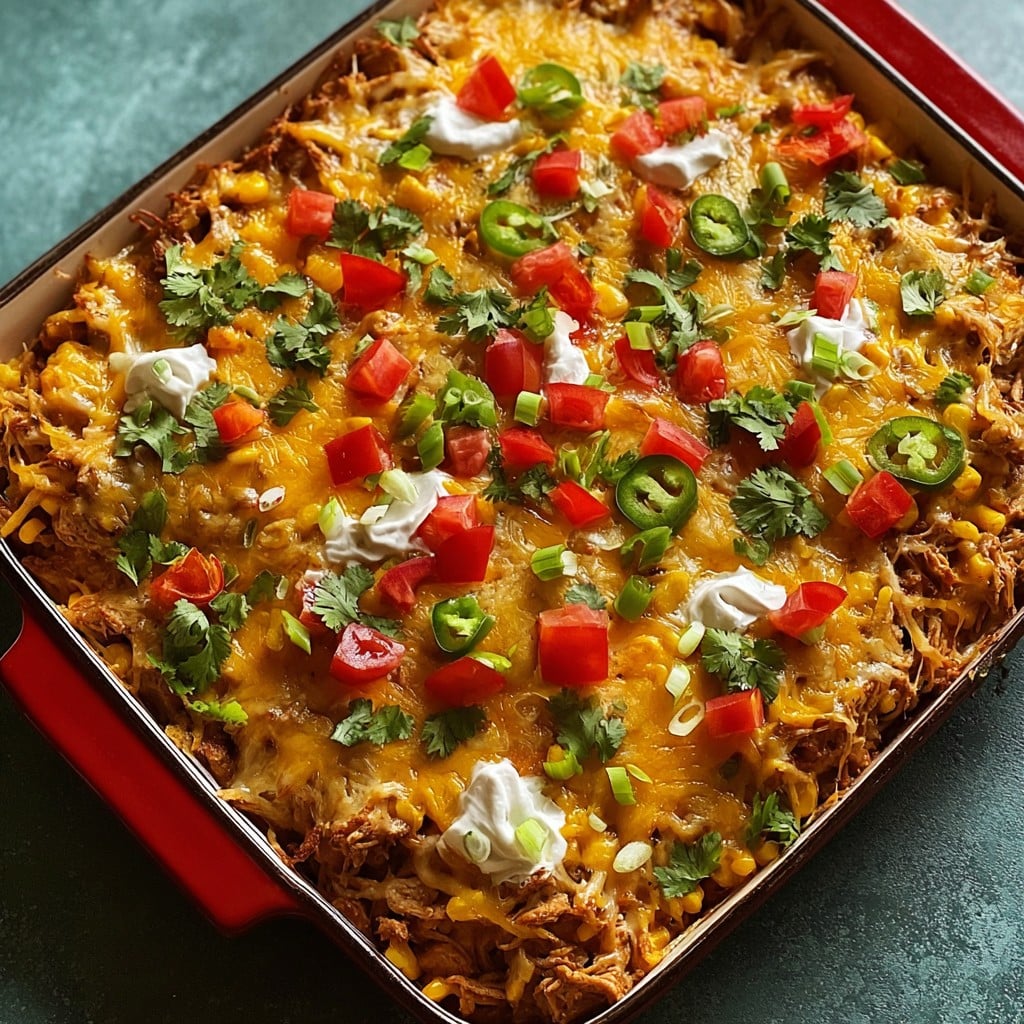
I actually made this Tex-Mex casserole last week during one of those Tuesday evenings that just wouldn’t quit. You know, the kind where you open the fridge and it’s a questionable block of cheese, three bell peppers looking a little too wise, and some leftover rotisserie chicken—that kind of night. I’ve been making my take on this casserole since college. Funny thing: it’s evolved so much that if my old roommate tasted it now, she’d probably call me a liar. Anyway, there’s something about scooping out a hearty, cheesy mess from a nonstick dish that just feels optimistic. Plus, cleanup is (almost) blissful. Oh, and small warning—I get a bit overexcited about melted cheese, so there’s a bias here.
Why You’ll Love This Casserole (Or At Least I Do)
I make this Tex-Mex casserole when I want to hear my kids argue over the last piece, or when I’m too lazy to fuss with lots of pots. My family goes absolutely bonkers for it, mostly because it’s crunchy and gooey all at once. I used to try making it with actual enchilada sauce every time, but half the time I don’t have the patience. So salsa it is, and nobody’s ever called me out on it. (Plus, if yours falls apart a bit while scooping, just pile on some extra sour cream. That’s what I do. Works like a charm.)
Here’s What You’ll Need (and What You Can Swap)
- 2 cups cooked chicken, shredded (I sometimes use ground beef if that’s hanging around or skip the meat for a vegetarian version—I’ve even just doubled the beans on a meatless Monday)
- 1 can black beans, drained and rinsed
- 1 can corn (or a couple of big handfuls frozen—my grandma swore by Green Giant, but honestly, whatever)
- 1 cup salsa (mild or wild—you decide, though I’ve accidentally grabbed the habanero jar before and, whew, that was a night.)
- 2 teaspoons taco seasoning (or eyeball it, no judgment)
- 2 cups shredded cheese (I lean heavy on Colby Jack; sometimes I toss in a little cheddar ‘cause why not?)
- 8 small flour tortillas (but corn is good if you like a little more structure, and gluten-free friends can swap in their favs)
- Optional: sliced olives, jalapeños, a handful of chopped cilantro (Honestly, I skip cilantro half the time—it’s love or hate in my crowd)
- Salt and pepper, to taste
Let’s Cook This Thing: Directions with Real-Life Chaos
- Preheat your oven to about 375°F (190°C). Grab your trusty nonstick casserole dish—if it’s anything like mine, it has that one mysterious chip. No big deal.
- Get a mixing bowl and toss in chicken, beans, corn, salsa, and taco seasoning. Mix it all up. This is usually when I snack a bit (you should too).
- Grease the nonstick dish (sometimes I forget and regret it, but most nonstick pans forgive you… mostly).
- Lay two tortillas at the bottom, overlapping so they cover most of the surface. Doesn’t have to be exact; this isn’t origami.
- Spoon on a third of your chicken mixture. Sprinkle a generous handful of cheese over it. Nobody’s judging if you accidentally double it.
- Repeat layers: tortillas, filling, cheese… until you run out—or just get bored. Top with whatever cheese is left, then olives or jalapeños if you remembered them.
- Bake uncovered for about 28-32 minutes—it should look all melty and golden. Sometimes I leave it in extra for the crispy edges. If it’s bubbly and smells amazing, it’s done.
- Let it cool for at least 10 minutes before you try to scoop. Or don’t. I’ve done both. It’s hot, though—don’t blame me for a burnt tongue!
Some Notes from My Many, Many Attempts
- I’ve tried using whole wheat tortillas. Honestly, nobody noticed (so, yay fiber).
- Once I forgot the beans and it turned out fine, but a little less filling.
- Doubling the cheese feels excessive, but I do it anyway. I’m weak.
- Don’t sweat a runny casserole—it firms up as it rests.
- If the top looks too dry, a drizzle of salsa before baking helps.
Variations and My Not-So-Genious Ideas
I’ve mixed in chopped spinach for a pseudo-healthy version (tastes better than you’d guess), and once tried dicing sweet potato into it. That was, uh, different. Not my best. The vegetarian version is honestly just as good; just pile on extra beans and corn. Sometimes I’ll add a layer of rice if I have leftovers (so good with a smidge of lime juice thrown in). Oh—and you can swap the cheese for a vegan type; just watch the bake because the melt time is weirdly unpredictable.
About That Nonstick Dish—But What If You Don’t Have One?
So, a nonstick casserole dish makes cleanup blissful, but I’ll admit I sometimes use a regular glass dish (after losing my actual nonstick for two months—don’t ask). Pro tip? Just line with foil or parchment if you’re worried about sticking. Or butter it like you mean it. I think Pyrex is fine. You can see some legit nonstick options at Serious Eats’ casserole dish guide if you’re on the hunt for a new one.
Storage: Theoretical, Because It Never Survives Here
This dish keeps in the fridge for a couple of days, tightly covered, but honestly, it’s rare to see leftovers in my house. It actually tastes even better the next day… If you do somehow hold onto some, reheat gently in the oven or zap it in the microwave (use a plate unless you want to spend fourteen minutes cleaning cheesy goo from the walls—I learned this the hard way).
Serving Suggestions—or How We Eat It
Honestly? Sour cream. Lots of it. Also, I sometimes chop up a bit of iceberg lettuce for crunch. My cousin swears by a squeeze of lime and a side of guacamole (I use this guac recipe when I have time, but no judgment if it’s the supermarket tub kind). Chips on the side for the true snackers.
Things I Learned the Hard Way (aka, Pro Tips)
- I once tried baking this on the bottom rack for “more crisp” and the bottom basically welded itself to the dish. Middle rack is where it’s at.
- Don’t rush the cooling step—if you cut too soon, you get Tex-Mex soup. Wait 10 minutes (which feels like eternity, I know).
- If you go nuts with salsa, it can get soupy. Go easy, then you can always add more later.
FAQ: Yes, People Legitimately Ask Me These Stuff
- Can I make this ahead? Yep, you can assemble it the night before, cover, and bake it off when you’re ready. I think the flavors meld even tastier by the next day!
- What if I don’t have taco seasoning? Just toss in some cumin, chili powder, maybe a sprinkle of paprika and a little garlic powder. You kind of can’t wreck it. Or buy a packet next time—no shame.
- Is there a gluten-free version? Sure thing! Just use gluten-free tortillas (I like the Mission brand, but honestly anything soft-ish works), and of course, check your salsa.
- Can I freeze it? Sort of. It’s fine, but texturally the tortillas get a little squishy after thawing. Doesn’t bother me, but heads up.
- What’s the best cheese? Seriously, whatever makes you happy. I do think a blend is better. And if you end up low on cheese, Google a quick queso—here’s a recipe I like—pour it on and nobody will notice.
P.S.—Did I mention I once tried to use crushed tortilla chips as a topping instead of cheese? It made a legit crunchy crust but got weirdly chewy by day two. Live and learn, right?
Ingredients
- 1 lb ground beef
- 1 can (15 oz) black beans, drained and rinsed
- 1 cup frozen corn kernels
- 1 can (10 oz) diced tomatoes with green chilies, drained
- 1 packet taco seasoning mix (1 oz)
- 2 cups shredded Mexican blend cheese
- 2 cups tortilla chips, lightly crushed
- 1/2 cup chopped onion
- 1/4 cup chopped fresh cilantro (optional)
Instructions
-
1Preheat the oven to 375°F (190°C). Lightly grease a large nonstick casserole dish.
-
2In a large skillet over medium heat, cook the chopped onion until soft, about 3-4 minutes. Add the ground beef and cook until browned, breaking it up as it cooks. Drain excess fat.
-
3Stir in the taco seasoning, black beans, corn, and diced tomatoes with green chilies. Cook for another 3-4 minutes until well combined and heated through.
-
4Spread half of the crushed tortilla chips in the bottom of the casserole dish. Layer half of the beef mixture over the chips, then sprinkle with half the cheese. Repeat the layers with the remaining chips, beef mixture, and cheese.
-
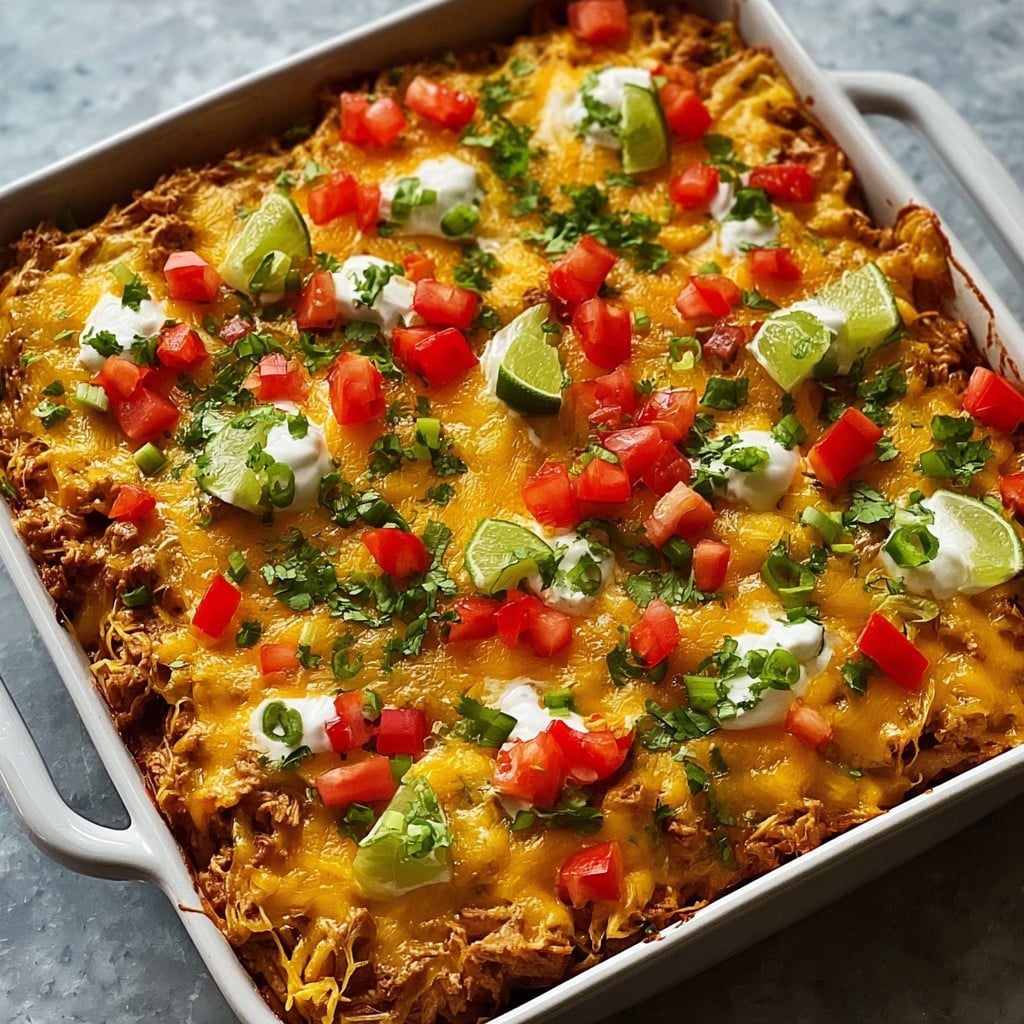
5Bake uncovered for 25-30 minutes until the cheese is melted and bubbly. Garnish with chopped fresh cilantro if desired. Serve hot.
Approximate Information for One Serving
Nutrition Disclaimers
Number of total servings shown is approximate. Actual number of servings will depend on your preferred portion sizes.
Nutritional values shown are general guidelines and reflect information for 1 serving using the ingredients listed, not including any optional ingredients. Actual macros may vary slightly depending on specific brands and types of ingredients used.
To determine the weight of one serving, prepare the recipe as instructed. Weigh the finished recipe, then divide the weight of the finished recipe (not including the weight of the container the food is in) by the desired number of servings. Result will be the weight of one serving.
Did you make this recipe?
Please consider Pinning it!!




