Alright, friend—let me tell you, Easy Pineapple Upside Down Cake was basically my gateway into baking anything that didn’t come straight form a box. My mum (bless her, not exactly Mary Berry) used to whip this out for Sunday lunches, and honestly, at least half the joy was watching her invert the pan and praying the whole thing didn’t collapse. The smell alone brings me back to rainy afternoons in Yorkshire, sneaking the odd maraschino cherry when I thought no one was watching. Spoiler: someone was always watching.
Why I Always Come Back to This Cake
I make this whenever I want to pretend I’ve got it all together—like, “Oh, you just popped by? Let me pull a gorgeous, golden cake out of the oven.” My family goes bonkers for it, especially my little nephew who picks all the pineapple rings off and leaves the cake (rude, but what can you do?). It’s not fussy and if you’ve ever had a cake stick to a pan, this is your redemption arc. Plus, cleaning up is a cinch. (Well, provided you remember to soak the pan. Ask me how many times I’ve forgotten…)
Here’s What You’ll Need (and Maybe Swap)
- 1/4 cup (half a stick) unsalted butter – but salted is fine, I promise
- 1/2 cup brown sugar (I sometimes just use white sugar with a tablespoon of molasses mixed in – it’s what I had one time and, honestly, no one noticed)
- 1 can pineapple rings in juice – fresh works if you’re feeling fancy, but the tinned is classic
- 8-10 maraschino cherries (or glacé, if that’s your thing – my nan absolutely swore by the lurid red ones)
- 1 cup all-purpose flour
- 1 teaspoon baking powder
- 1/4 teaspoon salt (I always just eyeball this – it’s never gone wrong)
- 1/2 cup white sugar
- 2 large eggs
- 1/3 cup pineapple juice (right out of the can, easy-peasy)
- 1/3 cup milk (whole is richer, but I’ve used semi-skimmed with no complaints)
- 1/4 cup vegetable oil (or melted butter if you’re out – whatever’s closest, really)
- 1 teaspoon vanilla extract (I mean, use the real stuff if you’ve got it, but the imitation extract hasn’t let me down yet)
How I Actually Make It (Warts and All)
- First things first, heat your oven to 350°F (that’s about 180°C). I guess you could use a fan oven, but I rarely bother to adjust temps. Grease a 9-inch cake pan—sometimes I just give it a good slather of butter with my fingers, which is way more satisfying than using a paper towel.
- Melt your butter (the 1/4 cup) and pour it into the bottom of the pan. Sprinkle the brown sugar evenly over the butter. Now, if it gets a bit clumpy, just smooth it out with a spoon or go rogue and use your hands—nobody’s judging.
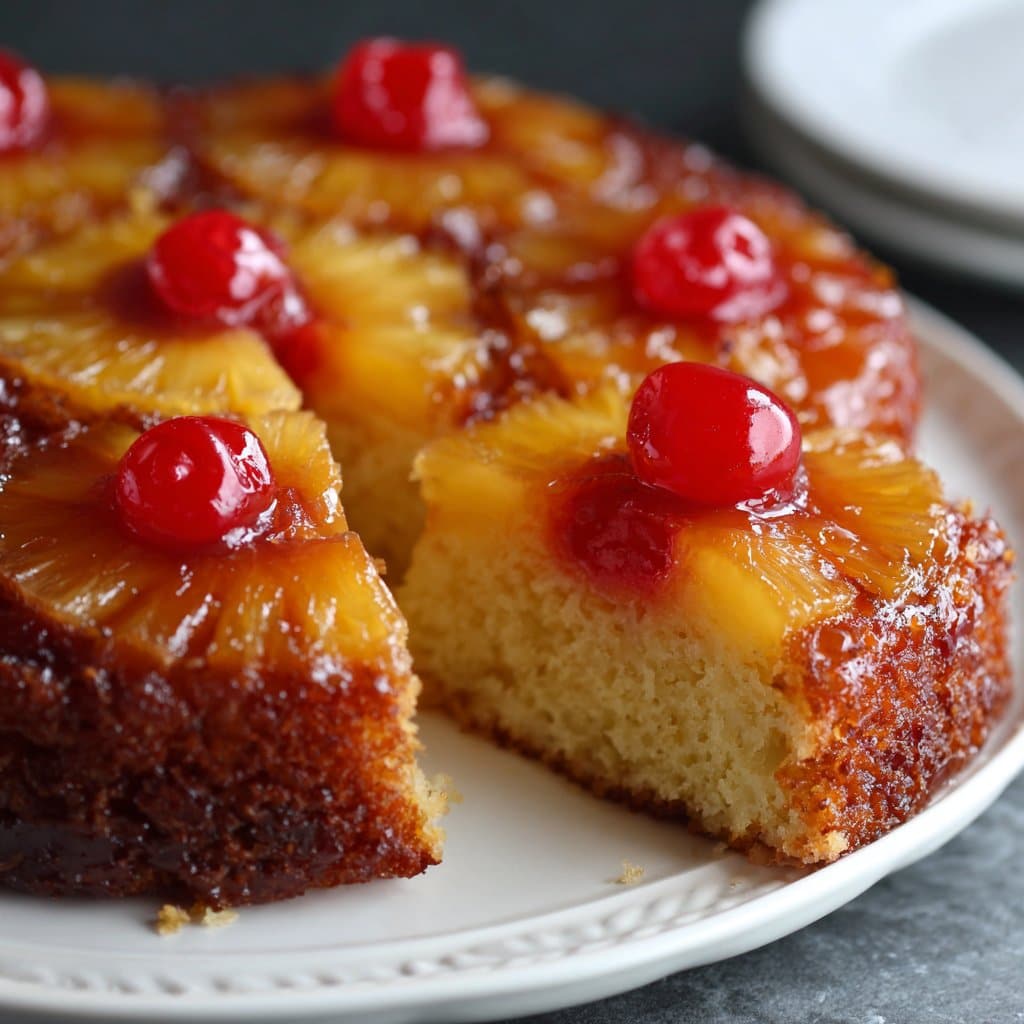
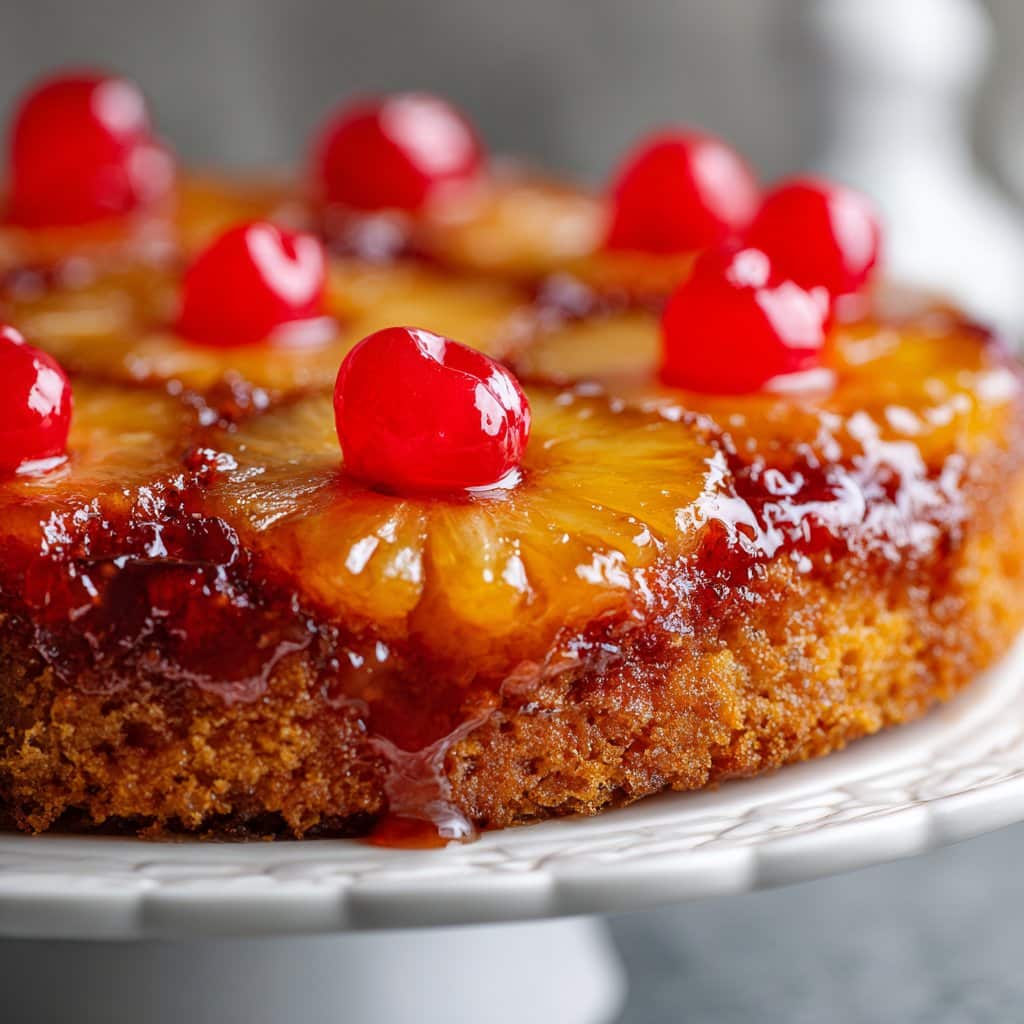
- Arrange the pineapple rings on top of the sugar-butter mix. Pop a cherry in the middle of each ring. If you’re feeling wild, tuck a few more in the gaps. This is where I usually sneak a cherry. (Don’t tell.)
- In a bowl, whisk together the flour, baking powder, and salt. Easy, right?
- In another bowl (yes, two bowls, but worth it), beat together the white sugar, eggs, pineapple juice, milk, oil, and vanilla until it’s all smooth and cheerful looking. It won’t look perfect! Don’t panic.
- Add the dry ingredients to the wet ones in two goes, mixing just until combined. Overmixing is the enemy here, trust me, I’ve made that cake-brick mistake.
- Pour the batter over the pineapple in the pan. Try to spread it gently so you don’t disturb your pretty fruit work, but if you do, just nudge things back. It’ll all bake out in the end.
- Bake for around 35-40 minutes. At about 30 minutes, I start poking it with a toothpick. Should come out clean or with a few sticky crumbs, not wet batter. If the top starts to brown too quickly, I sometimes chuck a bit of foil over it.
- Now, the fun bit: let it cool for five minutes, then run a knife round the edge and turn the cake out onto a plate. If it sticks, just call it “rustic” and eat it anyway. (It’s still delicious.)
Notes I’ve Picked Up the Hard Way
- If you use fresh pineapple, it’s juicier, so sometimes the top gets a bit soggy. Actually, I think using half fresh, half tinned works best, but only if you can be bothered.
- The cherries will stain the cake a bit pink. I used to worry, but that’s half the charm now.
- Don’t try to flip it while it’s piping hot, unless you want pineapple lava on your hands.
Some Variations I’ve Dabbled With
- Switch out the pineapple for peaches—gorgeous in summer, but honestly, the cake’s a bit denser. Maybe it’s just me.
- I’ve tried coconut in the batter (about 1/4 cup, shredded)—tasted tropical, but the texture was odd. Maybe needs more tweaking.
- Once I made mini upside down cakes in a muffin tin. Cute, but a palaver to clean. Wouldn’t really recommend unless you love scrubbing pans.
Kit You’ll Need (or Not?)
I use a 9-inch cake tin, but my mate Lou once made this in a pie dish and it was fine (a bit shallower, but hey). If you don’t have an electric mixer, no worries—a whisk and some elbow grease will do. For flipping, I just use a dinner plate—one time I tried a fancy cake stand and, well, let’s just say it slipped right off. Lesson learned.
How Long Does It Keep? (Real Talk)
Technically, you can cover it and keep it at room temp for up to two days. But honestly, in my house it never lasts more than a day! If you do have leftovers, pop them in the fridge and eat cold—it’s actually pretty good that way, though maybe that’s just me.
If You Want to Serve It Up Fancy
Bit of whipped cream or vanilla ice cream, always a win. My mum used to drizzle a tiny splash of rum over hers for “the adults,” which made everyone giggle. Sometimes, I’ll make a pot of tea and pretend we’re having a proper café moment at home. (Total nonsense, but nice all the same.)
Bloopers: What I’ve Learned (Sometimes the Hard Way)
- I once tried rushing the cooling and my cake came out in three different pieces. Since then, I wait the five minutes. (Patience, not my strongest suit.)
- Don’t trust your oven’s timer alone—mine has lied to me before. Always check with a toothpick.
- If you don’t grease the sides of your pan, you’re asking for trouble. I’ve made that mistake, oh, at least twice.
People Actually Ask Me…
- Can I use fresh pineapple? Yep! But it’s juicier, so you might want to blot the slices a bit first. Or just live dangerously.
- Does it freeze well? I mean, it’ll freeze, but the topping gets a bit sad-looking. I’d say enjoy it fresh if you can.
- Can I make it vegan? Actually, yes. Swap the eggs for flax eggs and use oat milk—it’s not exactly the same, but gets pretty close. My friend Kiran swears by this vegan version if you want a specific recipe.
- What if I don’t have a round pan? No worries—a square pan works, or even a deep skillet (as long as it doesn’t have a plastic handle, please!).
- Why did my cake stick? Usually it’s because the sugar wasn’t evenly melted or the pan wasn’t greased enough—next time, really slather it. Or use parchment if you’re paranoid.
By the way, if you’re into baking generally, I love the practical tips over at King Arthur Baking. Their troubleshooting guides have saved my skin a few times.
That’s about the long and short of it. If you actually try this Easy Pineapple Upside Down Cake, let me know if you have any mishaps, because I guarantee I’ve made them too. And if you find a way to make the cherries stay perfectly centered, please send me your secrets—mine always wander off!
Ingredients
- 1/4 cup unsalted butter, melted
- 1/2 cup packed light brown sugar
- 8 pineapple rings (canned or fresh)
- 8 maraschino cherries
- 1 1/2 cups all-purpose flour
- 1 cup granulated sugar
- 1/2 cup unsalted butter, softened
- 2 large eggs
- 1/2 cup milk
- 1 1/2 teaspoons baking powder
- 1/4 teaspoon salt
- 1 teaspoon vanilla extract
Instructions
-
1Preheat the oven to 350°F (175°C). Pour the melted butter into a 9-inch round cake pan and sprinkle the brown sugar evenly over the butter.
-
2Arrange the pineapple rings over the brown sugar mixture and place a maraschino cherry in the center of each ring.
-
3In a large bowl, cream together the softened butter and granulated sugar until light and fluffy. Beat in the eggs one at a time, then stir in the vanilla extract.
-
4In a separate bowl, whisk together the flour, baking powder, and salt. Gradually add the dry ingredients to the wet mixture, alternating with the milk, beginning and ending with the flour mixture. Mix until just combined.
-
5Pour the batter evenly over the pineapple and cherries in the cake pan. Smooth the top with a spatula.
-
6Bake for 35 minutes or until a toothpick inserted into the center comes out clean. Let the cake cool in the pan for 10 minutes, then invert onto a serving plate. Serve warm or at room temperature.
Approximate Information for One Serving
Nutrition Disclaimers
Number of total servings shown is approximate. Actual number of servings will depend on your preferred portion sizes.
Nutritional values shown are general guidelines and reflect information for 1 serving using the ingredients listed, not including any optional ingredients. Actual macros may vary slightly depending on specific brands and types of ingredients used.
To determine the weight of one serving, prepare the recipe as instructed. Weigh the finished recipe, then divide the weight of the finished recipe (not including the weight of the container the food is in) by the desired number of servings. Result will be the weight of one serving.
Did you make this recipe?
Please consider Pinning it!!




