Let’s Talk Ice Cream Sandwiches (And Why I Can’t Resist)
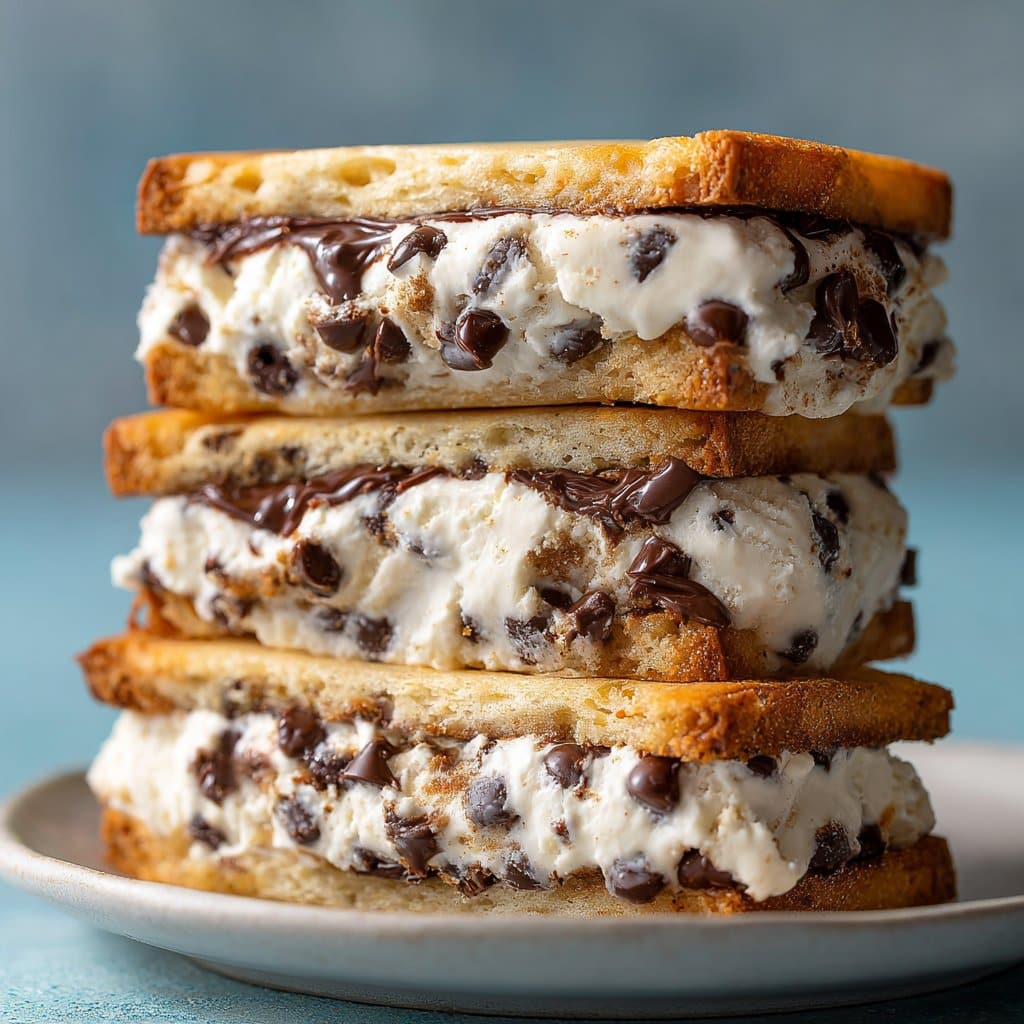
Alright, so if you’ve ever opened your freezer late at night searching for “just a little something sweet” and wound up with two cookies squishing a rapidly melting slab of ice cream—hey, we’re basically twins. Chocolate chip ice cream sandwiches were always my summer thing growing up. My mum never let us buy the boxed kind (she had this thing about “mystery ingredients”—to this day, I still can’t tell you what guar gum is, but I respect her stance). Now, I make these from scratch when I actually want to feel like a dessert hero—even if my kitchen looks like a cookie dough warzone by the end of it.
Why You’ll Love This (Or At Least, Why I Can’t Stop Making Them)
I make these whenever my nephew is over and, honestly, he acts like I invented happiness. My family goes absolutely bonkers for this recipe, especially because you can totally go wild with the ice cream part (I once used raspberry ripple when I was in a pinch; no complaints). And, between us, I’ve definitely used store-bought cookie dough when I just can’t be bothered (shhh). Even my friend who claims she’s “not a dessert person”—she ate two in a row last time.
What You’ll Need (Substitutions Welcome)
- 1 cup (225g) unsalted butter, softened (if you only have salted, just use a bit less salt later—no biggie)
- 1 cup brown sugar, packed (sometimes I run out and just use all white sugar, it’s fine, just less caramelly)
- 1/2 cup white sugar
- 2 large eggs
- 2 tsp vanilla extract (imitation works, but real is worth it if you’ve got it)
- 2 1/2 cups plain/all-purpose flour
- 1 tsp baking soda
- 1/2 tsp salt (I once used flaky sea salt—accidentally—still good!)
- 2 cups chocolate chips (milk, dark, or whatever you’ve got; mini or regular, it’s all good)
- About 1.5 pints (750ml-ish) ice cream—vanilla is classic but honestly, whatever that’s still in your freezer
Optional: sprinkles, chopped nuts, or crushed cookies for rolling the sides. (My little cousin swears by rainbow sprinkles. He’s not wrong.)
How I Actually Make These (And Where I Usually Eat Half the Dough)
- Cream the butter and sugars. Use a big bowl. I usually start with the hand mixer, but sometimes I’m lazy and just use a wooden spoon (tough on the arms, but hey, it counts as exercise, right?). Mix in the eggs and vanilla until it’s a smushy, smooth blob.
- Add the dry stuff. Toss in your flour, baking soda, and salt. Mix until just combined—don’t overdo it or your cookies get kinda tough (learned that one the hard way). Fold in the chocolate chips. This is the part where I always “check for poison” by sneaking a taste.
- Scoop and squish. Line a tray with baking paper. Scoop out balls (about golf-ball size, but, frankly, who’s measuring). Flatten them a little so they don’t bake up too tall, or you’ll have sandwich topple disaster.
- Bake at 350°F (180°C). 10–12 minutes usually does it—edges golden, middles still a bit soft. If they look slightly underdone, that’s perfect; they’ll set as they cool.
- Cool completely. This is the hardest step. Actually, I sometimes pop them in the fridge because patience is not my virtue.
- Ice cream time! If your ice cream’s rock solid, let it sit out for 10 minutes so it’s scoopable. Sandwich a big spoonful between two cookies. Press gently. If you’re feeling fancy, roll the edges in sprinkles or chopped nuts.
- Freeze (optional). You can eat them right away (oozy, messy, perfect) or wrap in foil and freeze for a couple of hours for that classic firm, grab-and-go texture.
Some Notes (Because I’ve Definitely Messed These Up Before)
- If your cookies are too soft, just freeze the individual cookies for 15 minutes before assembling. Makes life a whole lot easier.
- I actually think these taste better the next day—something about the cookie soaking up some ice cream magic?
- Once I tried making these with frozen yogurt—didn’t love it, the tanginess kind of clashed, but to each their own.
Variations: My Experiments (Some Successful, Some…Not)
- Peanut butter cookies instead of chocolate chip? Works, but they’re a bit crumbly—so double up on the ice cream to hold them together.
- Mint choc chip ice cream makes these taste like a retro treat, but my brother says it’s “toothpaste vibes.” I love it, so go figure.
- Once I tried dunking the whole sandwich in chocolate. Huge mess, but in a good way. If you like chaos, give it a go.
The Kit (And How to Get Around Not Having It)
- Baking sheet or tray (if you don’t have one, an old pizza pan works in a pinch; just watch for drips)
- Baking paper—parchment is my lifesaver, but if you run out, just grease the tray really well
- Hand mixer or a good old wooden spoon
- Scoop or regular spoon (I’ve even used a measuring cup once—whatever gets the job done)
Keeping Them Fresh (If That Ever Happens)
If you actually have leftovers, wrap each sandwich in foil or baking paper and pop in a freezer bag. They’ll keep for a few days, but honestly, in my house they vanish by morning. If you do spot one hiding at the back of the freezer, it’s a happy little surprise.
How We Serve Them (And Other Random Rituals)
I always put out a plate of these after a backyard BBQ—my dad insists on eating his with a fork and knife, which I find hilarious (and a bit unnecessary, but you do you). My favorite is straight from the freezer, late at night, standing in front of the open door and pretending I’m deciding which flavor to pick (even though I know full well which one I want).
Pro Tips (Learned the Hard Way…Trust Me)
- Don’t try to assemble while your cookies are still warm—unless you want a sticky puddle. I did this once and ended up with more ice cream on the floor than in the sandwich.
- If you want perfectly round “ice cream pucks,” slice ice cream from a rectangular tub and use a glass to cut circles. Actually, I find it works better if you just scoop and smoosh—it’s more fun and nobody complains.
- Don’t over-bake the cookies. They should be soft so you don’t break a tooth trying to bite into them later (ask me how I know).
FAQ (Or, Stuff Friends Text Me When They’re Making These)
- Can I use store-bought cookies?
- Absolutely. I mean, homemade is tastier, but I’ve definitely just grabbed a pack when I was feeling lazy. Try to get chewy ones, though, so you don’t end up with a brick.
- How do I keep the ice cream from melting everywhere?
- Work fast (or freeze your cookies before assembling). And if it gets a little messy, well, that’s half the fun, isn’t it?
- Any trick to making them look Instagram-pretty?
- Ha, I wish I knew! Actually, rolling the edges in sprinkles or crushed cookies helps. But honestly, they look fine as is—you made ice cream sandwiches, that’s already impressive.
- What’s your favorite ice cream flavor for these?
- Probably coffee, but I’ll eat vanilla, pistachio, or honestly whatever’s not freezer-burned. My sister swears by salted caramel.
- Do I have to chill the dough?
- Technically? It helps the cookies not spread too much. Realistically? I usually forget and they turn out fine—just a little flatter, but still tasty.
P.S. If you want to nerd out on homemade ice cream, I’ve used the no-churn recipe from Sally’s Baking Addiction and it’s a winner. And for the sciencey folks, Serious Eats’ cookie guide is wildy thorough (but you don’t need to go that deep unless you want to).
If you make these and they come out a bit wonky, that just means you did it right. And if you find a secret trick, let me know, unless it involves less mess—because, honestly, the mess is most of the fun.
Ingredients
- 1 1/2 cups all-purpose flour
- 1/2 teaspoon baking soda
- 1/2 teaspoon salt
- 1/2 cup unsalted butter, softened
- 1/2 cup granulated sugar
- 1/2 cup brown sugar, packed
- 1 large egg
- 1 teaspoon vanilla extract
- 1 cup semi-sweet chocolate chips
- 1 1/2 pints vanilla ice cream, slightly softened
Instructions
-
1Preheat the oven to 350°F (175°C) and line a baking sheet with parchment paper.
-
2In a medium bowl, whisk together the flour, baking soda, and salt.
-
3In a large bowl, cream together the butter, granulated sugar, and brown sugar until light and fluffy. Beat in the egg and vanilla extract.
-
4Gradually add the dry ingredients to the wet ingredients, mixing until just combined. Stir in the chocolate chips.
-
5Drop tablespoonfuls of dough onto the prepared baking sheet, spacing them about 2 inches apart. Bake for 10-12 minutes or until golden brown. Let cookies cool completely.
-
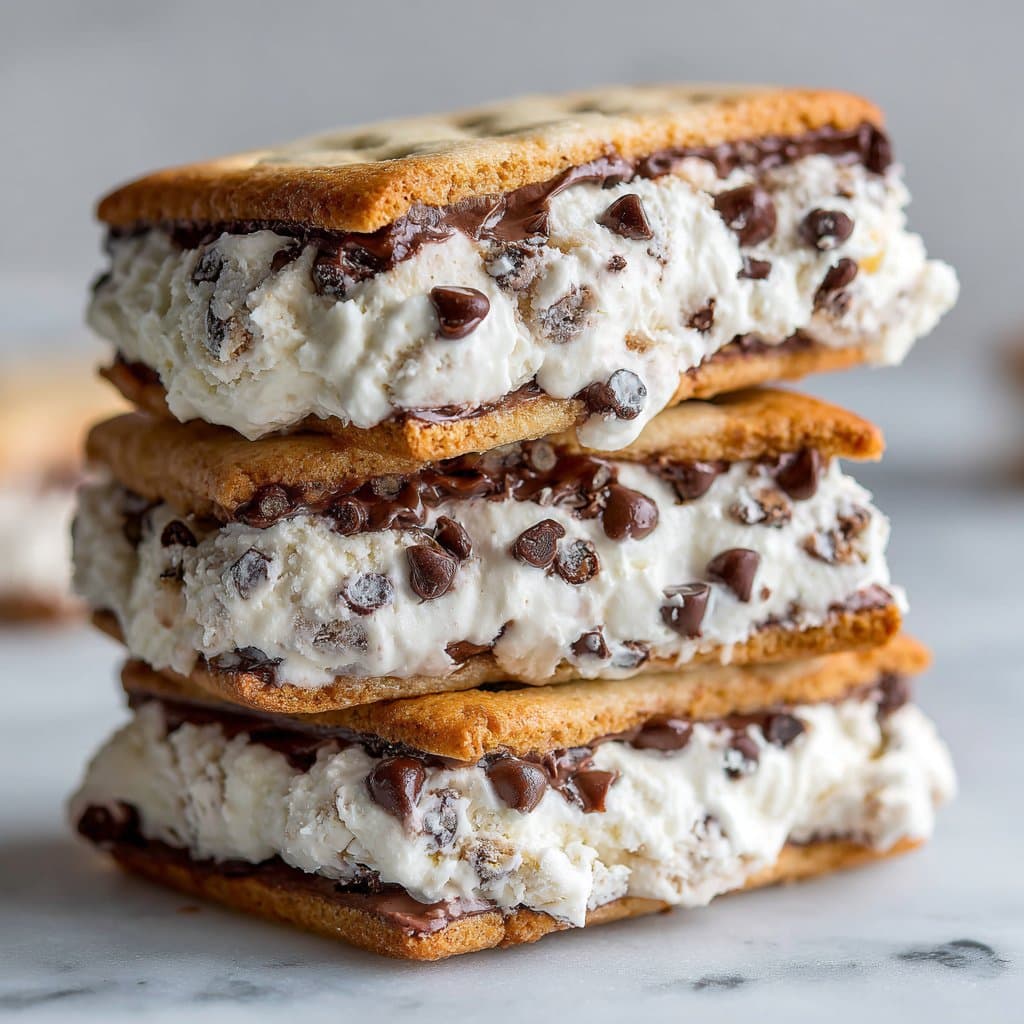
6Scoop about 1/4 cup of vanilla ice cream onto the flat side of one cookie, then top with another cookie to form a sandwich. Gently press together and smooth the edges. Repeat with remaining cookies and ice cream. Freeze sandwiches for at least 1 hour before serving.
Approximate Information for One Serving
Nutrition Disclaimers
Number of total servings shown is approximate. Actual number of servings will depend on your preferred portion sizes.
Nutritional values shown are general guidelines and reflect information for 1 serving using the ingredients listed, not including any optional ingredients. Actual macros may vary slightly depending on specific brands and types of ingredients used.
To determine the weight of one serving, prepare the recipe as instructed. Weigh the finished recipe, then divide the weight of the finished recipe (not including the weight of the container the food is in) by the desired number of servings. Result will be the weight of one serving.
Did you make this recipe?
Please consider Pinning it!!




