Cherry Pie: The Dessert That Ruins All Other Pies
Okay, so you know how some desserts are just so insanely good, you start craving them at the weirdest times? That’s this cherry pie for me. I remember the first time I made it—was probably too ambitious, with juice everywhere and, honestly, flour in my hair. But the smell, oh man, it was like my kitchen was hosting a summer picnic. The neighbors actually popped by because they could smell it through the screen door. (Slightly embarrassing, but also kind of proud.)
And let’s be honest: making pie crust used to terrify me. I thought it was some mystical grandma-secret. Turns out, it’s more forgiving than I expected—as long as you’re not in a rush and keep things COLD.
Why You’ll Love This Cherry Pie
I make this when the cherries are everywhere at the farmer’s market—usually when I’ve bought way too many because I can’t resist the little baskets. My family goes nuts for it, especially my cousin who claims she doesn’t even like pie (sure, Jan). Sometimes, when I’ve had a rough week, I’ll bake one for myself, slice it up, and freeze individual pieces. It’s comfort food, but, like, fancy comfort food. And if you’ve ever had a store-bought cherry pie and thought, “Why does this taste like cough syrup?”—trust me, this one is the antidote. (It’s also less syrupy, which I prefer, but if you like it gooier, just up the cornstarch a bit. I won’t judge.)
Gather These Ingredients (But Honestly, Improvise!)
- 2 1/2 cups (315g) all-purpose flour (I sometimes use a bit of whole wheat for texture, but it’s optional)
- 1 tsp salt
- 1 tbsp sugar (granulated, but brown sugar is pretty good too if you want a warmer vibe)
- 1 cup (225g) COLD unsalted butter, cubed (Grandma swore by Kerrygold, but seriously, use what you have)
- 6–8 tbsp ice water (it needs to be ice cold, but I’ve cheated with fridge water, not gonna lie)
- 6 cups (about 1.2kg) fresh cherries, pitted (Bing or Rainier are both fab; in a pinch, I’ve used frozen—just thaw & drain!)
- 3/4 cup (150g) sugar (I go for the lower end, but sweet tooths, go wild)
- 3 tbsp cornstarch (tapioca works too; flour in a pinch, but it’s not as clear)
- 1/2 tsp almond extract (this is optional, but wow, what a difference)
- 1 tbsp lemon juice, plus zest from one lemon
- Pinch of salt
- 1 egg (for brushing the crust, though sometimes I skip this if I forget—it’s still fine!)
- Coarse sugar for sprinkling (if you’re feeling fancy, or just like crunch)
How I Put This Pie Together (With a Few Detours)
- Make the dough first. In a big bowl, mix flour, salt, and sugar. Add the butter and work it in with your fingers or a pastry cutter. (I sometimes use my food processor if I’m feeling lazy, but you risk overmixing.) You want pea-sized bits, but don’t panic if it looks more like breadcrumbs; it’ll come together.
- Drizzle in the ice water a tablespoon at a time, tossing with a fork until it just holds together. Don’t overdo it—a crumbly dough is better than a wet one. I usually have to fight the urge to add more water; just trust the process (or, actually, squeeze the dough and see if it holds its shape).
- Divide in half; wrap each piece and chill for at least an hour. (Sometimes I forget and only chill it 30 minutes. The world keeps turning.)
- For the filling: Mix pitted cherries, sugar, cornstarch, lemon juice & zest, almond extract, and salt. Stir gently—don’t squish the cherries too much. This is where I usually sneak a taste. If it’s too tart, add a touch more sugar; too sweet, eh, squeeze in more lemon.
- Roll out one dough disk on a floured counter (or parchment; I’m a fan), about 12 inches wide. Don’t stress if your circle’s more “abstract art” than round—it’ll taste the same.
- Gently transfer to a 9-inch pie plate, patching any tears. Pour in the cherry mixture (try not to eat all the cherries before they make it to the pie).
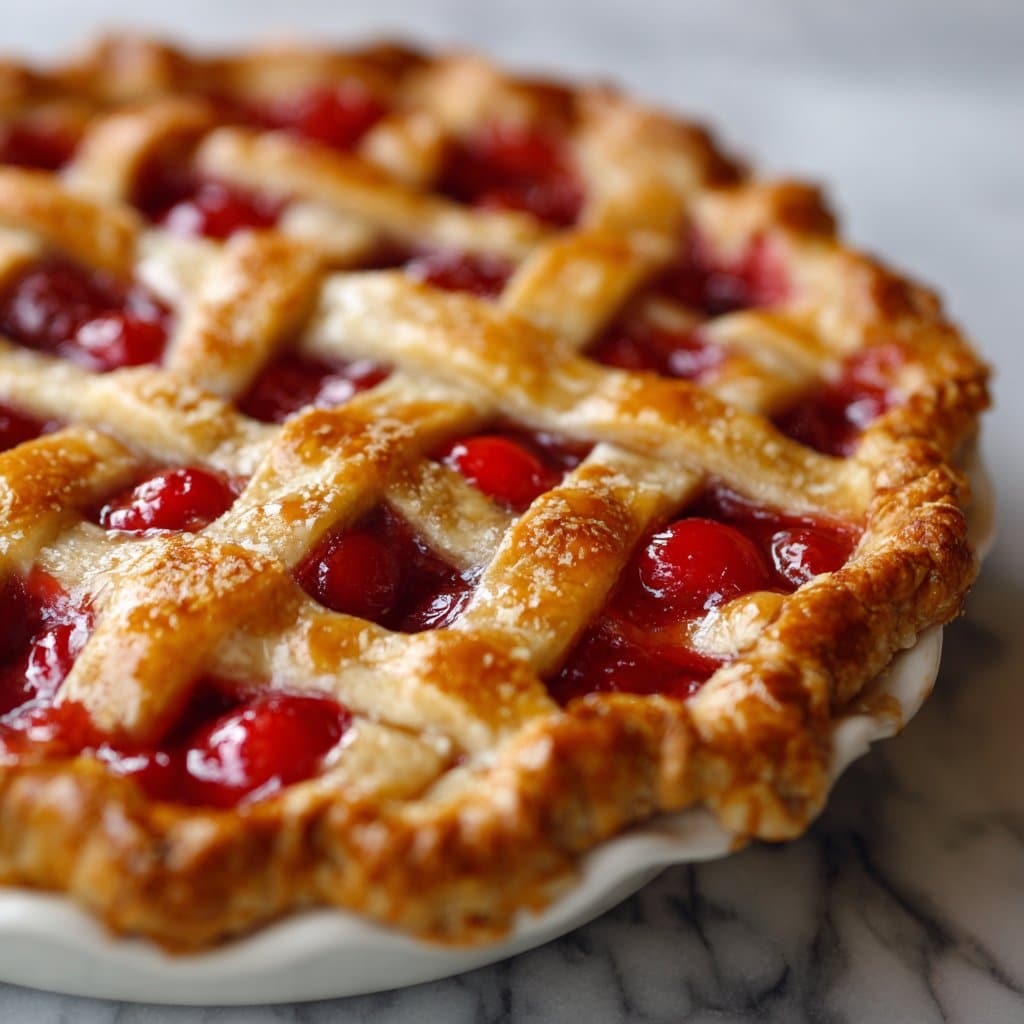
- Roll out the second dough disk. I sometimes do a lattice top, sometimes just slap it on whole and cut a few vents. Both work. If making a lattice, don’t overthink it; rustic is charming.
- Crimp the edges however you like (I pinch and twist; sometimes I just press with a fork if I’m tired). Brush with beaten egg and sprinkle with coarse sugar.
- Bake at 425°F (220°C) for 15 minutes. Then, drop to 375°F (190°C) and bake 40-50 more minutes, until the crust is golden and juices are bubbling. (Don’t freak out if some filling bubbles over. Mine always does.)
- Let it cool at least two hours. Actually, I find it slices way better if you wait. But sometimes I can’t.
Some Notes (Mostly Things I Learned the Hard Way)
- If you use frozen cherries, they’ll leak more juice. Toss them in an extra spoonful of cornstarch—it helps, sorta.
- Butter temperature is everything. If it gets soft, just pop the dough back in the fridge for 10–15 minutes.
- I once tried using only brown sugar, but it overpowered the cherries. Mixing is better.
- Don’t skip the lemon zest—it’s subtle, but does something magical.
Variations I’ve Tried (and One Flop)
- I once mixed raspberries in (half cherries, half raspberries). Really good, but a bit messier. Would do again.
- Swapped almond extract for vanilla—tastes fine, but honestly less interesting.
- Tried a gluten-free crust from Sally’s Baking Addiction—surprisingly decent, but a little tricky to roll out.
- Used canned cherries once—regret it. The texture just wasn’t right. Fresh or frozen is best.
What You’ll Need (But Don’t Panic)
- 9-inch pie plate (I’ve used a cake tin in a pinch. Works fine, just a bit shallower.)
- Rolling pin (Or a wine bottle. No shame. Been there.)
- Mixing bowls
- Pastry brush (I’ve used my fingers. Not elegant, but effective.)
Storing Leftover Pie (If You’re Lucky)
Cover loosely and keep at room temp for a day or two, or pop in the fridge for up to 4 days. Honestly, in my house it rarely survives that long. Freezes pretty well too—wrap individual slices and zap in the microwave when pie cravings strike. (Late night pie is a whole mood.)
How I Like to Serve It
I’m partial to a big scoop of vanilla ice cream (the good stuff, like from Jeni’s) or a dollop of whipped cream. My cousin puts a slice in a bowl and pours a splash of heavy cream over it, which is weirdly delicious. In summer, sometimes I just eat it cold, straight from the fridge, fork in hand, no plate—don’t judge.
Things I’ve Messed Up (So You Don’t Have To)
- Don’t rush the cooling time. I once cut into it hot—juices everywhere, soggy bottom. Was still tasty, but, you know, not Instagram-worthy.
- If your dough cracks, patch it up with scraps. No one notices after it’s baked.
- I used to skip the egg wash, thinking it was just for looks, but actually, it makes the crust crispier too.
Pie Questions I Get All The Time
- Can I use sour cherries? Oh yes! Just up the sugar a bit, maybe an extra 1/4 cup. They bake up beautifully tart.
- Do I have to pit all the cherries by hand? Technically yes, unless you like dental surprises. I have a cheap cherry pitter from OXO, but you can also just poke the pits out with a metal straw. Little messy, but it works.
- My crust isn’t browning! Could be your oven runs cool; give it a few more minutes. Or, actually, sometimes I forget the egg wash and that makes a difference.
- Can I make it ahead? Definitely. Actually, I think this pie tastes even better the next day, once the flavors get cozy together.
- No cornstarch—what now? Flour works, just use a bit more (4 tbsp). It’ll look cloudier, but still tastes grand.
There we have it—my not-so-secret cherry pie for when you wanna impress someone (or just yourself). And hey, if you’re ever in the neighborhood, I’ll save ya a slice. Maybe. Probably. Well, depends on how many pies I’ve already eaten that week.
Ingredients
- 2 1/2 cups (315g) all-purpose flour
- 1 cup (226g) unsalted butter, cold and cubed
- 1/2 teaspoon salt
- 6-8 tablespoons ice water
- 5 cups (700g) fresh sweet cherries, pitted
- 3/4 cup (150g) granulated sugar
- 1/4 cup (30g) cornstarch
- 1 tablespoon lemon juice
- 1 teaspoon vanilla extract
- 1 egg, beaten (for egg wash)
- 1 tablespoon coarse sugar (optional, for topping)
Instructions
-
1In a large bowl, combine flour and salt. Cut in cold butter until mixture resembles coarse crumbs. Gradually add ice water, mixing just until dough comes together. Divide dough in half, shape into disks, wrap, and refrigerate for at least 1 hour.
-
2Preheat oven to 400°F (200°C). In a large bowl, toss pitted cherries with sugar, cornstarch, lemon juice, and vanilla extract until well combined.
-
3On a floured surface, roll out one disk of dough to fit a 9-inch pie dish. Transfer dough to the dish and trim edges. Pour cherry filling into the crust.
-
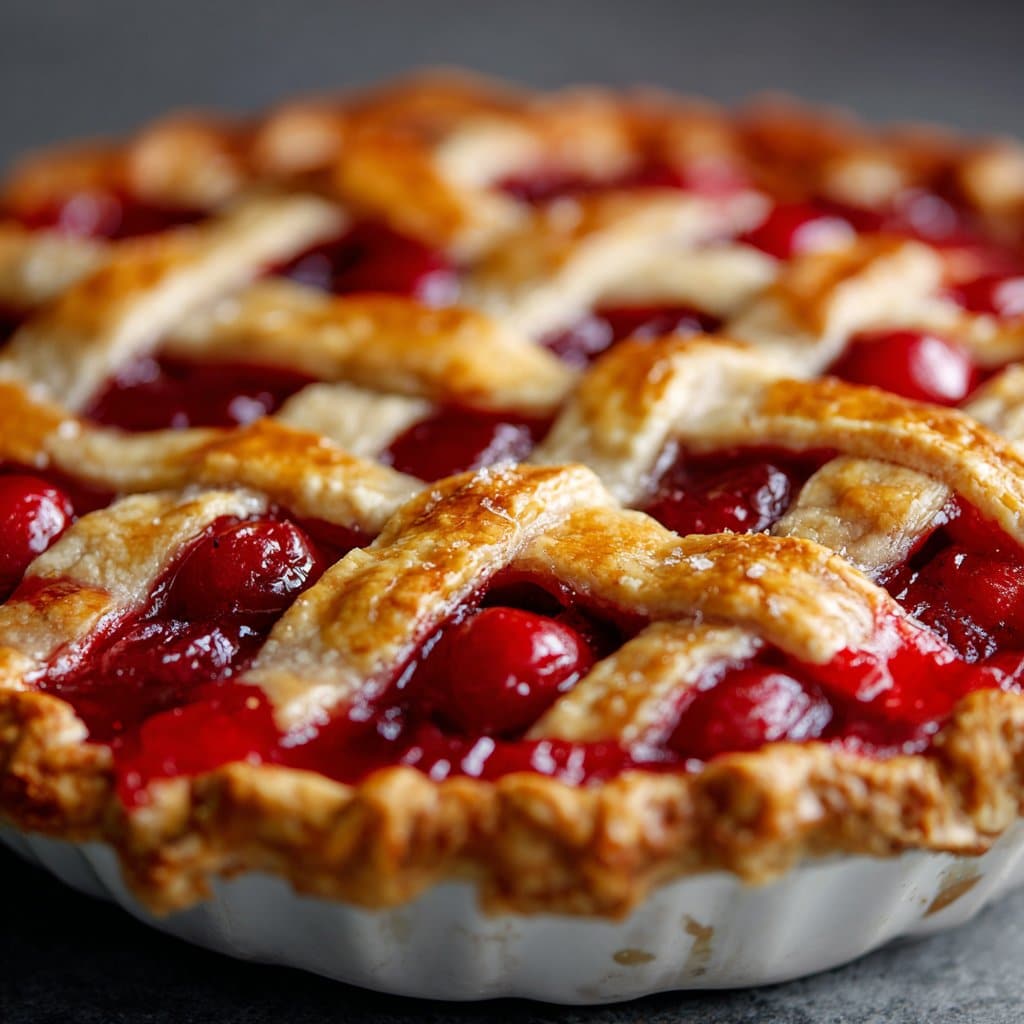
4Roll out the second disk of dough and cut into strips for a lattice top, or leave whole for a solid top crust. Place over filling, seal and crimp edges. Brush with beaten egg and sprinkle with coarse sugar if desired.
-
5Bake for 20 minutes at 400°F (200°C), then reduce oven temperature to 350°F (175°C) and bake for an additional 35 minutes, or until crust is golden and filling is bubbling.
-
6Cool pie on a wire rack for at least 2 hours before slicing and serving.
Approximate Information for One Serving
Nutrition Disclaimers
Number of total servings shown is approximate. Actual number of servings will depend on your preferred portion sizes.
Nutritional values shown are general guidelines and reflect information for 1 serving using the ingredients listed, not including any optional ingredients. Actual macros may vary slightly depending on specific brands and types of ingredients used.
To determine the weight of one serving, prepare the recipe as instructed. Weigh the finished recipe, then divide the weight of the finished recipe (not including the weight of the container the food is in) by the desired number of servings. Result will be the weight of one serving.
Did you make this recipe?
Please consider Pinning it!!




