You Know That One Dessert? Mine Is This Cherry Clafoutis
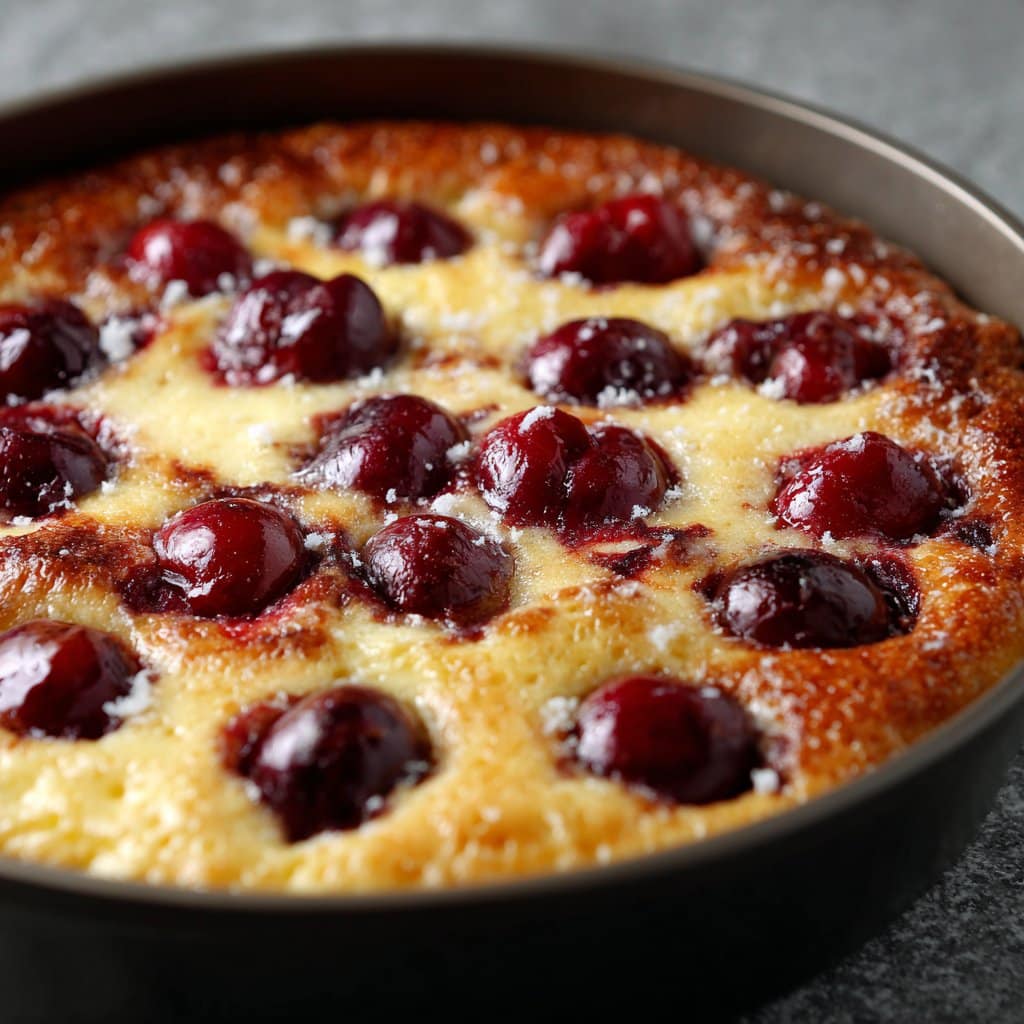
Let me tell you, few things make my kitchen smell as good as when I toss a cherry clafoutis in the oven. The first time I tried making this, my aunt was hovering over me, insisting I’d mess it up if I didn’t use the “right” kind of cherries. Spoiler: I totally used the cheap ones from the supermarket anyway. (And honestly? Still delicious.) This is the dessert I whip out when folks are coming over for tea or, well, if I’ve bought way too many cherries again. I once dropped the entire thing trying to take a picture for Instagram—don’t do that. Cherry juice stains. Everywhere.
Why I Keep Coming Back to This Clafoutis
I make this when I want something homemade but not fussy, you know? My family goes a bit mad for it—probably because it’s basically custard and cherries having a party in a baking dish. Plus, it looks all fancy without much actual effort (unless you insist on pitting every cherry by hand, which I do not recommend unless you have the patience of a saint). Sometimes the custard isn’t perfectly smooth, but no one complains—especially not when there’s a dollop of that vanilla sauce sloshed on top. (Yes, I know it’s technically supposed to be a neat drizzle. Oh well.)
What You’ll Need (+ Some Swaps)
- About 2 cups fresh cherries, pitted (in a pinch, I’ve used frozen cherries—just thaw and pat dry, or even blueberries if cherries are nowhere to be found)
- 3 large eggs (medium work in a bind, honestly)
- 1/2 cup plain flour (I sometimes use spelt flour, but don’t tell my mum; she’s a purist)
- 1/2 cup sugar (granulated, but brown sugar gives a deeper flavour, so go wild)
- 1 cup whole milk (or half milk, half cream if you’re feeling extra)
- 1 tsp vanilla extract (or a little scraped vanilla pod if you’re feeling posh)
- Pinch of salt
- Butter for greasing
- Powdered sugar, to dust (optional, but I like the snowy look)
For the vanilla custard:
- 1 cup whole milk
- 2 egg yolks (I sometimes just use a whole egg, it’s a little lighter that way)
- 2 tbsp sugar
- 1 tsp vanilla extract
- 1 tsp cornflour (some folks use plain flour, but I think cornflour’s easier to work with)
How I Actually Throw This Together
- Preheat your oven to 180°C (350°F). Grease your baking dish (I use a ceramic pie dish, but any medium-ish ovenproof thing works) with butter. Don’t stress if it’s not perfect—just make sure cherries don’t stick.
- Scatter the cherries in the dish. Try to make them look pretty if you like, but they’ll move around anyway once the batter goes in. (This is where I usually eat a few. Quality control, you know?)
- In a big bowl, whisk together eggs and sugar until they look pale and a bit fluffy. Don’t go wild, just enough so they’re friends.
- Add the flour and salt. Give it a good mix (it’s going to look lumpy, but that’s fine; it sorts itself out soon—actually, I find it works better if you sift the flour, but I rarely do). Slowly pour in the milk and vanilla, whisking as you go, until it’s a smooth-ish batter. If it looks weirdly thin, that’s normal.
- Pour the batter gently over the cherries. Some will float, some won’t. I used to fuss over this but honestly, just let them do their thing.
- Bake for about 35-40 minutes. It will puff up dramatically and then fall as it cools. If it browns too quickly, cover loosely with foil. (Don’t open the oven too often though; learned that the hard way—hello, sunken clafoutis.)
- While it’s baking, make the custard: Warm milk in a saucepan until steaming but not boiling. In a bowl, whisk yolks, sugar, and cornflour until smooth. Pour a splash of hot milk into the yolks to temper (I always forget this bit and then panic, but somehow it turns out fine). Then add the lot back into the pan. Stir constantly on gentle heat until it thickens. If it curdles, don’t worry—it does sometimes—just strain it and call it rustic.
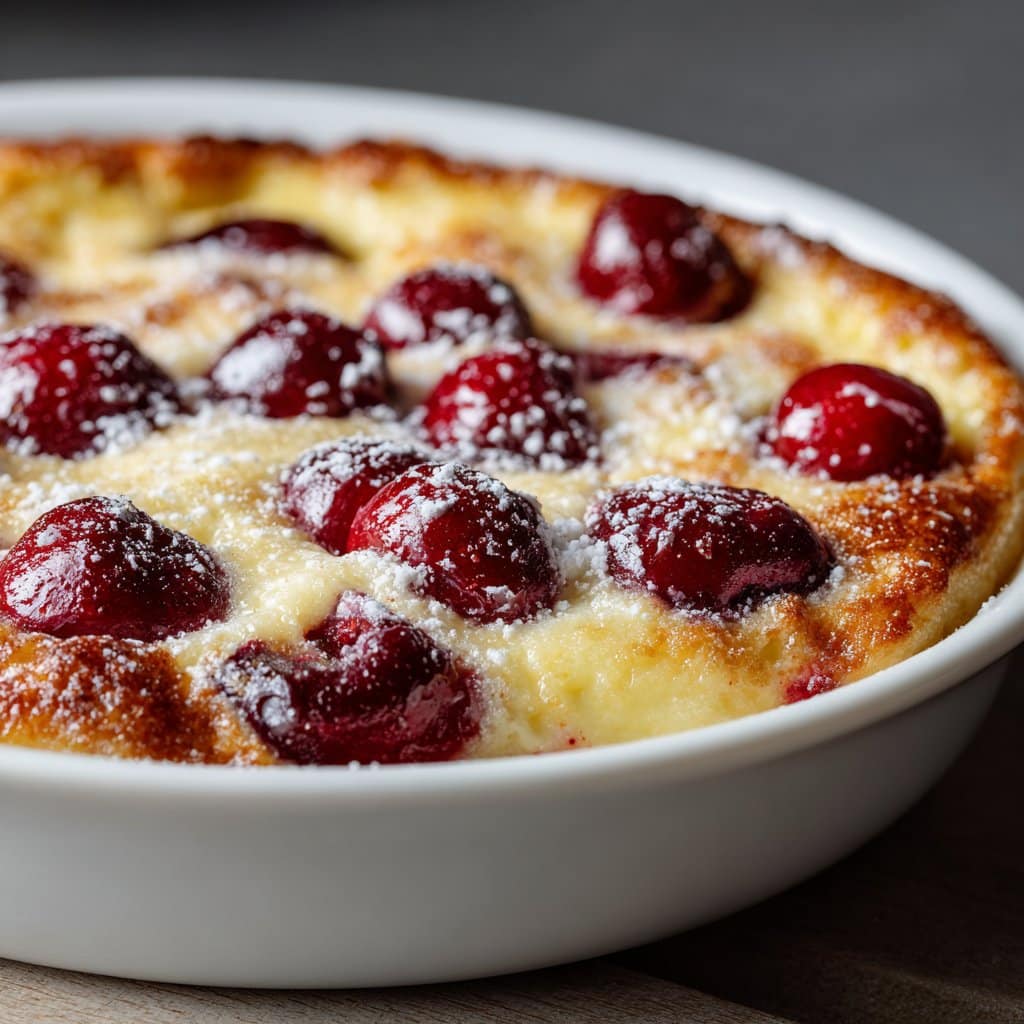
- Let the clafoutis cool a touch, dust with powdered sugar (if you want), then serve with a hefty pour of the custard. Or just eat it straight from the dish with a spoon; I’m not judging.
Little Notes From Someone Who’s Messed This Up A Few Times
- If you use frozen cherries, dry them off; otherwise, the batter gets a bit watery (learned the hard way).
- Don’t overbake. It’s meant to be a bit wobbly in the middle—if you bake it until it’s firm, it goes rubbery. Not ideal.
- If your custard splits, a quick blitz with a stick blender usually saves the day. Or just pretend it was meant to be rustic, like I do.
How I’ve Twisted It (Some Good, Some… Not So Much)
- I’ve swapped cherries for raspberries once or twice—my nephew was not impressed, but I liked it.
- I tried making it gluten-free with almond flour. It tasted lovely, sort of like a pancake, but didn’t set quite right.
- Once I threw in a splash of kirsch (cherry liqueur). It was, erm, a bit much. Maybe stick to vanilla.
What If I Don’t Have…?
- No ceramic dish? A metal cake tin works—just maybe line it with parchment (I once used a casserole dish; it was fine, honestly).
- No whisk? A fork and some elbow grease do the job. That’s how my gran did it, after all.
Keeping Leftovers (If That Ever Happens)
Pop leftovers in the fridge—covered, or they’ll dry out. Clafoutis is good cold, or you can zap it in the microwave for a few seconds. But, truthfully, in my house it never lasts more than a day. (Isn’t that always the way?)
How I Like To Serve Mine
I usually plonk it down with a jug of vanilla custard and some extra cherries on the side if I’ve got them. Sometimes I add a scoop of vanilla ice cream because… why not? On birthdays, we’ve been known to stick a candle in it (it’s no cake, but it’ll do in a pinch).
Pro Tips (a.k.a. Stuff I’ve Messed Up)
- I once tried to rush the baking and turned up the heat—bad idea. It browned too fast and was wobbly in the wrong way.
- Forgot to butter the dish once. Total disaster. The clafoutis stuck like glue, so now I double-butter (just to be safe).
- Actually, letting it cool for 10 minutes makes it easier to slice, though I’m not always that patient.
FAQ: You Asked, I’m Answering
- Do I need to pit the cherries? Honestly, yes, unless you like surprises. But I’ve been lazy and just warned everyone to eat carefully—your call!
- Can I make this ahead? Yep! I think it tastes better the next day, though it does get a bit denser.
- Is it freezer-friendly? I tried freezing a slice once. It was a bit soggy when thawed but still tasty with extra custard.
- Could I use tinned cherries? Probably, just drain them well. They’re a bit sweeter, but who’s complaining?
- Why did my clafoutis sink? They always do. It’s not a souffle. If it’s golden and set on the edges, you’re golden.
If you want to geek out more, Serious Eats has a deep dive on clafoutis science, and I sometimes check BBC Good Food for extra ideas. Just don’t let it stress you out—this is supposed to be fun. And sticky. Definitely sticky.
Ingredients
- 2 cups fresh cherries, pitted
- 3 large eggs
- 1 cup whole milk
- 1/2 cup granulated sugar
- 1/2 cup all-purpose flour
- 1 tsp vanilla extract
- 1/4 tsp salt
- 1 tbsp unsalted butter (for greasing)
- Powdered sugar, for dusting
- 1 cup vanilla custard sauce (store-bought or homemade)
Instructions
-
1Preheat the oven to 350°F (175°C). Grease a 9-inch round baking dish with unsalted butter.
-
2Arrange the pitted cherries evenly in the bottom of the prepared baking dish.
-
3In a mixing bowl, whisk together the eggs and granulated sugar until pale and slightly thickened.
-
4Add the flour, milk, vanilla extract, and salt to the egg mixture. Whisk until smooth and well combined.
-
5Pour the batter over the cherries in the baking dish. Bake for 35-40 minutes, or until the clafoutis is puffed and golden and a toothpick inserted into the center comes out clean.
-
6Let cool slightly. Dust with powdered sugar and serve warm or at room temperature with vanilla custard sauce.
Approximate Information for One Serving
Nutrition Disclaimers
Number of total servings shown is approximate. Actual number of servings will depend on your preferred portion sizes.
Nutritional values shown are general guidelines and reflect information for 1 serving using the ingredients listed, not including any optional ingredients. Actual macros may vary slightly depending on specific brands and types of ingredients used.
To determine the weight of one serving, prepare the recipe as instructed. Weigh the finished recipe, then divide the weight of the finished recipe (not including the weight of the container the food is in) by the desired number of servings. Result will be the weight of one serving.
Did you make this recipe?
Please consider Pinning it!!




