Alright, Let’s Talk About These Fudgy Brownie Cookies
You know those days when you want brownies and cookies, but life throws you a curveball and you can’t pick? Happened to me last winter during one of those endless rainy Saturdays. The kids were wild, the power threatened to flicker out, and all I wanted was chocolate therapy without fuss. That’s when this Fudgy Brownie Cookies Recipe fell into my lap (well, onto my lap, courtesy of a very enthusiastic search and a cup of spilled cocoa). I swear, these cookies have rescued my mood at least a dozen times since. They’re gooey like the best brownies, but somehow even easier – and if you sneak a couple before dinner, I won’t tell. I mean, who could blame you?
Why You’ll Love This (Even If Brownies Have Let You Down Before)
I make these whenever my sweet tooth’s got the upper hand – which is often, to be honest. My family goes mad for them because they’re all about that deep chocolate flavor, but you get these crispy edges that are, I dunno, just magical. Plus, you don’t need a mixer or anything fancy. Oh, and I used to think you needed to melt chocolate “just so” for brownie things, but honestly, I just chuck it in the microwave now. (Sometimes they come out a bit super gooey if you rush them, but I actually like that… just grab a spoon!)
Here’s What You’ll Need (or Improvise, Like I Do)
- 200g (about 7oz) dark chocolate – I use 70% when I can, but milk chocolate works too (it’s a bit sweeter). My gran always swore by Lindt, but, really, store brand is fine.
- 2 tbsp unsalted butter – salted’s okay if that’s what you’ve got, just skip the extra salt later.
- 2 large eggs (I once used 3 small ones; it worked, but a tad cakier)
- 150g (3/4 cup) sugar – white, brown, whatever’s handy. I sometimes go half-and-half.
- 50g (a generous 1/3 cup) plain flour. If you’re gluten-free, I actually tried almond flour once and it turned out a little softer but still tasty.
- 2 tbsp cocoa powder – Dutch-processed is fancy but regular works. I skip it if I run out and just add a pinch more chocolate!
- 1/4 tsp baking powder (sometimes I forget, honestly, but they still taste great just flatter)
- Pinch of salt
- A splash of vanilla (1/2 tsp or so, but I’ve eyeballed it plenty of times)
- Optional: a handful of chocolate chips, nuts, or even dried cherries if you like a little surprise
How I Actually Make Them (With a Few Oops Moments)
- Preheat your oven to 180°C (350°F). If it’s a dodgy oven, give it a little extra time – mine runs hot, so I check early.
- Melt the chocolate and butter together; I just use the microwave in 30-second bursts, stirring in between. Don’t freak out if it looks a bit gritty – give it a stir, it’ll smooth out eventually.
- In another bowl, whisk eggs and sugar till it’s a bit frothy. If you can’t be bothered, just give it a good beat with a fork – I promise it’s forgiving.
- Pour the melted chocolate mix into the eggs and sugar. Goes brown and glossy and this is where I usually sneak a taste, just to check it’s, you know, chocolatey enough.
- Now, tip in the flour, cocoa powder, baking powder, salt, and vanilla. Stir till you can’t see dry flour, but don’t overmix. If you’re going rogue with extras (chips, nuts, whatever), fold them in now.
- Spoon blobs (maybe golf-ball sized? Or whatever looks right!) onto a baking tray lined with parchment. They spread a bit, so leave space.
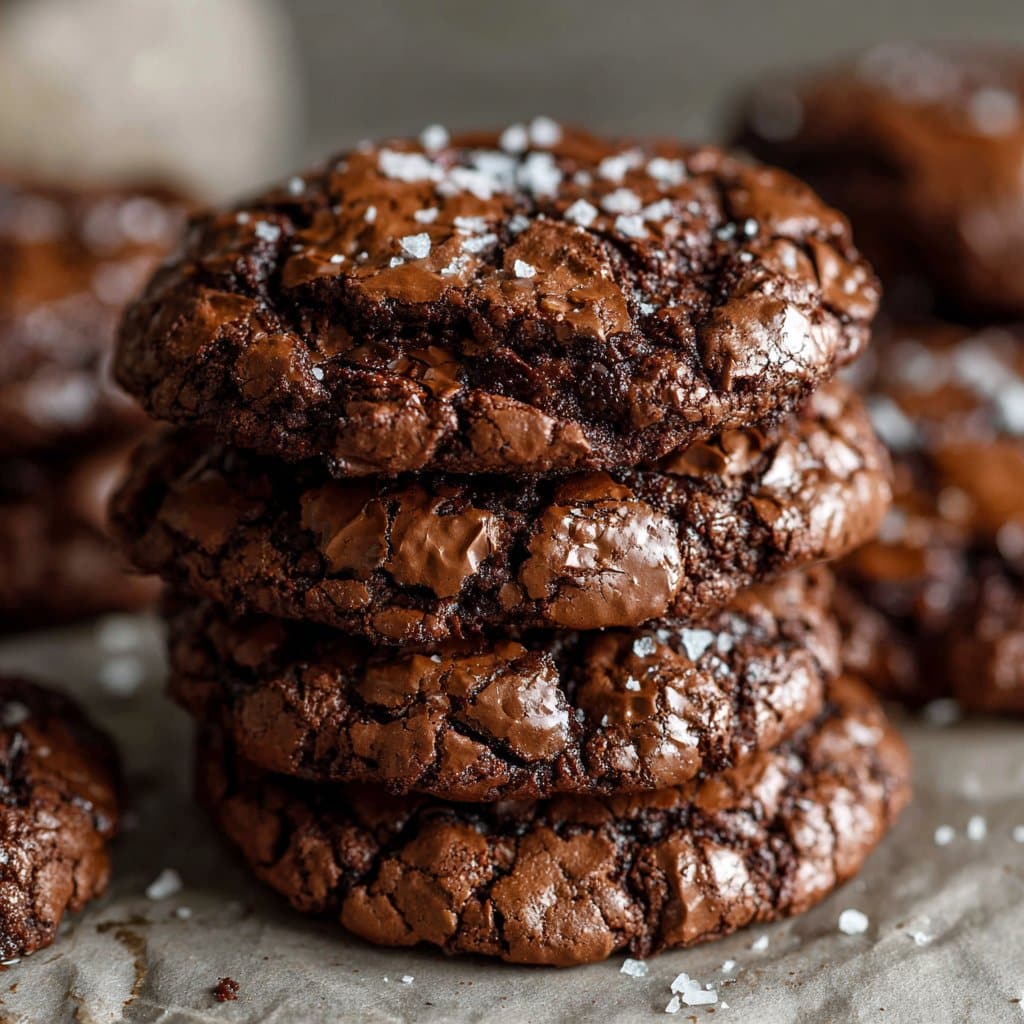
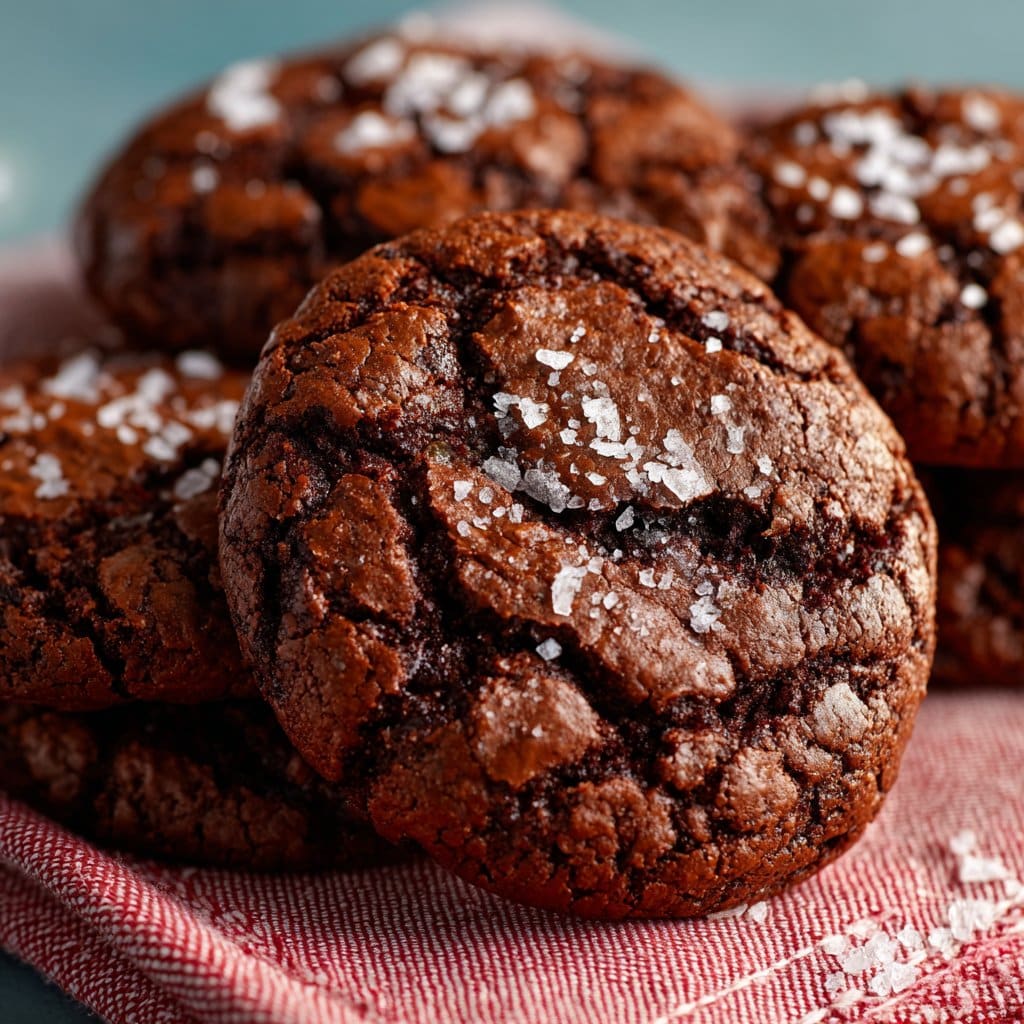
- Bake for about 9–11 minutes, depending on how gooey you like them. The edges will look set, but the middles might still wobble – that’s your cue to take them out. They set up more as they cool. If you leave them in too long, they’ll be chewy, which isn’t the worst thing in the world.
Notes from the Trenches (Er, My Kitchen)
- I once tried using only cocoa powder for the chocolate part – don’t do it; they turn out weirdly dry and not in a good way.
- The dough is sticky, so sometimes I dampen my hands to shape the cookies a little, or just embrace the mess.
- Actually, letting the dough sit for 5–10 mins before baking makes them puff up a bit more, but I rarely have the patience.
Fun Variations I’ve Experimented With (And One That Didn’t Fly)
- Stirred in a spoon of espresso powder – wow, that chocolate jumps out at you.
- Added chopped pecans and orange zest – kind of Christmassy, but in a good way.
- Tried a dash of chili powder once, thinking I’d be fancy. Eh, not for me, but maybe you like a bit of heat?
What If I Don’t Have the Right Equipment?
You really don’t need a mixer – a whisk (or even a fork) does the trick. No parchment? Grease the tray with butter. I’ve even used a pizza tray when my baking sheet went missing. It’s all good.
How to Store These (Although, Honestly…)
If you somehow have leftovers, keep them in an airtight tin at room temp for up to 3 days. Or freeze them, but I’ve never managed that – they vanish before I can try. They do get a little chewier the next day, which I honestly prefer.
How I Serve Them (With a Bit of Family Chaos)
Best warm, with a scoop of vanilla ice cream (that’s my youngest’s demand). My husband dunks them in coffee – thinks he’s very continental. Sometimes, we just sit around the kitchen table, eating them straight from the tray, and nobody complains (except the dog, who doesn’t get any).
Pro Tips I Learned the Hard Way
- I once tried to skip parchment and just grease the tray – big mistake, they stuck like glue. Use parchment if you can.
- If you rush the cooling step, they fall apart. I know, it’s tempting, but let them cool for at least 10 minutes so they hold together (even if you just shovel them into your mouth after that).
- On second thought, underbake them slightly. I think they taste better gooey rather than dry.
FAQ (Because Folks Actually Ask Me This Stuff)
- Can I use milk chocolate instead of dark? Yep, but your cookies will be sweeter and a bit less intense. Sometimes I even do half and half if I’m clearing out the cupboards.
- Why are my cookies spreading too much? Probably the dough was a bit warm or the butter too soft. Next time, chill the dough 10 mins before baking. Or just enjoy the flat, chewy kind!
- Can I make these without eggs? I haven’t, but a friend said a flax egg worked okay. They were a bit different in texture though.
- Do I have to use fancy chocolate? Ah, honestly, use what you’ve got. If you want to geek out, check some chocolate reviews at Serious Eats or Cooks Illustrated. But I’d rather just get baking.
- Can I double the recipe? Sure thing, just use two trays or bake in batches. Or make a mess and call it rustic. (I do!)
So that’s my fudgy brownie cookies recipe, in all its (occasionally messy) glory. If you try it, let me know how it goes—or tell me if you find a way to get them to last longer than a day. Now, where did I put that kettle…?
Ingredients
- 1 cup semisweet chocolate chips
- 2 tablespoons unsalted butter
- 2/3 cup granulated sugar
- 2 large eggs
- 1 teaspoon vanilla extract
- 1/2 cup all-purpose flour
- 2 tablespoons unsweetened cocoa powder
- 1/4 teaspoon baking powder
- 1/4 teaspoon salt
Instructions
-
1Preheat the oven to 350°F (175°C) and line two baking sheets with parchment paper.
-
2Melt the chocolate chips and butter together in a microwave-safe bowl or over a double boiler until smooth. Let cool slightly.
-
3In a large bowl, whisk together the sugar, eggs, and vanilla extract until well combined.
-
4Stir the melted chocolate mixture into the egg mixture. Add the flour, cocoa powder, baking powder, and salt. Mix until just combined.
-
5Drop tablespoonfuls of dough onto the prepared baking sheets, spacing them about 2 inches apart.
-
6Bake for 10-12 minutes, or until the cookies are set around the edges but still soft in the center. Cool on the baking sheet for 5 minutes before transferring to a wire rack.
Approximate Information for One Serving
Nutrition Disclaimers
Number of total servings shown is approximate. Actual number of servings will depend on your preferred portion sizes.
Nutritional values shown are general guidelines and reflect information for 1 serving using the ingredients listed, not including any optional ingredients. Actual macros may vary slightly depending on specific brands and types of ingredients used.
To determine the weight of one serving, prepare the recipe as instructed. Weigh the finished recipe, then divide the weight of the finished recipe (not including the weight of the container the food is in) by the desired number of servings. Result will be the weight of one serving.
Did you make this recipe?
Please consider Pinning it!!




