So, Here’s the Story With These S’mores Cookies
If you’ve ever tried to make real s’mores indoors in the middle of a rainstorm—I have, and let me tell you, the smoke alarm does NOT appreciate it—you know sometimes you just need a shortcut to gooey, chocolatey, marshmallow happiness. Enter: these S’mores Cookies. First time I made them, I was trying to impress my little cousin who thought I was “too old to know what’s cool.” These cookies proved otherwise. (She actually texted me the next day asking for more. Take that, TikTok.)
Why I Keep Making These (Even When I Shouldn’t)
I make these when I want something that feels like summer camp but with way less bug spray. My family goes absolutely bonkers for them—especially my brother, who claims he just wants “one” but then somehow the tray’s empty. I also whip these up if I have leftover marshmallows from, well, failed hot cocoa ambitions. They’re best for when you need a cookie that gets ooey-gooey in the middle and makes a mess worth licking off your fingers. Not gonna lie, sometimes the marshmallows leak out the sides and you think you’ve ruined it, but honestly, those sticky edges are the best part.
Let’s Talk Ingredients (and Some Cheeky Swaps)
- 1 cup (225g) unsalted butter, softened (if I forget to take it out, I nuke it for a few seconds—just don’t melt it)
- 3/4 cup brown sugar (I’ve snuck in dark and light, both work)
- 1/2 cup white sugar
- 2 large eggs
- 1 teaspoon vanilla extract (use the real stuff if you can; otherwise, the fake stuff’s fine, your secret’s safe with me)
- 2 1/4 cups all-purpose flour (I’ve done half whole wheat in a pinch—it’s a little nuttier but still yum)
- 1 teaspoon baking soda
- 1 teaspoon salt (sometimes I just do a generous pinch—don’t stress)
- 1 cup semi-sweet chocolate chips (milk choc chips work, or even chopped up chocolate bars if you’re feeling fancy)
- 3/4 cup mini marshmallows (but big ones, torn up, will do the trick—more rustic, my grandma would say)
- 6 sheets graham crackers, broken up—about a cup (digestives if you’re across the pond, or I’ve used vanilla wafers in a moment of desperation)
How You Actually Make ‘Em
- Preheat your oven to 180°C (350°F). Line two baking trays with parchment, unless you ran out—then just grease ‘em up and hope for the best (hey, it works!).
- Cream butter and both sugars together in a big bowl till it looks fluffy-ish. I use an electric mixer, but a wooden spoon and some elbow grease will do if you’re feeling old-school. This is where I usually sneak a taste. Quality control, right?
- Crack in the eggs, add the vanilla, and mix again until it’s all one big happy family.
- Sift (or dump, honestly, if you can’t be fussed) the flour, baking soda, and salt into the bowl. Mix until just combined. Don’t overdo it—unless you want tough cookies, which, I mean, someone might.
- Stir in the chocolate chips, mini marshmallows, and graham cracker pieces. The dough gets a bit sticky—don’t worry if it’s not perfectly mixed. I sometimes use clean hands at this point because spoons are useless here.
- Scoop tablespoonfuls of dough onto your trays. Leave space—they spread! Sometimes the marshmallows kind of stick out, which looks weird now but turns awesome in the oven.
- Bake for 9–11 minutes. You want the edges golden and the centers a bit soft. They’ll look underdone but actually, they set up as they cool. (I once pulled them out too soon and, well, let’s just call it s’mores pudding.)
- Let ‘em cool on the tray for a few minutes before moving them to a wire rack (or a plate if you don’t own a rack—no judgment!). If you try to move them too soon they fall apart. Yes, I learned form experience.
Things I’ve Messed Up (So You Don’t Have To)
- If your marshmallows totally disappear, it’s probably because they were too close to the edge; tuck ‘em inside the dough for maximum gooeyness.
- I once forgot to add the salt and the cookies tasted sort of flat—don’t skip it!
- Don’t worry if the graham crackers get a bit mushy; actually, I like them better that way.
Variations That Might Just Work (Or Not…)
- I swapped regular marshmallows for those fancy flavoured ones once. Was it a good idea? Eh, depends—strawberry ones turned the cookies pink, which was weirdly fun for Valentine’s but not my usual vibe.
- Chopped up peanut butter cups instead of chocolate chips? Oh man, yes, do that if you’re into PB things.
- I tried vegan marshmallows once. They melted but didn’t get gooey—maybe try adding them halfway through baking instead? Still experimenting here.
Tools You’ll (Probably) Need
- Mixing bowl – Big is better, but if you only have a small one, just go slow and mix in batches (I did this once in a salad bowl. Not proud, but it worked.)
- Electric mixer or just a spoon
- Baking trays
- Parchment paper – Or, if you run out, a bit of butter and flour on the tray works in a pinch
- Wire rack (honestly, cool them on your stovetop grates if you’re out of racks—I won’t tell!)
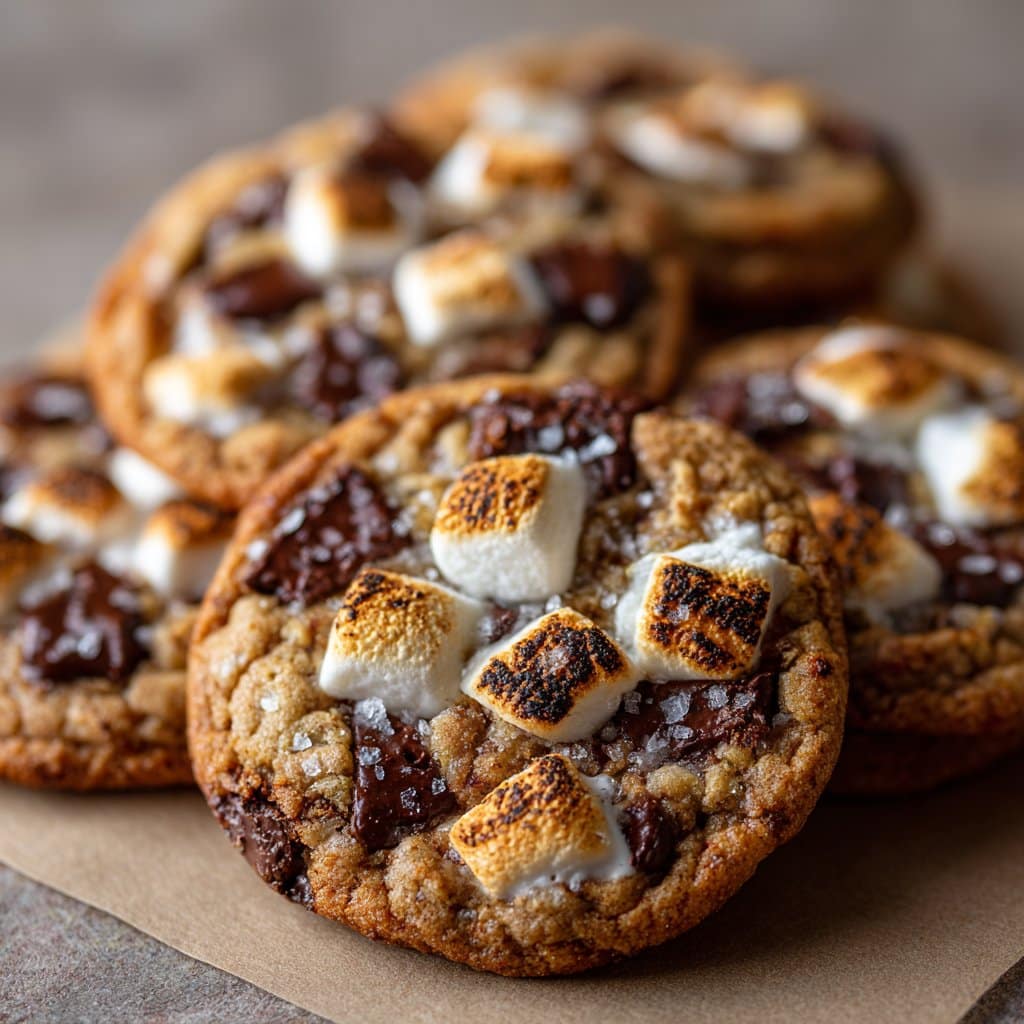
How to Store Them (If You Have Any Left)
Pop any leftovers (ha!) in an airtight container. They stay chewy for 2–3 days, though honestly, in my house they never last more than a day! I think they taste even better the next morning with a sneaky cup of coffee. If you want to keep them longer, freeze ‘em. Just don’t microwave to thaw—oven’s better for that gooey magic.
How We Serve ‘Em (You Do You, Though)
I love these with a big glass of cold milk, but my dad dunks his straight into coffee—says it’s the only way. My cousin likes to sandwich a toasted marshmallow between two cookies for double trouble. Honestly, the weirder the better. Actually, we sometimes crumble them over vanilla ice cream. Try it, trust me.
Lessons Learned (So You Don’t Faceplant Like I Did)
- Don’t rush the creaming step. I tried once and the cookies were flat as pancakes. Slow and steady, or at least give it a good minute.
- If you put the marshmallows right on the outside, they can burn and make a sticky mess. Good in theory, but a nightmare to clean off the tray.
- Chilling the dough for 30 mins makes puffier cookies, but I rarely have the patience. They’re still good if you bake straight away.
Answering Real Questions (Because My Friends Actually Ask These)
- Can I make these gluten-free?
- Yeah! Just swap in a cup-for-cup GF flour blend. My friend Jess tried it with Bob’s Red Mill and said they came out awesome. The dough can get a little crumbly, though.
- What’s the best way to keep the marshmallows from melting everywhere?
- Tuck most of them inside the dough balls; don’t put them right on top. You’ll still get gooey bits, just less mess on your trays.
- Do I really need to use graham crackers?
- I mean, it’s not s’mores cookies without them, but you can totally use digestive biscuits or even Honey Maid if you’re in North America. I even tried with Lotus Biscoff once—not bad, just very different.
- Can I freeze the dough?
- Yup, just scoop the dough into balls and freeze on a tray. Once solid, put them in a zip bag, then bake from frozen (add a minute or two to the time).
- Is there a way to make them even gooier?
- Oh, totally. Just poke an extra marshmallow chunk into the center of each cookie before baking. Messy? Yeah. Worth it? Absolutely!
- How do I stop myself eating the dough?
- Honestly? If you figure this out, let me know. (I don’t recommend eating too much raw dough—eggs and all that—but who can resist?)
Alright, if you want more geeky kitchen tricks, check out Sally’s Baking Addiction—she’s basically my cookie guru. And if you’ve got any weird s’mores cookie creations, message me! (I’m always up for a baking experiment, even when it gets weird.)
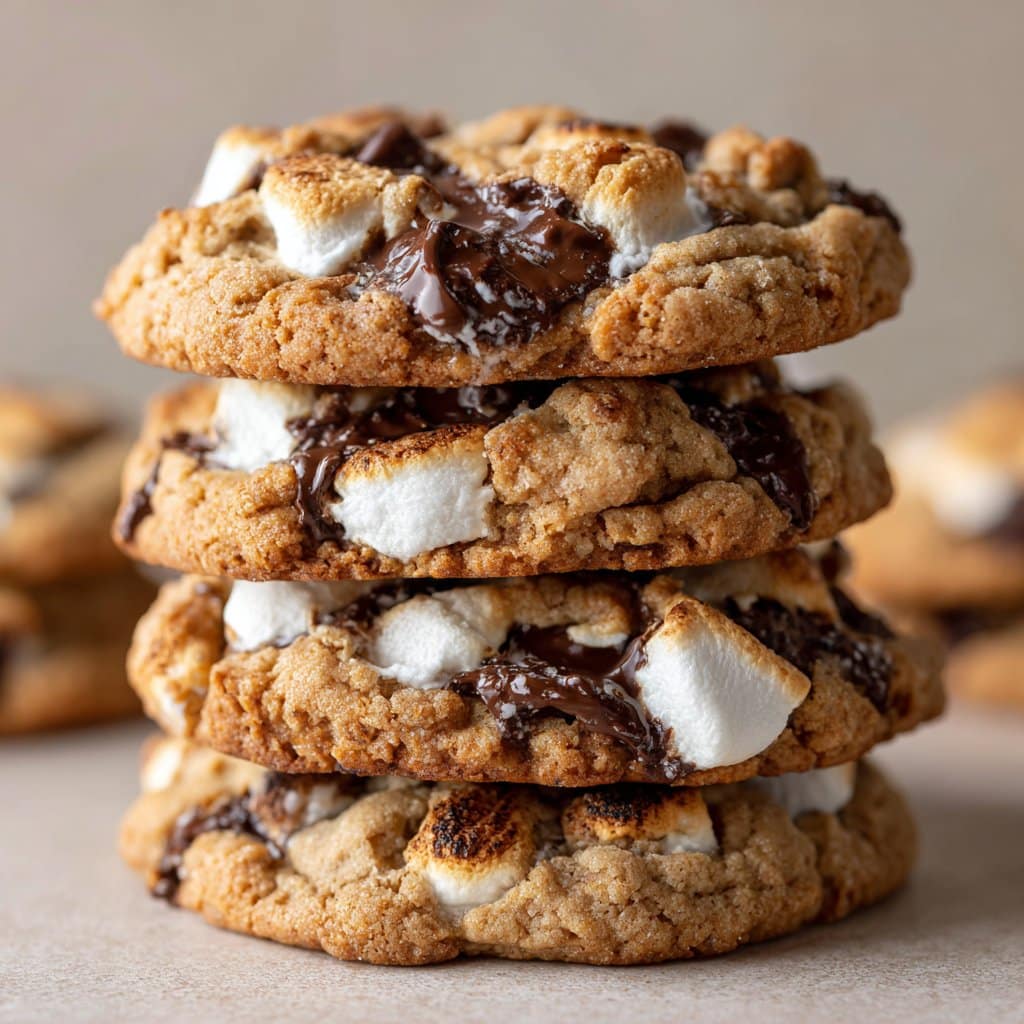
Ingredients
- 1 1/2 cups all-purpose flour
- 1 cup graham cracker crumbs
- 1/2 teaspoon baking soda
- 1/2 teaspoon salt
- 1/2 cup unsalted butter, softened
- 1/2 cup granulated sugar
- 1/2 cup brown sugar, packed
- 1 large egg
- 1 teaspoon vanilla extract
- 1 cup semi-sweet chocolate chips
- 1 cup mini marshmallows
- 1/2 cup milk chocolate chunks
Instructions
-
1Preheat the oven to 350°F (175°C) and line two baking sheets with parchment paper.
-
2In a medium bowl, whisk together the flour, graham cracker crumbs, baking soda, and salt.
-
3In a large bowl, cream the softened butter, granulated sugar, and brown sugar until light and fluffy. Beat in the egg and vanilla extract.
-
4Gradually mix the dry ingredients into the wet ingredients until just combined. Fold in the semi-sweet chocolate chips, milk chocolate chunks, and mini marshmallows.
-
5Scoop tablespoon-sized balls of dough onto the prepared baking sheets, spacing them about 2 inches apart.
-
6Bake for 10-12 minutes, or until the edges are golden and the centers are set. Cool on the baking sheet for 5 minutes before transferring to a wire rack.
Approximate Information for One Serving
Nutrition Disclaimers
Number of total servings shown is approximate. Actual number of servings will depend on your preferred portion sizes.
Nutritional values shown are general guidelines and reflect information for 1 serving using the ingredients listed, not including any optional ingredients. Actual macros may vary slightly depending on specific brands and types of ingredients used.
To determine the weight of one serving, prepare the recipe as instructed. Weigh the finished recipe, then divide the weight of the finished recipe (not including the weight of the container the food is in) by the desired number of servings. Result will be the weight of one serving.
Did you make this recipe?
Please consider Pinning it!!




