So, Here’s the Tale: The First (Disastrous) Funeral Potatoes I Ever Made
You know that feeling when you show up to a potluck and everyone’s hovering around one casserole dish like it’s the secret treasure chest? That was my first intro to Funeral Potatoes. I’ll admit: I had no idea why they were called that. I asked my aunt Lila, and she just shrugged — “Honey, you just eat and don’t ask.” The first time I made them, I forgot the cornflakes on top and, honestly, it was a little sad looking (still tasty, but you miss the crunch). Anyway, if you’re looking for the ultimate creamy, cheesy, golden-topped potato bake — this is it. Or, at least, my slightly irreverent version!
Why You’re Gonna Love This (According to My Family)
I make this whenever we’ve got more than three people coming over, or when my week’s just been a bit much and I need something that tastes like a warm blanket. My family loses their minds over it (to the point where I have to hide a corner for myself if I want leftovers). The smell alone is enough to bring people into the kitchen — though my husband always says, “Babe, next time, double the cheese.” Oh, and this is one of those rare dishes where store-brand stuff works just fine (although, I did once use some fancy Irish cheddar and — oh boy — that was a treat).
All the Stuff You Need (and the Stuff You Can Swap)
- 1 big (32 oz) bag of frozen shredded hash browns – or about 6 cups if you want to grate actual potatoes (I’ve done both, depends on how motivated I am)
- 2 cups sour cream – full fat tastes best, but I sometimes use Greek yogurt if it’s all I have
- 1 can (10.5 oz) condensed cream of chicken soup (cream of mushroom is fine if you want to go veggie—my sister claims it’s “almost as good”)
- 2 cups shredded cheddar cheese (sharp is my go-to, but I mix in some mozzarella if I’m feeling wild)
- 1/2 cup melted butter (I just eyeball it tbh, but 1 stick is about right)
- 1/2 of a small onion, diced fine (or a couple teaspoons dried onion flakes if I’m in a hurry… shh, don’t tell my grandma)
- 1 teaspoon salt, 1/2 teaspoon black pepper (I never measure exactly, to be honest)
- 2 cups cornflakes, lightly crushed (or use panko, or even crushed potato chips — my neighbor swears by BBQ chips, which, um, wasn’t for me)
- 2 more tablespoons melted butter for the topping (but sometimes I skip this and nobody notices)
Okay, How Do You Make This? (No Stress, Promise)
- Preheat your oven to 350°F (175°C). If you forget, like I do, just pop it in once you remember and add an extra five minutes.
- In a big ol’ bowl, dump in your thawed hash browns (if they’re still a bit frozen — it’s fine), sour cream, soup, cheese, butter, onion, salt and pepper. Mix it up until it looks creamy. This is where I usually sneak a taste — for “quality control” reasons.
- Spoon everything into a 9×13 inch casserole dish. Don’t worry if it looks kinda lumpy; it always smooths out while baking.
- Mix your crushed cornflakes with the extra melted butter and sprinkle over the top. Or just scatter them dry if you’re feeling lazy. (I’ve done both, honestly.)
- Bake uncovered for 45-50 minutes, or until golden brown on top and bubbling at the edges. Sometimes my oven runs hot, so keep an eye on things; if the top looks too brown, just loosely toss some foil on it for the last ten minutes or so.
- Let it cool a few minutes before scooping. Or just go for it if you’re too impatient — I’ve burned the roof of my mouth more than once, but worth it.
Notes I Learned the Hard Way
- Don’t skip thawing the hash browns unless you like ice-cold potato chunks lurking in your bite. (Happened once, never again.)
- I think it tastes even better the next day (if you can keep people form eating it all — good luck).
- Half a block of cream cheese, softened and mixed in, makes it extra decadent, if you’re feeling dangerous.
Stuff I’ve Tried (Some Good, Some… Not So Much)
- Added a pinch of smoked paprika on top. That was spot on.
- Used leftover roast chicken, shredded and stirred in — boom, instant meal.
- Tried low-fat sour cream once. Regretted it. Just… don’t.
- Once I swapped cornflakes for kettle chips — sounded good, but got a little greasy. Lesson learned!
What You’ll Need (and What to Do if You Don’t Have It)
- 9×13 inch casserole dish (I’ve used two smaller pans when mine was in the dishwasher, worked fine)
- Big mixing bowl (or just a large, clean pot if that’s what you’ve got)
- Cheese grater (if you’re shredding your own cheese — or just buy it already shredded, I won’t judge)
If you don’t have a proper oven, I think a toaster oven could work for small batches. Haven’t tried the air fryer yet, but that might be my next experiment.
Storing Your Leftovers (If Any Make It That Far)
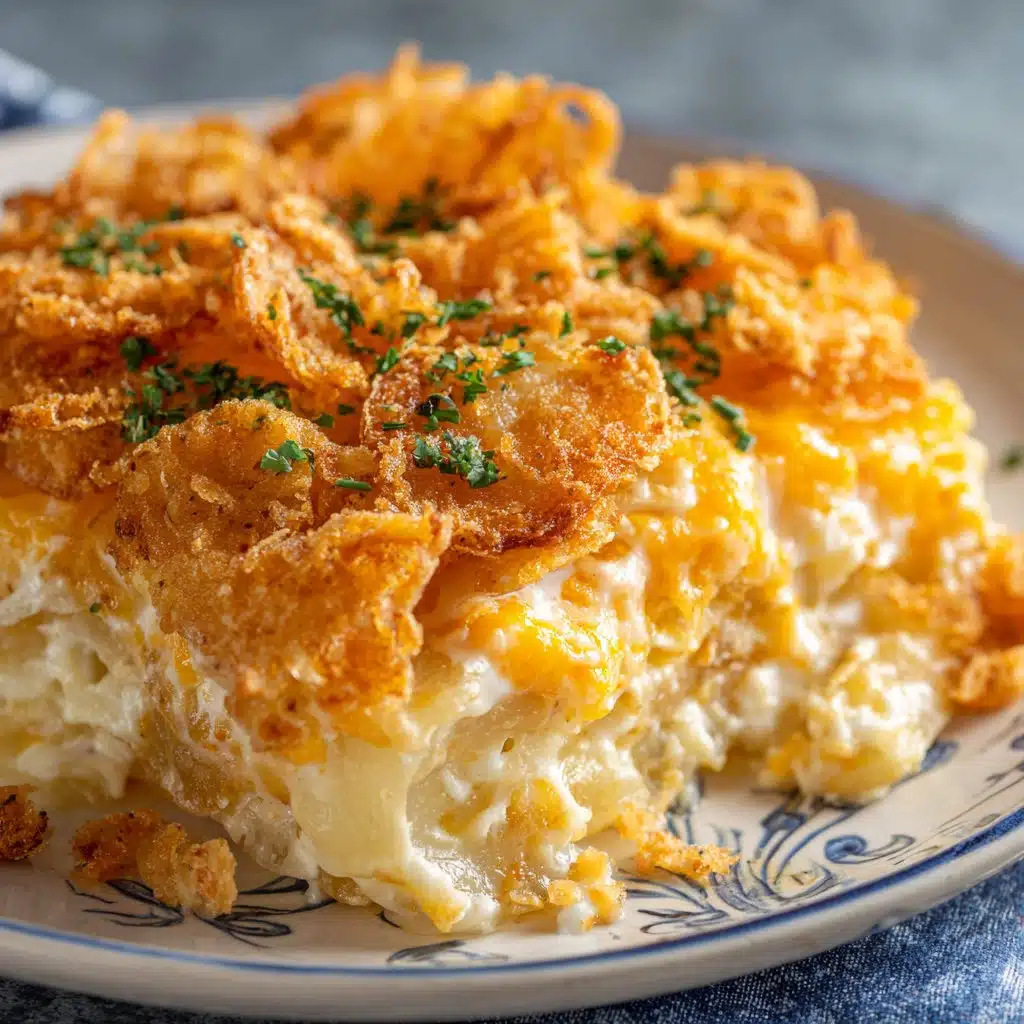
Technically, you can keep this in the fridge for up to 3 days, covered. But honestly, in my house it never lasts more than a day! For reheating, microwave works, though the top won’t be as crisp. If you want to get fancy, a quick blast under the broiler brings the crunch back to life.
How I Like to Serve It (and a Weird Family Tradition)
I plop big spoonfuls of these potatoes next to ham at Easter, or with grilled sausages in the summer. My uncle puts ketchup on his, which I used to think was just wrong, but… actually, I find it works better if you use sriracha (don’t tell him I said that). Occasionally we’ll eat it for breakfast, which — trust me — is a power move.
If You Want My Pro Tips (Gleaned from Many Mishaps)
- Let it cool at least 10 minutes after baking; I once tried rushing this step and regretted it because everything turned into a gooey lava mess. Patience, grasshopper.
- Taste the mixture before baking. On second thought, taste it twice. (Just don’t eat the whole bowl, okay?)
- If you’re bringing this to a potluck, go ahead and double the recipe. I’ve learned the hard way that one pan is never enough.
Questions I Actually Get Asked About Funeral Potatoes
- Can I make this ahead of time?
- Yep! Just assemble the whole thing (leave the topping off ‘til just before baking if you want max crunch), cover, and chill for up to a day. Bake straight from the fridge, maybe add 10 minutes to the time.
- Can I freeze it?
- I’ve done it, but the texture gets a little odd after thawing. Tastes good, just expect it to be a bit less creamy. I’d say freeze before baking, then add the topping and bake fresh.
- Is there a way to make it gluten-free?
- Sure! Use gluten-free soup (Progresso makes a good one), and swap the cornflakes for gluten-free panko. Easy as pie — or, well, potatoes.
- What if I don’t like onions?
- Leave ‘em out! Or use onion powder instead. No shame here — sometimes I do this too when the kids are being picky.
- Where’d you learn this recipe?
- Bit of this, bit of that — but the first time was at Six Sisters’ Stuff. Since then, I’ve mashed up tips from Serious Eats and my own stubbornness. Oh, and my neighbor’s mom’s church cookbook had a wild version with jalapeños (jury’s still out on that one).
(Quick side note: I once tried making a “healthy version” and ended up with what can only be described as a potato smoothie. Sometimes you just gotta let comfort food be comfort food.)
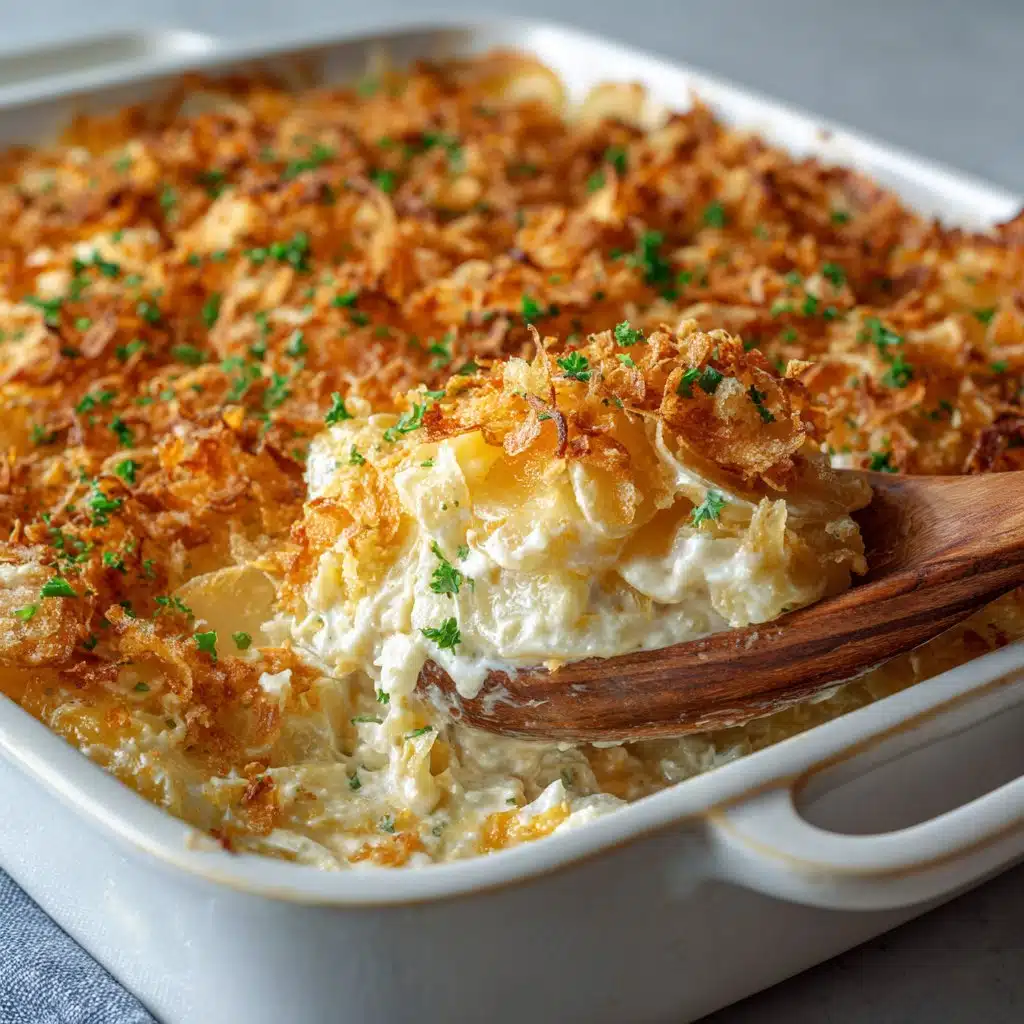
So there you have it: the creamy, cheesy, crowd-pleasing, unapologetically Midwestern classic — with all my personal quirks and battle scars included. If you make it, let me know how yours turns out (bonus points for weird toppings). Happy feasting!
Ingredients
- 1 (32 oz) bag frozen hash brown potatoes, thawed
- 2 cups shredded cheddar cheese
- 1 (10.5 oz) can condensed cream of chicken soup
- 1 cup sour cream
- 1/2 cup unsalted butter, melted (divided)
- 1/2 cup chopped yellow onion
- 1 teaspoon garlic powder
- 2 cups cornflakes, crushed
Instructions
-
1Preheat oven to 350°F (175°C). Grease a 9×13-inch baking dish.
-
2In a large bowl, combine thawed hash browns, cheddar cheese, cream of chicken soup, sour cream, 1/4 cup melted butter, chopped onion, and garlic powder. Mix until well combined.
-
3Spread the potato mixture evenly into the prepared baking dish.
-
4In a small bowl, mix crushed cornflakes with the remaining 1/4 cup melted butter. Sprinkle evenly over the potato mixture.
-
5Bake uncovered for 45 minutes, or until the top is golden brown and the casserole is bubbly.
-
6Let cool for a few minutes before serving. Enjoy!
Approximate Information for One Serving
Nutrition Disclaimers
Number of total servings shown is approximate. Actual number of servings will depend on your preferred portion sizes.
Nutritional values shown are general guidelines and reflect information for 1 serving using the ingredients listed, not including any optional ingredients. Actual macros may vary slightly depending on specific brands and types of ingredients used.
To determine the weight of one serving, prepare the recipe as instructed. Weigh the finished recipe, then divide the weight of the finished recipe (not including the weight of the container the food is in) by the desired number of servings. Result will be the weight of one serving.
Did you make this recipe?
Please consider Pinning it!!




