Alright, Here’s the Deal With My Garlic Parmesan Chicken Meatloaf
You know, there was a time when meatloaf made me think of sad Sunday school dinners (all dry and oddly mysterious), but that changed the first time I tried this garlic parmesan chicken meatloaf. Actually, I was trying to impress my cousin Bea, who’s a bit of a food snob—don’t tell her I said that. I winged it with what was in the fridge, hoping for the best, and… the result? So juicy, Bea asked for seconds. And if you knew her, you’d know that’s basically a culinary mic drop.
Now, every time I make this, it’s like a family summoning spell. Which is both lovely and mildly chaotic because the kitchen gets crowded and someone always flips out over the last slice. (No shame in hiding a piece for yourself, by the way.)
Why You’ll Love This: The Honest Truth
I make this when I need something comforting, but I don’t want to eat beef for the third time this week. My family goes crazy for it because it’s loaded with flavor, it’s not dry (seriously, who wants bland brickloaf?), and the leftovers are somehow even better the next day. Also, it smells ridiculous coming out of the oven. Kind of like if your favorite Italian restaurant moved into your house for an hour.
(I did once forget the breadcrumbs and it was… let’s just call it rustic and move on.)
Stuff You’ll Need (Feel Free to Sub a Bit)
- 1 pound ground chicken – I sometimes swap in turkey if that’s what’s around, or if chicken’s mysteriously disappeared form the shop.
- 1 cup freshly grated parmesan – Pre-grated works in a pinch, but honestly, fresh is magic. My gran swore by Kraft, but who am I to argue?
- 1/2 cup breadcrumbs – Panko is my go-to, but smashed up crackers work if you’re desperate (been there).
- 2 eggs – Or one jumbo; I just use what I’ve got.
- 4 garlic cloves, minced – I once used pre-minced garlic from a jar and, well, it was fine. But fresh is definitely punchier.
- 1/4 cup milk – Whatever’s in the fridge. I even used oat milk once and nobody noticed.
- 1/2 cup chopped parsley – Dried parsley is okay, maybe use a bit less.
- Salt and pepper – Just do it to taste, you know your buds.
- 1 tsp dried Italian seasoning (optional, but I usually toss it in)
- 2 tbsp olive oil
- Extra parmesan for topping (because why not?)
Here’s How I Throw It Together
- Preheat that oven to 375°F (190°C). I never remember to do this first, but it saves you some pacing in the kitchen.
- In a big bowl, chuck in the chicken, parmesan, breadcrumbs, eggs, garlic, milk, parsley, seasoning, salt, and pepper. Get in there with your hands (it’s weirdly satisfying), but you can use a spoon if that’s your jam.
- Don’t overmix—just until everything’s friends. If it feels too sticky, add a sprinkle more breadcrumbs. Too dry? Drizzle in a bit more milk. (This is where I usually sneak a taste. Sue me.)
- Line a loaf pan with parchment or just oil it up. But honestly, I sometimes just shape it into a rough log on a baking sheet when I can’t be bothered with pans.
- Press the mixture into your pan or log. It’ll look a little lumpy—don’t stress. Drizzle a bit of olive oil over the top; sprinkle extra parmesan for that sexy crust.
- Bake for about 45 minutes, or until the top’s gold and a little crispy, and the inside hits 165°F. If you don’t have a thermometer, give it a little poke—clear juices means you’re good.
- Let it rest about 10 minutes before slicing in, unless you love burning your tongue. (Been there, lesson learned. Mostly.)
Things I’ve Learned the Hard Way (Notes)
- If you use super lean chicken, it can go dry. A splash more oil helps.
- Fresh parmesan clumps less, but no shame in using what you’ve got.
- Don’t be scared if it looks a bit too moist going in—that’s what keeps it juicy.
- Actually, I find it works better if you let the mixture sit 5 mins before baking. Gives breadcrumbs time to do their thing.
Variations I’ve Tried (And One Flop)
- Mozzarella on top – turns into gooey heaven, honestly.
- Adding chopped spinach to the mix – sneaky greens! Kids didn’t even notice (at first).
- One time I tried feta instead of parmesan and, eh, wouldn’t recommend. Too tangy? Just didn’t vibe. But hey, maybe you’ll like it.
- Once mixed in a bit of sriracha for a spicy twist—pretty good!
What You Need (Or, What to Do If You Don’t Have It)
- Loaf pan – But honestly, just freeform it on a baking tray if you don’t have one, like I said before.
- Mixing bowl – Any big bowl will do. I even used a salad bowl once, don’t judge.
- Good knife for slicing – Or a butter knife in a pinch, just go slow.
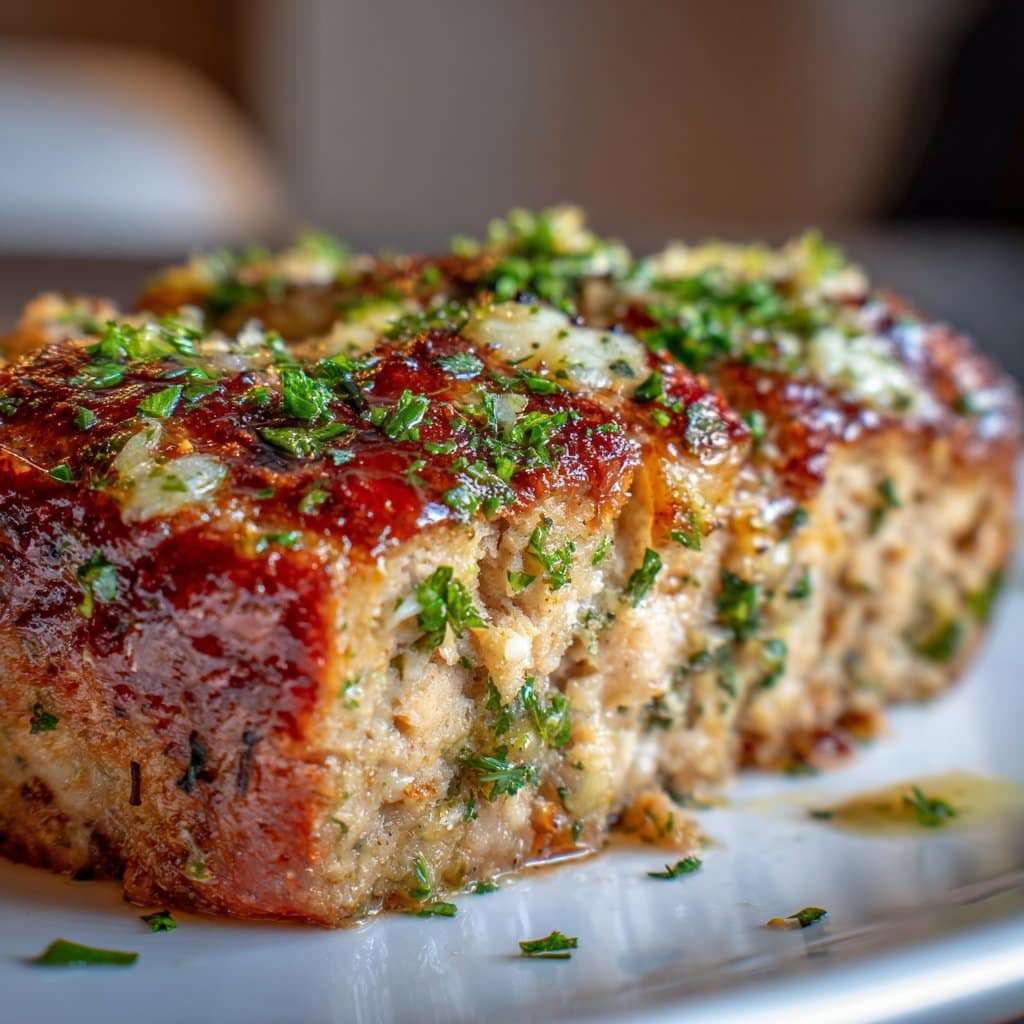
Storing Leftovers – If They Survive the Night
Pop any leftovers in an airtight container in the fridge for up to 3 days. They reheat well in the microwave, but I actually like them cold, sliced in a sandwich. (Though honestly, in my house it never lasts more than a day. My teenager could probably win an eating contest with this stuff.)
How I Like to Serve This (You Do You)
This is killer with a pile of buttery mashed potatoes (my comfort food holy grail), or honestly just some roasted veggies. Sometimes I slice it up and stuff it in a soft roll with a bit of marinara—almost like an oddly-shaped meatball sub, but with more garlic punch. My uncle swears by ketchup on the side, which… well, to each their own.
Stuff I’ve Messed Up (And Fixed): Pro Tips
- I once tried rushing the resting time and regretted it; all the juices ran out and it was a crumbly mess. Seriously, wait 10 minutes.
- Don’t go overboard on the breadcrumbs or you’ll end up with chicken-flavored sawdust.
- Let the cheese get a bit brown on top for maximum flavor. I used to pull it early and missed out.
FAQs – Real Questions I’ve Gotten (And a Few I Made Up)
- Can I freeze this? – Totally! Slice it first, wrap it up tight, and then you can just defrost a piece or two whenever. Actually, I think it tastes better the next day, anyway.
- What if I don’t have breadcrumbs? – Smashed crackers, old crusty bread, or even oats work. Just pulse them a few times if you’ve got a food processor.
- Is it really THAT juicy? – Look, I can’t guarantee your oven or your hands, but if you follow the basic script, it’s going to be pretty dang juicy.
- Could I make mini meatloaves? – Yessir! Just shape into little ovals and bake 20-25 minutes, checking early. Kinda fun for lunchboxes, too.
- Where can I find good parmesan? – I usually get mine at the local Italian deli (Eataly is a favorite if you’ve got one nearby), or sometimes order cheese online from Murray’s Cheese if I’m feeling fancy.
- Can I skip the eggs? – Hm, haven’t tried, but some folks use a flax egg or a little extra milk and breadcrumbs. Might change the texture; let me know if you try?
Oh, and before I forget—if you want to read up more about why resting meatloaf is so important (I wish someone had told me earlier), Serious Eats has a really nerdy post about it that’s worth a read.
Happy cooking, and let me know how your version turns out! Or if you hide the last slice, your secret’s safe with me.
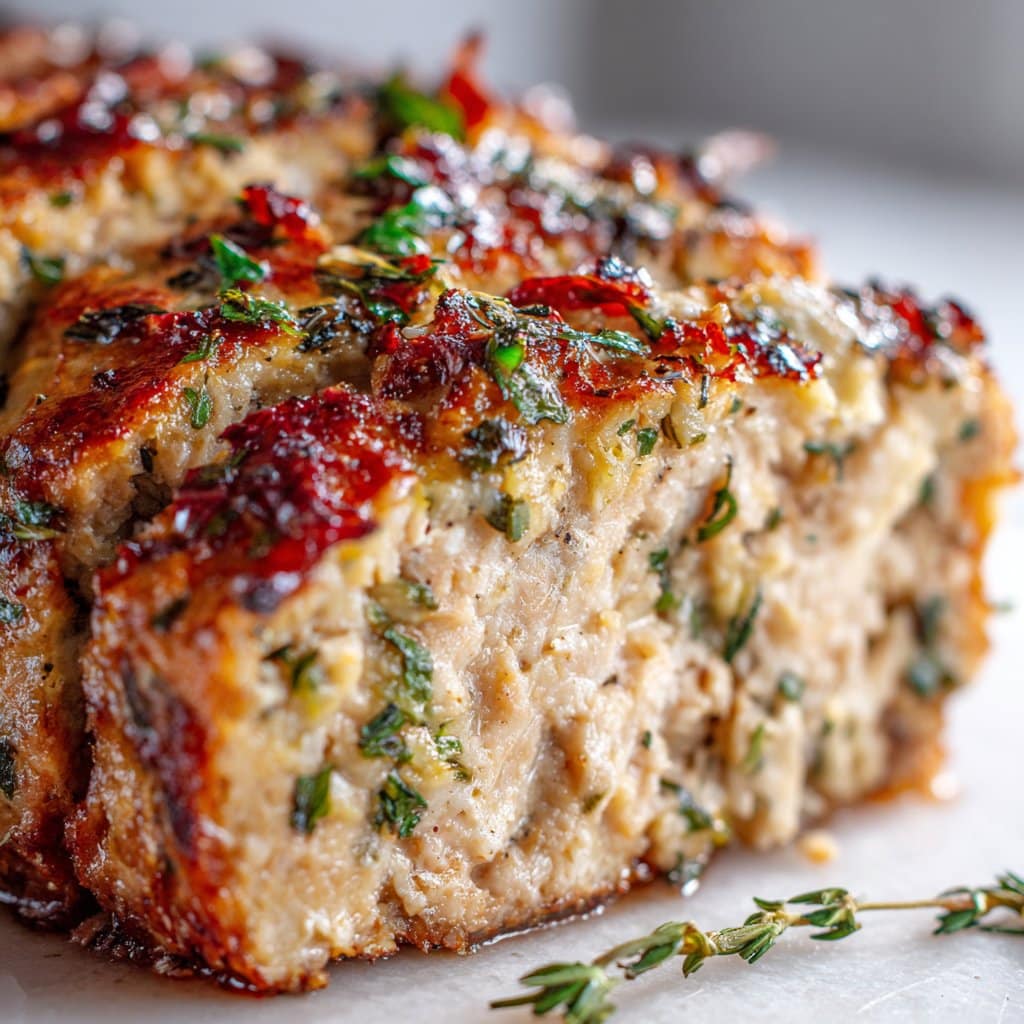
Ingredients
- 1 1/2 pounds ground chicken
- 3/4 cup grated Parmesan cheese
- 1 cup breadcrumbs
- 2 large eggs
- 4 cloves garlic, minced
- 1/2 cup milk
- 1/4 cup chopped fresh parsley
- 1 teaspoon salt
- 1/2 teaspoon black pepper
- 1 tablespoon olive oil
Instructions
-
1Preheat your oven to 375°F (190°C). Lightly grease a loaf pan with olive oil.
-
2In a large bowl, combine ground chicken, grated Parmesan, breadcrumbs, eggs, minced garlic, milk, parsley, salt, and black pepper. Mix until just combined; do not overmix.
-
3Transfer the chicken mixture into the prepared loaf pan and shape into a loaf.
-
4Brush the top with olive oil for extra moisture and flavor.
-
5Bake for 45 minutes, or until the meatloaf is cooked through and the internal temperature reaches 165°F (74°C).
-
6Let the meatloaf rest for 10 minutes before slicing. Garnish with extra parsley and serve warm.
Approximate Information for One Serving
Nutrition Disclaimers
Number of total servings shown is approximate. Actual number of servings will depend on your preferred portion sizes.
Nutritional values shown are general guidelines and reflect information for 1 serving using the ingredients listed, not including any optional ingredients. Actual macros may vary slightly depending on specific brands and types of ingredients used.
To determine the weight of one serving, prepare the recipe as instructed. Weigh the finished recipe, then divide the weight of the finished recipe (not including the weight of the container the food is in) by the desired number of servings. Result will be the weight of one serving.
Did you make this recipe?
Please consider Pinning it!!




