A Little Kitchen Story (And Why Puff Pastry Still Scares Me)
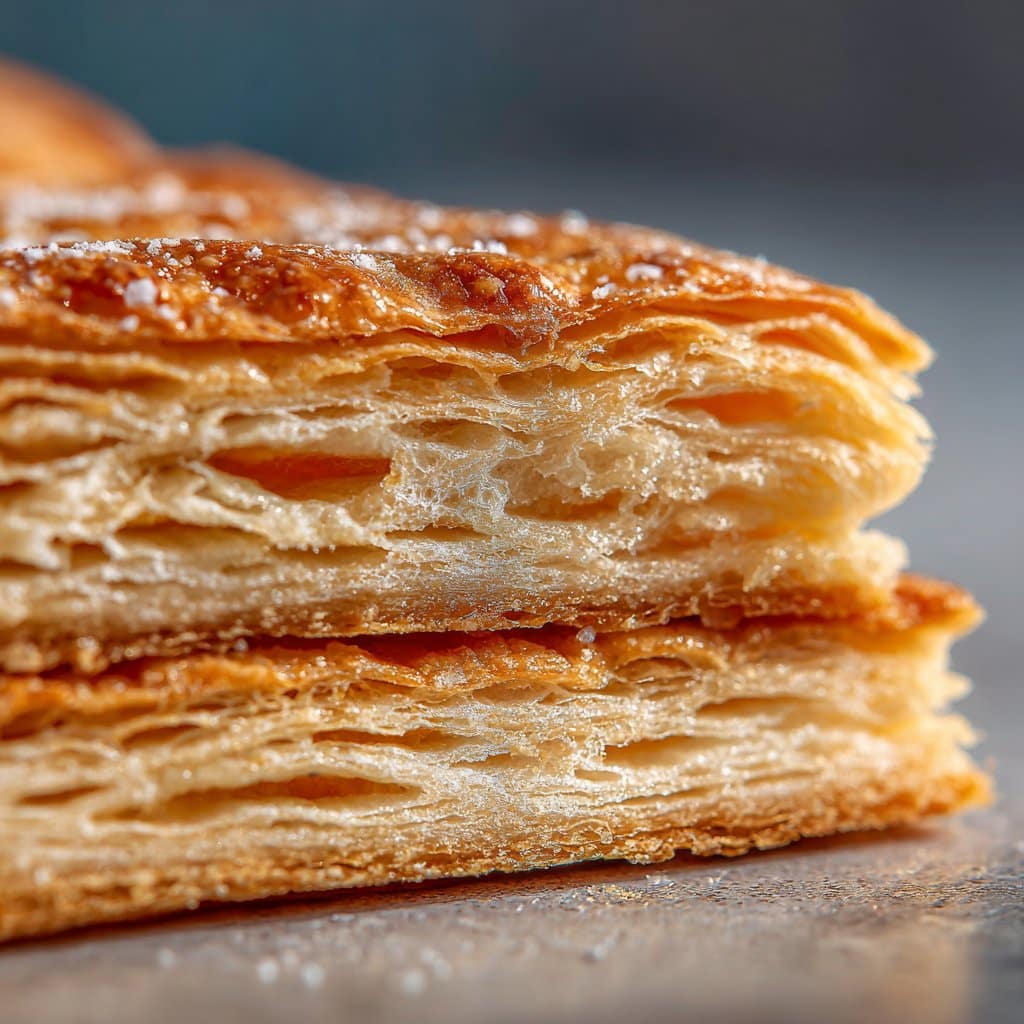
Okay, so picture this: it’s a Saturday morning, and I’m elbow-deep in a cloud of flour (well, not real flour—gluten free blend, but you know what I mean), trying to recreate the puff pastry that my aunt used to make. Only difference is, hers could stop traffic and mine—let’s just say, the first few tries looked like soggy cardboard. But I promise, after some stubborn experimenting (and maybe a mild tantrum over a broken rolling pin), this gluten free puff pastry recipe finally turned into one of those rare kitchen wins that makes you want to text everyone you know. If you’ve ever chased the perfect flaky layers and wondered if gluten free could truly be as good—well, grab a cuppa and let’s get baking.
So, Why Will You Love This?
I make this whenever I get hit with the urge for something a bit fancy but don’t want to spend hours in the kitchen (okay, sometimes I cave and use store-bought, but homemade is magic). My family goes absolutely bananas for it—especially my brother, who claims he “can’t even tell it’s gluten free” (high praise, if you knew his usual opinions about my experiments). Honestly, there’s just something about the golden, shattering crust that makes even leftovers feel a bit special. And if you’ve struggled with gluten free dough before, trust me, this one forgives a lot of little mistakes—though not all of them, as I’ve learned the hard way.
What You’ll Need (Plus a Few Swaps)
- 2 cups gluten free flour blend (I usually grab Bob’s Red Mill 1-to-1, but my friend swears by King Arthur; both work. I once used Cup4Cup, and it was fine, just a bit pricier.)
- 1 tsp xanthan gum (if your flour doesn’t already have it—skip if it does; trust me, I forgot once and it was a mess)
- 1/2 tsp fine sea salt (table salt is fine if that’s all you’ve got, but flaky sea salt makes it feel posh)
- 1 cup (225g) very cold unsalted butter, diced (I sometimes use salted and just cut back on the added salt—no one’s ever noticed)
- 1/2 cup ice water (give or take—start with less, add more if it feels dry)
- 1 egg, beaten (optional, for egg wash)
- 1 tsp lemon juice (I sometimes leave this out, but it helps keep things tender)
How I Do It (And a Few Honest Flubs)
- Dump the flour blend, xanthan gum (if using), and salt into a big bowl. Grab a fork and give it a quick whisk—no need to go wild.
- Toss in the cold, diced butter and use your hands or a pastry cutter to work it in. I find that squeezing the butter chunks between my fingers until it looks like pea-sized pebbles (or, honestly, some bits a bit bigger) works best. If you’re doing this on a warm day, stick the bowl in the freezer for five minutes before you add the water. Trust me, it helps.
- Sprinkle in the lemon juice. Then, drizzle in the ice water, starting with about 1/3 cup. Mix with a fork or your hands until it just starts to come together. You might need another splash or two—don’t panic if it looks shaggy. That’s normal. If it feels too dry, add a tiny bit more water; if too wet, toss in a spoonful of flour blend.
- Turn it out onto a lightly floured (with GF flour!) surface and gently knead just until it holds, then shape into a rough rectangle. Wrap in cling film and chill for at least an hour. Actually, overnight is even better if you can stand the wait.
- Here comes the faffy bit: rolling and folding. Roll the dough into a big rectangle, then fold it in thirds like a letter. Turn it 90 degrees, roll again, and fold. Do this about 4 times if you’ve got the patience. Don’t stress if bits crack or if some butter peeks through—it always evens out after baking. This is when I usually sneak a little taste (raw dough, I know, but old habits die hard).
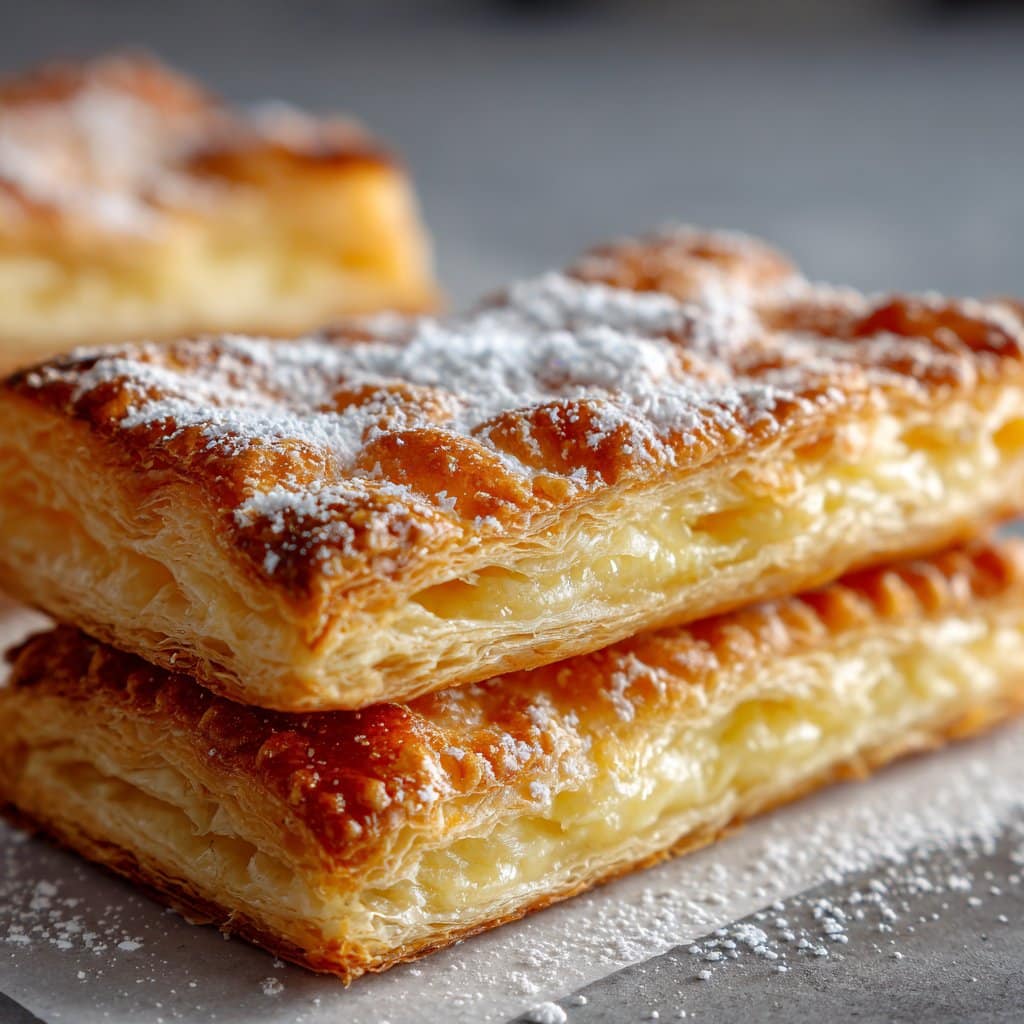
- Chill the dough again for 30 minutes, then it’s ready to roll out for tarts, turnovers, or whatever you fancy. I find a thickness of about 1/4 inch is just right. Brush with egg wash before baking if you like that glossy look.
- Bake at 400°F (200°C) until puffed and golden—usually 18–22 minutes depending on your filling. Sometimes mine gets extra-browned on the edges; I just call it “rustic” and move on.
Things I’ve Learned (Sometimes the Hard Way)
- Chill. And then chill some more. Warm dough is a recipe for sad, melty layers.
- If you forget the xanthan gum, don’t bother baking it—it’s basically gluten free sand.
- I once tried to use coconut oil instead of butter. Do not recommend—tasted oddly sweet and didn’t puff much.
- If your dough crumbles when you’re rolling, don’t panic. Just patch it and keep going; the oven fixes a surprising amount.
Variations I’ve Tried (Some Wins, Some Not So Much)
- Sour cream instead of half the butter: surprisingly good, more tender, but a little less flaky.
- Chopping in fresh herbs (like thyme) for savory tarts: family loved it; my neighbor found some green bits suspicious, so, you know, depends on your audience.
- Once, I got fancy and grated cheese into the dough—didn’t really work, ended up greasy. Maybe you’ll have better luck?
What If You Don’t Have a Pastry Cutter?
No pastry cutter? Use two butter knives, or just dive in with your fingers (that’s what I do, even though the food blogs always make it sound like a crime). And if you’re really in a pinch, pulse the butter and flour in a food processor—just don’t overdo it.
Storing Your Precious Pastry
Wrap any unused dough tightly in cling film or pop it in a zip-top bag. It’ll keep in the fridge for 2–3 days, or freeze for a month. But honestly, in my house, it never lasts more than a day—people seem to sniff it out, even from the garage freezer (don’t ask).
How I Like to Serve It
My favourite way? Warm, with a pile of roasted veggies and a dollop of crème fraîche. Or, if I’m feeling nostalgic, with a quick berry compote (here’s a good one I found ages ago). My gran always made apple tarts with this, which disappear in about five minutes at family gatherings.
Pro Tips I Learned the Hard Way
- I once tried rolling out the dough straight from the fridge—big mistake, it just crumbled. Let it sit 10 minutes first.
- If you skimp on the chill time between folds, you’ll get more chewy than flaky. Not the end of the world, just not what we’re after.
- Use a metal baking tray for the best crisp bottom. I tried a glass dish, and it just never really crisped up.
FAQ (The Real Questions I Get)
Can I make this vegan?
Yep, use a good vegan butter (I tried Miyoko’s, worked great). Still, I find the flavor isn’t quite the same, but maybe that’s just me.
Why does my dough crack when rolling?
Usually it’s too cold or a bit dry. Let it warm up a smidge, and maybe add a sprinkle of water next time.
Can I use this for savory and sweet tarts?
Absolutely, it’s a real multitasker. I’ve done both—cheese and tomato, apple and cinnamon, even a leftover curry thing that actually worked (to my surprise).
Is there a store-bought version you like?
Honestly, Schär makes a pretty solid one—see here—but I only buy it if I’m in a real rush or feeling lazy.
Can I double the batch?
Sure—though you’ll need both upper-arm strength and fridge space. On second thought, maybe do it in two rounds if you’ve got a small kitchen like me.
Alright, that’s probably more than you ever wanted to know about gluten free puff pastry. But if you try it, let me know how it goes—extra points for photos of your most glorious (or even slightly wonky) tarts!
Ingredients
- 2 1/2 cups gluten free all-purpose flour blend
- 1 teaspoon xanthan gum
- 1 teaspoon salt
- 1 tablespoon granulated sugar
- 1 cup (225g) unsalted butter, cold and cubed
- 2/3 cup ice cold water
- 1 teaspoon lemon juice
- Extra gluten free flour for dusting
Instructions
-
1In a large bowl, whisk together the gluten free flour blend, xanthan gum, salt, and sugar.
-
2Add the cold, cubed butter to the flour mixture. Use a pastry cutter or your fingers to work the butter into the flour until pea-sized pieces remain.
-
3Mix the lemon juice into the ice cold water. Gradually add the water mixture to the flour, stirring until the dough just comes together.
-
4Turn the dough onto a lightly floured surface. Shape into a rectangle, then roll out to about 1/2 inch thick. Fold the dough into thirds, rotate, and repeat rolling and folding 3 more times to create layers.
-
5Wrap the dough in plastic wrap and chill in the refrigerator for at least 30 minutes before using for tarts or pastries.
-
6Bake your filled tarts in a preheated oven at 400°F (200°C) for 20-25 minutes, or until golden and flaky.
Approximate Information for One Serving
Nutrition Disclaimers
Number of total servings shown is approximate. Actual number of servings will depend on your preferred portion sizes.
Nutritional values shown are general guidelines and reflect information for 1 serving using the ingredients listed, not including any optional ingredients. Actual macros may vary slightly depending on specific brands and types of ingredients used.
To determine the weight of one serving, prepare the recipe as instructed. Weigh the finished recipe, then divide the weight of the finished recipe (not including the weight of the container the food is in) by the desired number of servings. Result will be the weight of one serving.
Did you make this recipe?
Please consider Pinning it!!




