Let Me Tell You About the One Time My Kitchen Looked Like a Crime Scene
So, here’s the scene: it’s Halloween last year, and I’d volunteered (volunteered! what was I thinking) to bring a “spooky snack” to my friend Jamie’s annual movie night. I wanted something a bit dramatic, a bit fun, and—let’s be honest—something I could munch while half-watching Hocus Pocus. Enter: Bloody Red Velvet Popcorn. At one point, my counter looked like I’d lost a battle with a bottle of food coloring. But you know what? It became a total crowd-pleaser, and I even got a text the next morning from Jamie asking for the recipe—and, well, tips on how to clean red food coloring off hands (hot tip: wear gloves, or just accept you’ll look like you’ve been in a cherry-picking contest for a day or two).
Why I Keep Making This Mad Scientist Snack
I make this when I want to see people’s eyes light up—my kids go wild for anything that looks slightly gross (in a cool way), and the combo of sweet white chocolate and popcorn is just unbeatable. Plus, you can actually make it with stuff you probably have lurking in your cabinets. And alright, the first time I made it, I did end up with a few pinkish popcorn pieces because I was hesitant about the food coloring (I know, I know, go big or go home). If you’re a fan of spooky snacks that don’t involve hours in the kitchen, this one’s for you. Some folks say this is just a treat for kids, but honestly, adults hover over the bowl just as much. Maybe more.
What You’ll Need (and Honest Substitutions)
- 6 cups popped popcorn (I like air-popped but microwave is fine; my grandma insists on stovetop—she says it tastes “puffier” somehow, but, well, you do you)
- 200g white chocolate chips (sometimes I just use a couple of big handfuls—baking bars work too, or that almond bark stuff if you have it)
- 2 tablespoons unsalted butter (or coconut oil, if you’re feeling fancy)
- 2–3 teaspoons red food coloring (I usually use the gel kind, but honestly, liquid works too if that’s what you dig out of the drawer)
- 1 teaspoon vanilla extract (optional, but I like the warm flavor—if you forget, it’s not a disaster)
- Pinch of salt (makes the sweet pop, my mum always says)
- Optional: Red candy melts or red sanding sugar for a little extra drama (sometimes I skip these if I’m in a rush, and nobody notices)
Let’s Make This Spooky Snack Together
- Pop your popcorn. I use my trusty air popper, but if you’re a microwave bag kind of person—no judgment (actually, those bags taste a bit nostalgic, don’t they?). Make sure you pick out any un-popped kernels unless you want a visit to the dentist.
- Prep your workspace. Line a baking sheet with parchment or wax paper. (Or, if you run out like I did once, a clean paper shopping bag works in a pinch—it’s not fancy, but it’s real life.)
- Melt the chocolate and butter together. I use the microwave in 30-second bursts, stirring in between until smooth. If you don’t have a microwave—or it’s full of leftovers—just use a double boiler (or a bowl over a pot of simmering water if you want to feel chef-y). This is where I sneak a taste, because who can resist?
- Add in the food coloring and vanilla. Start with 2 teaspoons, stir, and see if it’s bloody enough for you. I usually end up tipping in a bit more, because why not? Don’t be shy; it’s Halloween.
- Mix it all together. Dump the popcorn in a big bowl (the biggest one you own, trust me), then pour over the red chocolate. Use a spatula (or your hands, but maybe wear gloves if you mind red palms for days) to toss until it’s all coated. If it looks a bit streaky, don’t fret; it always sorts itself out once it sets.
- Spread it out to set. Scatter the popcorn on your lined tray. If you’re using candy melts or sanding sugar, sprinkle them on now while everything’s sticky. Let the popcorn set for about 30 minutes, or until chocolate is firm. Sometimes I get impatient and pop it in the fridge for 10 minutes—just don’t forget about it, or it will get weirdly chewy (ask me how I know).
Things I Learned the (Not So) Hard Way
- If you use too much food coloring, it can taste a bit bitter. Less is sometimes more, but then again, it’s Halloween. I err on the side of drama.
- The first time I made this, I didn’t mix fast enough and ended up with white blobs, but honestly, nobody cared; they just ate around it. Now I mix quickly and sort of massage the popcorn. Feels silly, works great.
- And, uh, if you wear white, consider an apron. Or live dangerously! Up to you.
Variations (and One That Was a Bit of a Dud)
- Once, I made a “monster” version with green food coloring and candy eyeballs—very Scooby-Doo. The kids loved it; the adults were mildly disturbed.
- For a chocolatey twist, swap white chocolate for milk chocolate and use black gel food coloring. It’s not as shocking, but still fun.
- Okay, confession: I tried an all-natural beet juice version once. It tasted fine, but the popcorn went a bit soggy. Wouldn’t recommend, unless you’re really committed to all-natural snacks.
What You’ll Need (But You Can Improvise)
- Large mixing bowl—honestly, a giant salad bowl or even a clean stockpot works if you’re desperate
- Baking sheet—if you don’t have one, just spread the popcorn on a big tray or even a lined countertop (I’ve done this; it’s not elegant, but it gets the job done)
- Microwave or stovetop (for melting chocolate—if you’re at a mate’s house and they only have a dodgy old kettle, maybe just bring your own chocolate pre-melted, eh?)
How Long Does It Last? (But Good Luck Making It Last)
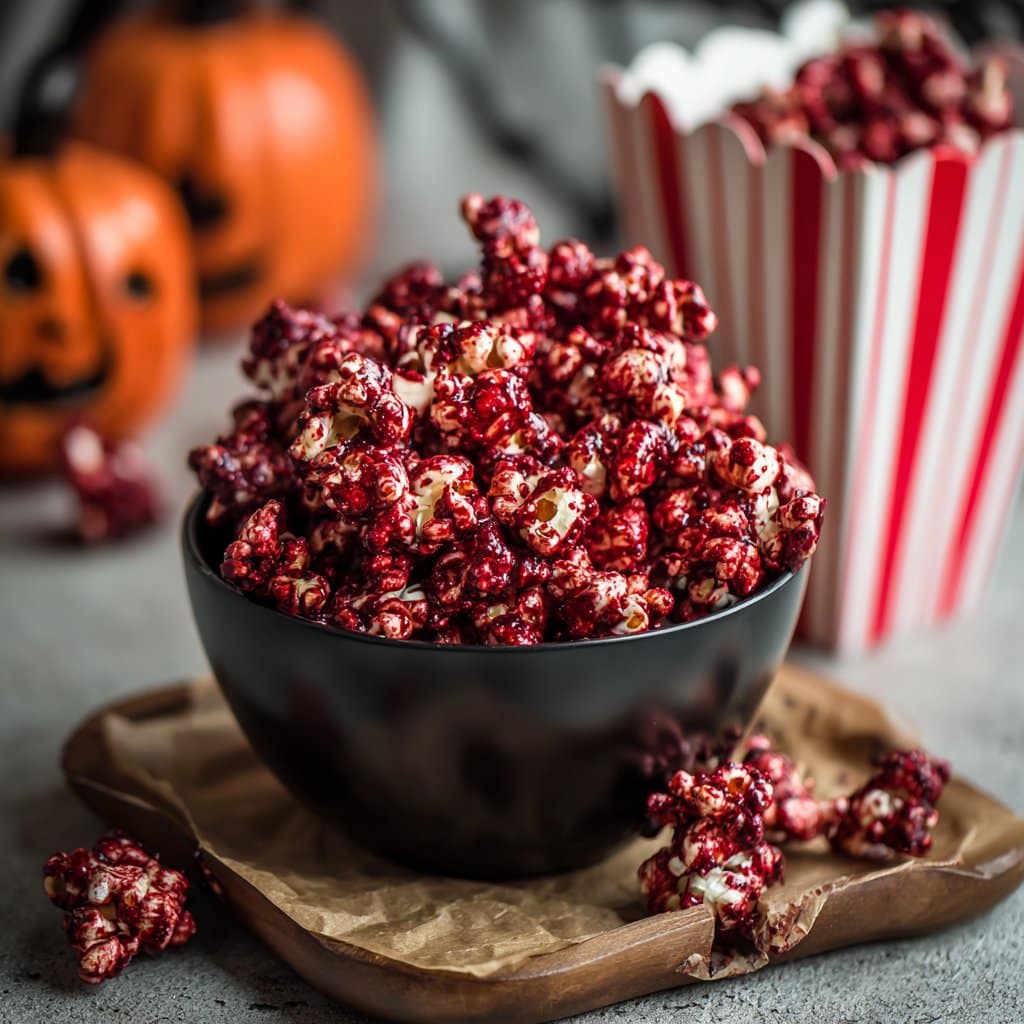
You can store this in an airtight container for about 2–3 days, but honestly, in my house it never lasts more than a day! If you live somewhere humid, it can get a bit chewy if left out, so, you know, eat quickly. Not exactly a hardship.
How Do I Serve It? (Our Not-So-Traditional Tradition)
I usually heap it into a big bowl and plant it right in the middle of the table, surrounded by mini pumpkins and a couple of fake spiders for effect. Sometimes, I portion it into little Halloween treat bags for the kids to take home (or, let’s be honest, to snack on in the car). One time, my son insisted we serve it in a plastic cauldron—honestly, that was a hit.
My Hard-Earned Bloody Popcorn Wisdom
- I once tried to rush the chocolate melting step and scorched it—learned my lesson, slow and steady wins this race. Burnt white chocolate is just sad (and smells weird).
- Don’t be afraid to get a bit messy—this isn’t the time for perfection. Actually, the messier it is, the more it looks like something from a horror flick.
- If you’ve got little helpers, let them handle the sprinkling part. It’s a bit chaotic, but fun—and honestly, what’s Halloween without a little chaos?
FAQ (You Guys Actually Asked Me These!)
- Can I make this with air-popped popcorn? Absolutely, that’s what I use most often. In fact, I think it makes for crispier popcorn, though my sister swears by microwave bags (she says the salt helps—eh, maybe?).
- Is this super sweet? It’s sweet, for sure, but not tooth-achingly so. If you want to tone it down, use a bit less white chocolate or add a pinch more salt.
- Can I use natural coloring? You can try! Like I said, beet juice is okay but can make things soggy. I’ve heard annatto works, but I haven’t tried it myself yet.
- How do I clean food coloring off my hands? Warm soapy water and a little patience. Or just embrace your new Halloween-ready look for a day or two.
- Do you really need parchment paper? It helps, but I’ve done it without. Just be ready to scrape a bit at the end. Or, as my gran would say, “that’s what fingernails are for.”
And if you want more Halloween treat inspiration, I love the Halloween treat roundup at Sally’s Baking Addiction. Or, for popcorn tricks, Serious Eats’ guide to stovetop popcorn is genuinely helpful (and the comments are a goldmine!).
Ingredients
- 8 cups plain popped popcorn
- 1/2 cup unsalted butter
- 1 cup granulated sugar
- 1/4 cup unsweetened cocoa powder
- 1/4 cup buttermilk
- 1 tablespoon red food coloring
- 1 teaspoon vanilla extract
- 1/2 cup white chocolate chips
Instructions
-
1Line a large baking sheet with parchment paper and spread the popped popcorn evenly over it.
-
2In a saucepan over medium heat, melt the butter. Stir in the sugar, cocoa powder, buttermilk, and red food coloring. Bring to a gentle boil, stirring constantly for 3-4 minutes until slightly thickened.
-
3Remove the saucepan from heat and stir in the vanilla extract.
-
4Pour the red velvet mixture evenly over the popcorn and gently toss to coat all the kernels.
-
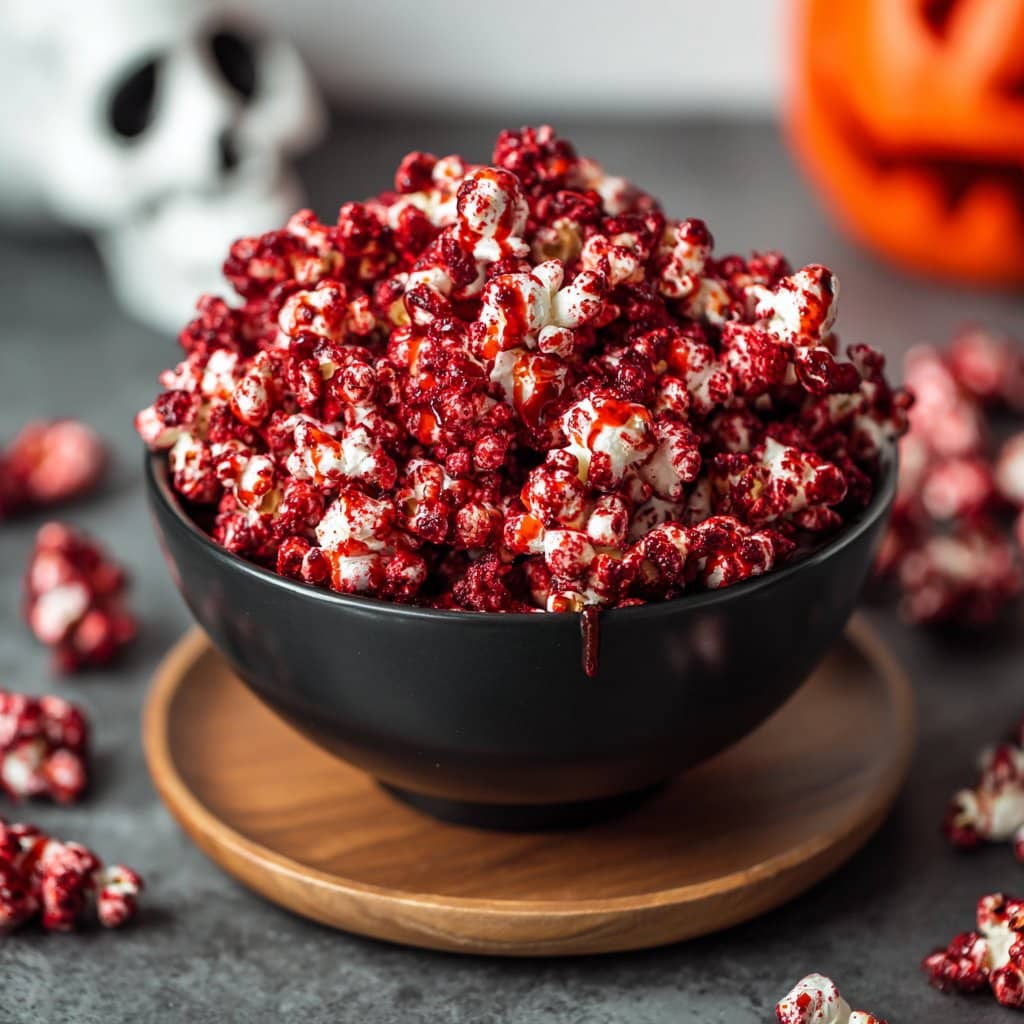
5Melt the white chocolate chips in a microwave-safe bowl in 20-second intervals, stirring until smooth. Drizzle the melted white chocolate over the coated popcorn for a ‘bloody’ effect.
-
6Allow the popcorn to cool and set for about 10 minutes before serving.
Approximate Information for One Serving
Nutrition Disclaimers
Number of total servings shown is approximate. Actual number of servings will depend on your preferred portion sizes.
Nutritional values shown are general guidelines and reflect information for 1 serving using the ingredients listed, not including any optional ingredients. Actual macros may vary slightly depending on specific brands and types of ingredients used.
To determine the weight of one serving, prepare the recipe as instructed. Weigh the finished recipe, then divide the weight of the finished recipe (not including the weight of the container the food is in) by the desired number of servings. Result will be the weight of one serving.
Did you make this recipe?
Please consider Pinning it!!




