Honestly, Pumpkin S’mores Cookies Just Feel Like Autumn
Okay, let me set the scene: it’s one of those chilly fall afternoons, the kind where you can smell leaves and distant bonfires through the window, and my cousin texts me again asking if I’m baking those “squishy s’mores pumpkin cookies” (her words, and honestly, it’s become a thing). I think I first made these after a camping trip got rained out and I couldn’t stop thinking about gooey marshmallows and chocolate, but also, you know, wanted something a bit cozier than just grabbing a Hershey bar. So, these cookies were my little experiment to bring campfire vibes right to my oven. They’re like wearing a fluffy jumper, but edible. And let’s be real, sometimes I make them just because I need an excuse to eat marshmallows straight from the bag.
Why I Keep Coming Back to This Recipe
I make these whenever I want to impress someone without looking like I tried too hard (or, honestly, whenever I buy a can of pumpkin purée on sale and then forget about it until, whoops, November). My family goes crazy for these because they hit all the right notes: soft, gooey, a little sticky from the marshmallows, and there’s that pumpkin flavor that’s not in-your-face but definitely cozy. If you’ve ever been annoyed by cookies that end up flat and sad (ugh, that’s happened to me more times than I’d like to admit), these are a bit more forgiving—though, full disclosure, one time I added way too much pumpkin and they were basically muffin tops. Still tasty! Just… not quite what I was going for.
What You’ll Need (and a Few Swaps That Work)
- 1/2 cup (115g) unsalted butter, softened (I’ve used salted butter in a pinch; just skip the extra salt)
- 1/2 cup brown sugar (light or dark both work, though dark gets you a bit more caramel flavor)
- 1/4 cup white sugar
- 1/3 cup pumpkin purée (not pumpkin pie filling—though honestly, if that’s all you have, just dial back the sugar a smidge)
- 1 egg yolk (or just use the whole egg if you can’t be bothered to separate, but things get a little cakey)
- 1 tsp vanilla extract (my grandma always swore by McCormick, but honestly, store brand is fine)
- 1 1/2 cups all-purpose flour
- 1/2 tsp baking soda
- 1/2 tsp baking powder
- 1/2 tsp salt
- 1 tsp cinnamon (a heavy shake if you’re into spice)
- 1/2 cup chocolate chips (milk, semisweet, or chop up a bar if you want chocolate pockets)
- 1/2 cup mini marshmallows (in a pinch, I’ve snipped up regular ones with scissors… messy but it works!)
- 1/2 cup crushed graham crackers (or digestive biscuits, which are basically the British cousin)
Here’s How I Throw These Together
- Preheat your oven to 350°F (180°C). If you’re like me and always forget, just do it now so you don’t have to wait awkwardly later.
- Cream the butter and both sugars together in a big bowl. I use a wooden spoon sometimes—call me old-fashioned—but a mixer is less of an arm workout. When it’s light and kinda fluffy, you’re good.
- Add in the pumpkin, egg yolk, and vanilla. Mix until blended. (This is where it starts to look weird and curdled—don’t panic, it always comes together.)
- In a separate bowl, combine flour, baking soda, baking powder, salt, and cinnamon. Stir it together so you don’t get random salty bites (yep, learned that the hard way).
- Gradually add the dry ingredients to the wet. I do this in two goes so flour doesn’t explode everywhere. You want a soft, slightly sticky dough.
- Stir in chocolate chips, marshmallows, and graham cracker bits. This is where I usually sneak a taste—quality control, right?
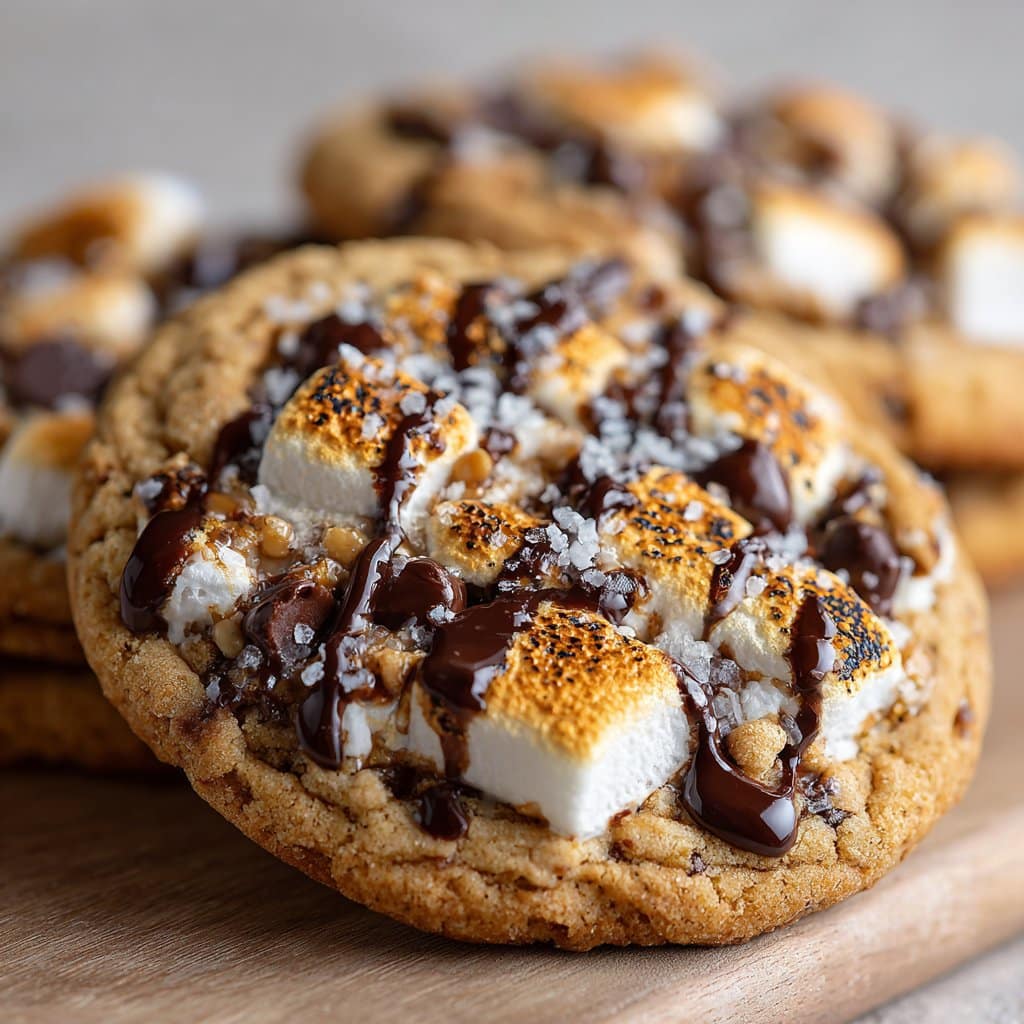
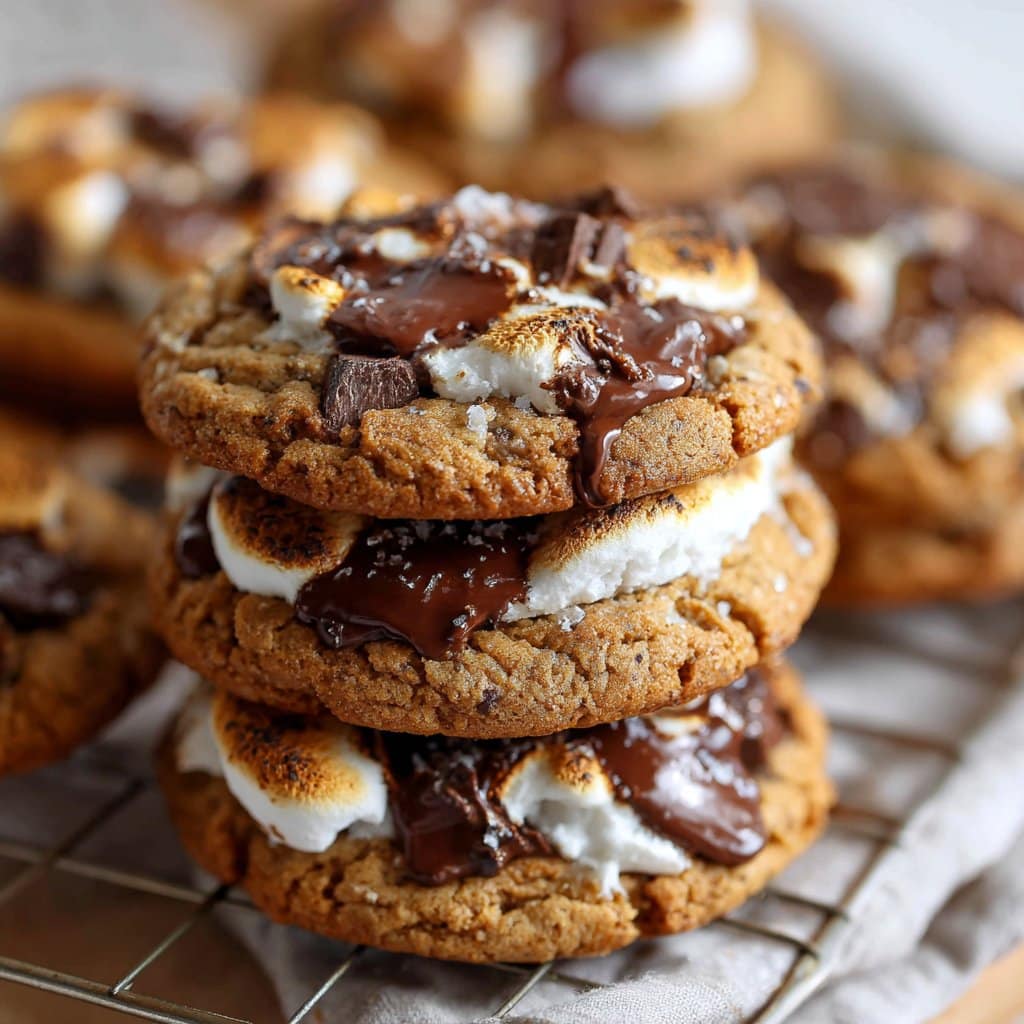
- Scoop tablespoon-sized blobs onto a baking tray lined with parchment. Give ‘em space (they spread a bit). Sometimes I press extra marshmallows or chocolate on top for looks, but that’s just being fancy.
- Bake for about 10-12 minutes, until the edges look set but the middles are still soft. The marshmallows might look a bit melty and wild; that’s what you want.
- Let them cool on the tray for 5 mins (they’ll be gooey) before moving to a rack. Or just eat one straight off the sheet, but don’t burn your tongue like I did. Twice.
Notes I Wish Someone Had Told Me
- If your marshmallows totally dissolve into the cookies, try freezing them for 10 minutes first. Or, just accept the sticky chaos.
- The dough is sticky. I sometimes chill it for 20 minutes, but honestly, it’s fine if you just want to bake right away.
- I reckon these taste even better the next day, after the flavors hang out together—assuming they last that long.
Some Variations I’ve Tried (and a Warning)
- Swap the chocolate chips for white chocolate—super sweet, but my neighbor’s kids loved ’em.
- Add chopped pecans or walnuts for crunch. Or don’t. It’s your cookie.
- Once, I tried using butterscotch chips instead of chocolate. Wouldn’t recommend—too sweet, even for my sweet tooth.
- For a gluten-free version, I used King Arthur’s GF flour. Worked pretty well! Texture was a little different, but still delish.
What If I Don’t Have Fancy Baking Gear?
You don’t need anything wild. A regular baking tray and a big spoon work fine. If you don’t have parchment, just grease the pan. Oh, and if you’re out of mixing bowls, I’ve used a big salad bowl before. No shame.
How I Store (or Attempt to Store) These
Supposedly, you can keep these in an airtight container for up to 3 days. In my house? More like 12 hours, tops. If you want them gooey again later, zap in the microwave for a few seconds. Also, cookie dough freezes really well—just scoop blobs onto a tray, freeze, then stash in a bag. Then you can bake off a cookie or two whenever, which is dangerously convenient.
How I Serve These (Because Every Family Is Weird)
Warm is best. Sometimes I plop a scoop of vanilla ice cream on top if I’m feeling over-the-top. My little brother dunks his in hot chocolate, which is messy but, honestly, not a bad idea. Occasionally, we’ll just eat them for breakfast—nobody’s judging.
A Few Things I Learned the Hard Way (Don’t Do What I Did)
- Don’t rush the creaming step or your cookies won’t be as fluffy. I once tried to shortcut with half-melted butter—flat cookies galore.
- Overbaking is easy with marshmallows. Pull them out when the centers are still soft. They finish on the tray.
- Actually, if your cookies get too brown, it’s probably just your oven being a bit overzealous. Trust your gut more than the timer.
FAQ (Real Questions, Real Answers)
- Can I use fresh pumpkin? Yep! Just roast, purée, and drain really well. But, honestly, I’m usually too lazy for that.
- What if my cookies spread too much? Chill the dough a bit; or, add a bit more flour. Or just embrace cookie puddles—they’re still tasty.
- Are these super sweet? Kinda, but not in a toothache way. If you like things less sweet, cut back on the white sugar.
- Can these be made ahead? Oh, for sure. The flavors get even deeper the next day. But, as mentioned, they rarely make it that far in my house!
- Do I really need graham crackers? Technically, no. Try digestive biscuits, or just skip them—but you lose a bit of that classic s’mores vibe.
- What’s the best way to store them? Airtight tin or zip-top bag. Or, straight on the counter under a tea towel (just don’t tell food safety experts I said that).
Random aside—but if you’re into all things pumpkin, you should check out Sally’s pumpkin cookies too. I totally borrowed her spice trick once.
Anyway, that’s the lot! Let me know if you have variations that work (or fail spectacularly). Happy cookie baking, mate!
Ingredients
- 1 3/4 cups all-purpose flour
- 1/2 teaspoon baking soda
- 1/2 teaspoon ground cinnamon
- 1/4 teaspoon salt
- 1/2 cup unsalted butter, softened
- 1/2 cup light brown sugar, packed
- 1/4 cup granulated sugar
- 1/2 cup pumpkin puree
- 1 teaspoon vanilla extract
- 1 cup semisweet chocolate chips
- 1 cup mini marshmallows
- 3/4 cup graham cracker pieces
Instructions
-
1Preheat oven to 350°F (175°C) and line two baking sheets with parchment paper.
-
2In a medium bowl, whisk together flour, baking soda, cinnamon, and salt.
-
3In a large bowl, cream together the butter, brown sugar, and granulated sugar until light and fluffy. Mix in pumpkin puree and vanilla extract.
-
4Gradually add the dry ingredients to the wet ingredients, mixing until just combined. Fold in chocolate chips, mini marshmallows, and graham cracker pieces.
-
5Scoop tablespoon-sized balls of dough onto prepared baking sheets, spacing them about 2 inches apart.
-
6Bake for 10-12 minutes, or until the edges are set and the tops are lightly golden. Cool on the baking sheet for 5 minutes before transferring to a wire rack.
Approximate Information for One Serving
Nutrition Disclaimers
Number of total servings shown is approximate. Actual number of servings will depend on your preferred portion sizes.
Nutritional values shown are general guidelines and reflect information for 1 serving using the ingredients listed, not including any optional ingredients. Actual macros may vary slightly depending on specific brands and types of ingredients used.
To determine the weight of one serving, prepare the recipe as instructed. Weigh the finished recipe, then divide the weight of the finished recipe (not including the weight of the container the food is in) by the desired number of servings. Result will be the weight of one serving.
Did you make this recipe?
Please consider Pinning it!!




