Why I Always Make This (Even When I Swear I Won’t)
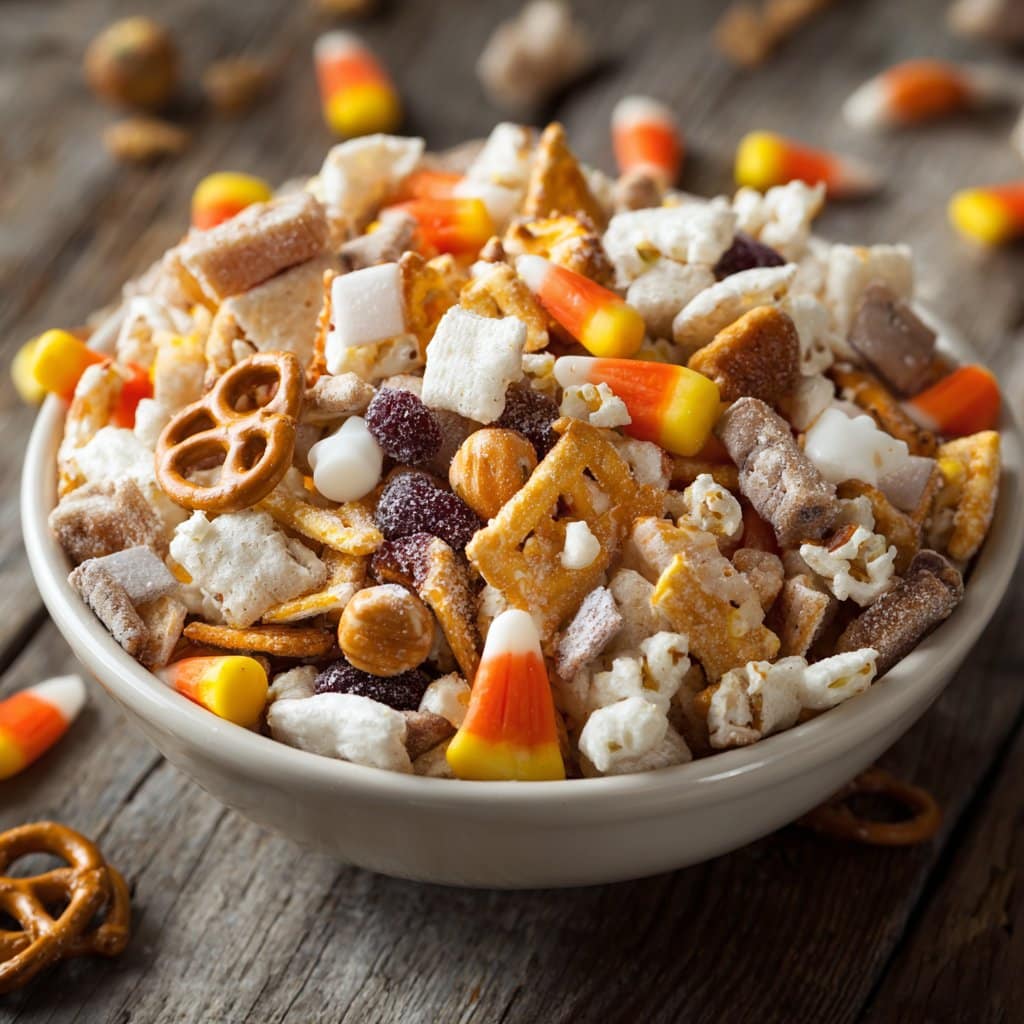
So, every year when October rolls around and the leaves start looking like something out of a Bob Ross episode, I somehow find myself elbow-deep in a bowl of what my friends and family lovingly (or maybe a tiny bit mockingly) call Halloween White Trash mix. The first time I made this was for a last-minute work potluck—had no clue what I was doing, used way too much white chocolate, and the result was a sticky, glorious mess that people ate by the handful. Now it’s basically tradition. My kids ask for it, my husband tries to hide a bag for himself, and honestly, I snack on it straight from the freezer when nobody’s looking. So, yeah, it’s not fancy, but it’s the snack that says, “Let’s have fun and get a little bit sugared up.”
Why You’ll Love Making This Mess
I make this when I’m seriously short on time (or patience, really). My family goes absolutely nuts for it because it’s crunchy, sweet, and just a little bit salty. Plus, if you’re not someone who loves a lot of fussy baking, this is kind of a dream. (Unless you hate cleaning up melted chocolate, in which case, I can’t help you—the struggle is real.) Sometimes you just want a treat that’s basically a grab bag of all your guilty pleasures in one bowl. Also, it’s one of those things that nobody judges you for bringing—even if it looks like you just dumped out your entire snack cupboard, which you sort of did. Oh, and if something goes wrong, just call it “rustic.” Works every time.
What You’ll Need (But Don’t Stress If You Don’t Have Everything)
- 3 cups Rice Chex (or, honestly, corn Chex if that’s what’s in the pantry)
- 2 cups pretzel sticks (I sometimes just break normal pretzels if I can’t find the sticks)
- 2 cups mini marshmallows (the colorful ones are fun, but my kids claim they “taste weird”)
- 1 1/2 cups plain M&Ms (or peanut, if you want a little crunch—my aunt swears by Reese’s Pieces, but I think they melt funny)
- 1 cup candy corn (super divisive, so totally optional)
- 1 cup salted peanuts (or cashews, or leave them out for allergies—just don’t do unsalted, trust me)
- 14 oz bag white chocolate chips (brand doesn’t matter, but if you can splurge for Ghirardelli, go for it)
- 1 tablespoon coconut oil (or, in a pinch, just use a knob of butter—it works about the same)
How I Throw It Together (And Where It Gets Messy)
- First things first—line a big baking tray with parchment paper. Actually, I use foil sometimes when I run out, but parchment is less sticky.
- Dump all the dry stuff (Chex, pretzels, marshmallows, M&Ms, candy corn, nuts) into a big mixing bowl. Bigger than you think, because it gets wild in there. Give it a good toss with your hands—this is where I usually sneak a little taste. For quality control, obviously.
- Now, in a microwave-safe bowl, throw in the white chocolate chips and coconut oil. Microwave in 30 second bursts, stirring each time, until it’s smooth—don’t rush this or you’ll get weird clumps. I once tried melting it all at once and wound up with a sad, chalky blob. Patience, friend.
- Pour the melted chocolate over your snack mix. Stir like mad to coat everything as evenly as you can. It may look a bit gloppy—that’s totally fine. Just try to get all the pieces at least a little covered.
- Spread the mix out on your lined tray. Don’t stress if it’s not perfectly even; I usually end up with hills and valleys. Let it sit for about 30 minutes to set (or pop it in the fridge if people are hovering).
- Once it’s set, break it up into clusters. Try not to eat half of it in the process. Or do—it’s Halloween, after all.
Notes from My Many (Messy) Attempts
- If your chocolate seizes up—don’t panic! Sometimes a splash of vegetable oil helps loosen it. Sometimes you just have to embrace the lumps.
- Don’t skip the parchment. Cleaning sticky chocolate off a baking sheet is, frankly, something I wouldn’t wish on my worst enemy.
- This mix tastes even better the next day, if you can hold off. I rarely can.
Variations I’ve Tried (And a Few Failures)
- Once I swapped in Cheerios for Chex, thinking I was clever. Tasted fine, but the texture was a bit off (kinda soggy after a day).
- Throw in some chopped up Oreos or peanut butter cups—amazing, if a bit over-the-top. But hey, it’s Halloween.
- For a spicy twist, toss in a handful of wasabi peas. No, really. It’s surprisingly good if you like a kick!
- I wouldn’t recommend trying to make a “healthy” version—trust me, kale chips don’t belong here.
What You Need (And What To Do If You Don’t Have It)
- Mixing bowl (if you don’t have a big one, just use a soup pot—I’ve done it and it works)
- Microwave-safe bowl for melting chocolate. In a pinch, a saucepan on low heat does the trick, but you gotta watch it closely.
- Wooden spoon or spatula (or just your hands—sometimes it’s more fun that way)
- Baking tray lined with parchment (or foil, or honestly just spread it out on the counter and hope for the best)
How to Store (But Good Luck Having Leftovers)
Officially, you can keep this in an airtight container at room temp for up to a week. But honestly, in my house it never lasts more than a day. Sometimes I stash a batch in the freezer so I have some to nibble on while watching late-night reruns. It’s pretty great frozen, actually.
Serving It Up (And My Odd Family Traditions)
I usually just pile this mix into a big bowl and let people help themselves. My sister likes to portion it into little Halloween treat bags for trick-or-treaters—she’s way more organized than me. If you’re feeling fancy, stick it in a pumpkin-shaped serving dish and call it “gourmet.” My kids like to dump some over vanilla ice cream, which is either genius or completely unhinged—I haven’t decided yet.
Pro Tips (Learned the Hard Way)
- I once tried to speed up the chocolate-melting step by cranking up the microwave. Bad idea. Lumpy chocolate ruins the whole vibe.
- Don’t worry if your mix isn’t perfectly coated; the uneven bits are the best part.
- Actually, I find it works better if you let the mix cool for at least 30 minutes so it’s not sticky when you break it up.
Answering the Questions I Always Get
- Can I make this ahead of time? Absolutely. I think it tastes even better after a night in an airtight container, but it rarely survives that long around here!
- Is it gluten free? Well, if you use Rice Chex and gluten-free pretzels, sure. But always check the labels—those sneaky ingredients pop up everywhere.
- What if I don’t like white chocolate? Then swap in melted milk chocolate or even butterscotch chips. On second thought, I haven’t tried butterscotch yet, but it sounds worth a go, right?
- Can I send this in lunchboxes? Why not! Just make sure your kid’s school allows peanuts, or swap for something else.
- How messy is it, really? Let’s just say you’ll need to give your kitchen a quick once-over, but that’s part of the fun. Or so I tell myself.
Oh, and one last thing—if you’re looking for a great resource on Halloween snack ideas, I always get inspiration from Sally’s Baking Addiction and Serious Eats (some wild snack mix ideas in there!). Also, if you ever want to hear about my failed attempt at homemade candy corn, just ask. It’s a saga. Happy snacking!
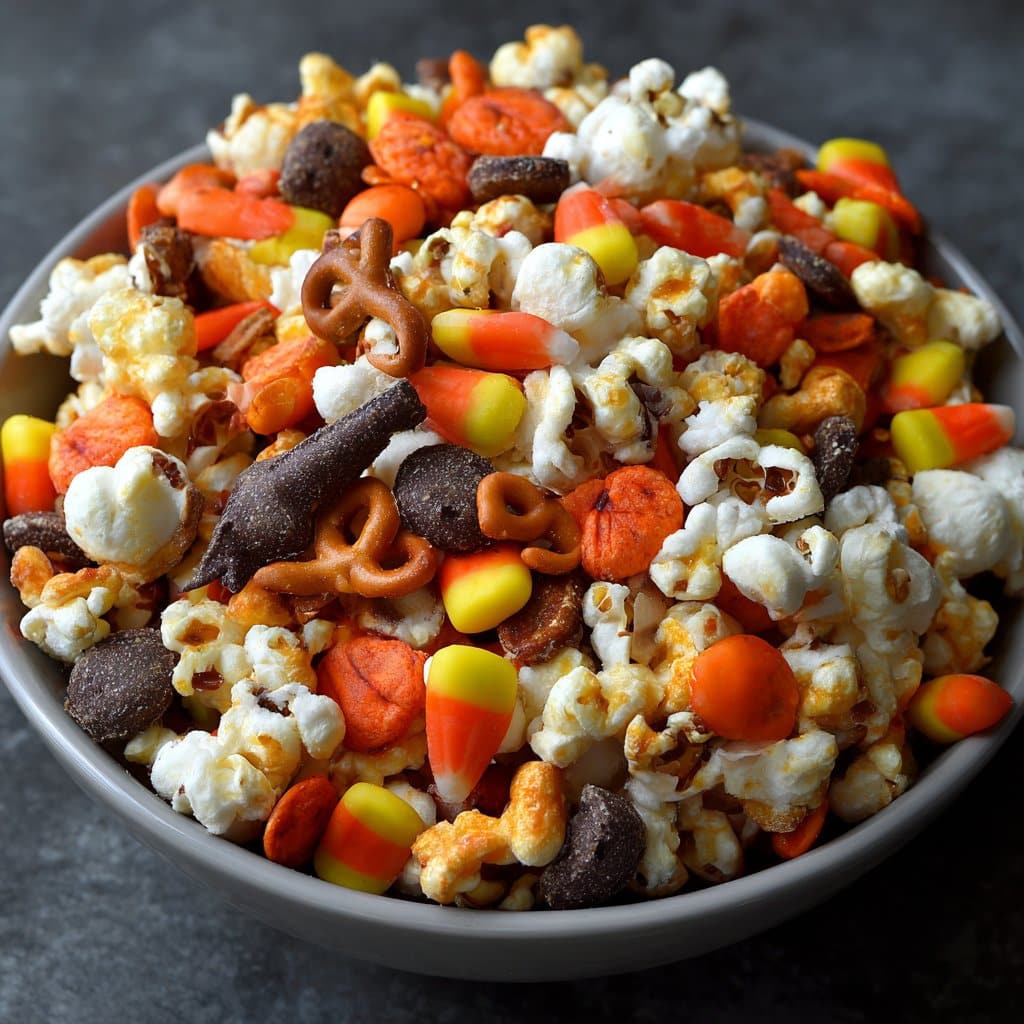
Ingredients
- 3 cups rice cereal squares (such as Chex)
- 2 cups mini pretzels
- 1 cup candy corn
- 1 cup Halloween-colored chocolate candies (such as M&Ms)
- 1 cup salted peanuts
- 2 cups mini marshmallows
- 12 oz white chocolate chips
- 1 tablespoon vegetable oil
Instructions
-
1Line a large baking sheet with parchment paper.
-
2In a large mixing bowl, combine rice cereal squares, mini pretzels, candy corn, chocolate candies, salted peanuts, and mini marshmallows.
-
3In a microwave-safe bowl, melt white chocolate chips with vegetable oil in 30-second intervals, stirring until smooth.
-
4Pour the melted white chocolate over the snack mix and gently toss until everything is evenly coated.
-
5Spread the mixture evenly onto the prepared baking sheet and let it set at room temperature for about 10 minutes, or until the chocolate is firm.
-
6Break into pieces and serve or store in an airtight container.
Approximate Information for One Serving
Nutrition Disclaimers
Number of total servings shown is approximate. Actual number of servings will depend on your preferred portion sizes.
Nutritional values shown are general guidelines and reflect information for 1 serving using the ingredients listed, not including any optional ingredients. Actual macros may vary slightly depending on specific brands and types of ingredients used.
To determine the weight of one serving, prepare the recipe as instructed. Weigh the finished recipe, then divide the weight of the finished recipe (not including the weight of the container the food is in) by the desired number of servings. Result will be the weight of one serving.
Did you make this recipe?
Please consider Pinning it!!




