Let’s Talk About These Hawaiian Roll Cinnamon Rolls
So, you know how sometimes you get a wild craving for cinnamon rolls but the thought of making dough from scratch makes you want to crawl back into bed? Yeah, that was me last weekend. Enter: Hawaiian rolls (those pillowy, slightly sweet buns you probably sneak from the bag at midnight). I once made these for a lazy Sunday brunch when my cousin was visiting and, honestly, she still brings them up every time we talk. There was a bit of a disaster the first time — my dog somehow managed to steal one, glaze and all, and spent the whole afternoon blissed out under the table. Lesson learned: keep the finished rolls out of puppy’s reach!
Why You’ll Love This Recipe (Trust Me…)
I make these when I want something special but, you know, I also want to wear pajamas until noon. My family goes absolutely bonkers for them — it’s borderline embarrassing. (My nephew once ate three before I even finished pouring the coffee. Kids!) The best part is you don’t have to wait for dough to rise, so if you’re impatient like me or just forgetful, you’re in good hands here. Actually, I used to think all cinnamon rolls had to be complicated, but these prove otherwise. Oh, and if you ever get that feeling where you just want to eat something sweet and warm straight from the oven, this is for you. I guess the only frustration is how quickly they disappear; sometimes I make a double batch and think, “That’ll be enough” — ha! Nope.
What You’ll Need (and What You Can Wing)
- 1 package Hawaiian sweet rolls (12-count, King’s Hawaiian is classic, but I’ve grabbed the store brand too and no one noticed… shh)
- 4 tablespoons unsalted butter, melted (Salted butter works too if that’s what you have, just watch the salt)
- 1/2 cup brown sugar, packed (I’ve even subbed in coconut sugar in a pinch — gives it a nice caramelly vibe)
- 1 1/2 tablespoons cinnamon (honestly, I just eyeball it, but this seems about right)
- Pinch of salt
- For the glaze:
- 3/4 cup powdered sugar (or icing sugar, if you’re across the pond)
- 2 tablespoons milk (any kind — I once used oat milk and actually liked it better?)
- 1/2 teaspoon vanilla extract (my grandma swore by the real stuff but the imitation kind works fine, really)
How To Make Them (With a Few Side Notes)
- Preheat your oven to 350°F (or about 175°C for my metric friends). Actually, I sometimes forget this step and have to awkwardly wait while the rolls sit there, so do it first if you’re not scatterbrained like me.
- Carefully, using a bread knife or something long and serrated, slice the whole pack of Hawaiian rolls horizontally — like you’re making a big sandwich. Don’t separate the rolls! This is where I usually have a brief existential crisis about whether I’m cutting evenly but it always turns out fine.
- Place the bottom half in a small baking dish (9×9 inch works but if you have something close, that’ll do). Brush with half the melted butter. Sprinkle on all the brown sugar, cinnamon, and a pinch of salt. Get in there — it might look a little messy, that’s good. Sometimes I sneak a pinch of the sugar to taste (quality control, right?).
- Put the top half of the rolls back on and brush with the rest of the butter. At this point, I like to gently press down to make sure everything’s cozy.
- Bake for 15-18 minutes until the tops are golden and the kitchen smells like cinnamon heaven. If you peek and think, “That looks a bit pale,” give it a couple more minutes. But don’t wander off — I once got distracted by a YouTube video and, well, extra crispy isn’t the vibe here.
- While they bake, whisk together the powdered sugar, milk, and vanilla for the glaze. If it seems too thick, add a splash more milk, bit by bit. Too runny? More sugar. I just keep tasting until it seems right; nobody’s ever complained.
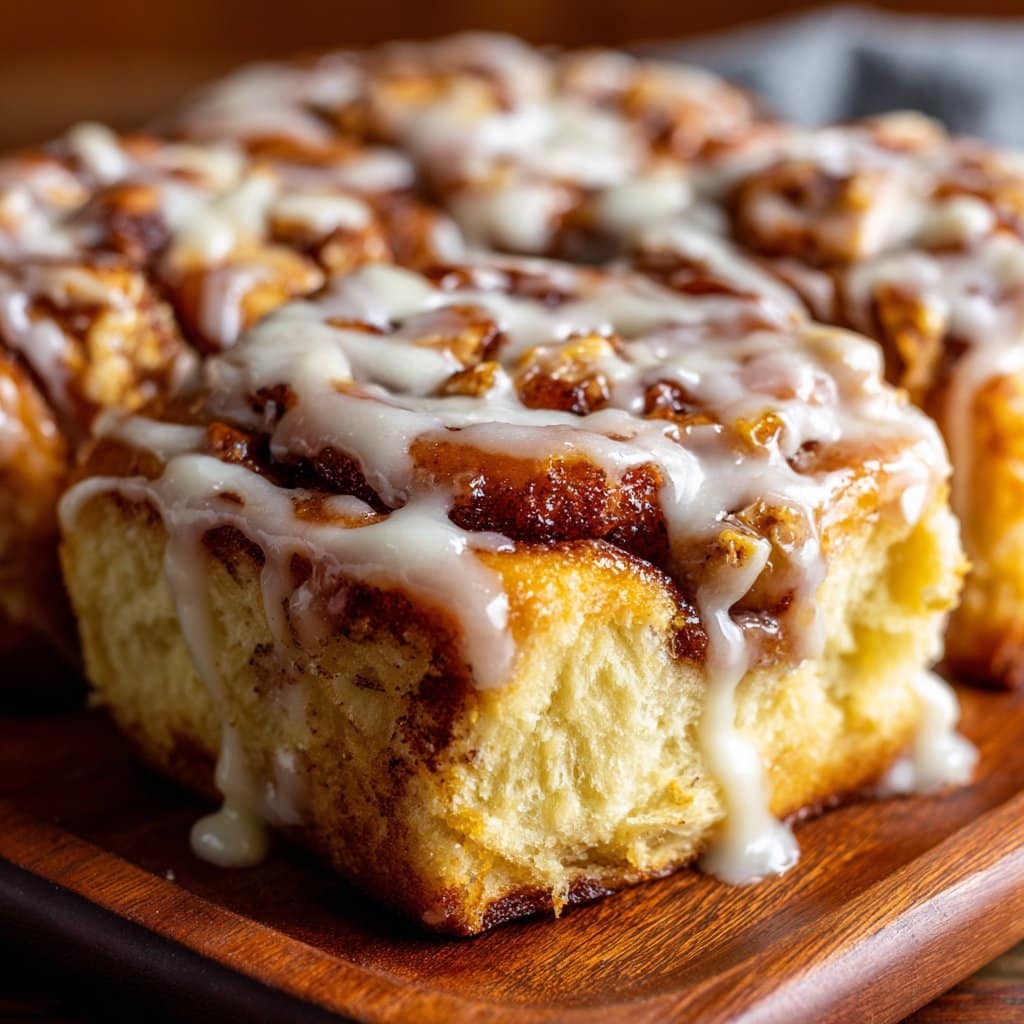
- Once the rolls are out, let them cool for just a minute (I know, torture). Drizzle the glaze all over while they’re still warm, so it melts into the cracks — that’s the magic. Pull apart and eat while still gooey.
Notes from My “Totally Not Professional” Test Kitchen
- If you want extra gooey-ness, double the butter and brown sugar. But be warned — it’s verging on dessert territory then. (Not that that’s ever a problem for me.)
- I’ve tried leaving them uncovered in the oven vs. covering with foil for half the time — uncovered gives you a crispier top. Foil makes them softer (kids prefer soft, I prefer crispy, so I alternate depending on the crowd).
- One time, I accidentally used salted caramel sauce instead of glaze. Not bad, actually. A bit rich though.
Variations I’ve Attempted (For Better or Worse)
- Chocolate chips: Sprinkled a handful between the layers. Wow. Decadent, but not for breakfast unless you’re feeling wild.
- Cream cheese glaze: Swapped half the milk in the glaze for a scoop of cream cheese. So tangy, so good.
- Chopped pecans: Added some on top before baking. Crunchy, nutty, not bad!
- Raisin experiment: Tried adding raisins once, but my family revolted. Wouldn’t recommend unless you’ve got a real raisin fan club at home.
What If I Don’t Have All the Gear?
You’ll want a bread knife or something serrated for the rolls, but honestly, I once used a random steak knife and kind of sawed my way through. It worked, sort of. For the baking dish, anything oven-safe that fits the rolls will do. If you don’t have a whisk for the glaze, a fork works (I won’t tell!).
How to Store Them (If That Even Comes Up)
Store any leftovers (ha) in an airtight container at room temp. They’ll be fine for about a day, maybe two if you hide them. I think they taste even better the next day, but honestly, in my house it never lasts that long. If you want to reheat, a quick zap in the microwave brings back the gooey magic.
Serving These Up (Here’s What We Do)
I love serving these warm, straight from the baking dish. If we’re feeling fancy, I’ll set out a big pot of coffee or (if it’s holiday time) hot cocoa for the kiddos. My aunt insists on a dollop of whipped cream, but honestly I like mine with just the glaze and maybe a handful of fresh berries on the side.
Pro Tips (Learned the Hard Way)
- I once tried using cold butter for the filling. Don’t do that — it doesn’t spread and you get weird butter lumps. Melt it first, trust me.
- Don’t skip the pinch of salt; it’s what makes everything pop. I forgot once and the rolls just tasted… flat, somehow.
- Let the glaze soak in for a couple minutes before diving in. I know it’s hard to wait, but it’s worth it (I learned this after burning my tongue in my excitement).
FAQ (Real Questions from Real People, Promise)
- Can I use other types of bread rolls? Sure! Brioche works, or those sweet dinner rolls — I even tried potato rolls once in a pinch. They were fluffier, but still tasty.
- Is there a way to make this dairy-free? Absolutely. Use a plant-based butter and non-dairy milk for the glaze. I’ve done it with almond milk, worked like a charm.
- How do I keep the bottom from getting soggy? Hmm, this one’s tricky. I usually don’t have this problem, but if you do, try baking uncovered or even putting a rack under the baking dish so the heat circulates better. Or just go with it — a little goo never hurt anyone!
- Can I make these ahead of time? You can assemble everything the night before, cover tightly, and bake in the morning. The glaze is best fresh, though. But, if you’re in a rush, premade glaze will do in a pinch.
- Where can I get King’s Hawaiian rolls if my store doesn’t carry them? I’ve ordered straight from the King’s Hawaiian website, or you can check online grocers like Instacart — you’d be surprised!
- Could I add more spice? Absolutely! Try a pinch of nutmeg or even cardamom if you’re feeling adventurous.
One last thing — if you want a video walk-through, I found this YouTube tutorial helpful; the host is funnier than me and her tips are gold. Anyway, happy rolling, and let me know how it goes (unless you burn them, then maybe don’t tell me… just kidding!).
Ingredients
- 1 package (12 count) Hawaiian sweet rolls
- 4 tablespoons unsalted butter, softened
- 1/3 cup brown sugar, packed
- 1 tablespoon ground cinnamon
- 1/4 teaspoon salt
- 4 ounces cream cheese, softened
- 1 cup powdered sugar
- 2 tablespoons milk
- 1/2 teaspoon vanilla extract
Instructions
-
1Preheat the oven to 350°F (175°C). Lightly grease an 8×8-inch baking dish.
-
2Without separating the rolls, slice the Hawaiian rolls horizontally to create a top and bottom layer. Place the bottom half in the prepared baking dish.
-
3In a small bowl, mix together the softened butter, brown sugar, cinnamon, and salt until well combined. Spread the mixture evenly over the bottom layer of rolls.
-
4Place the top half of the rolls back on and gently press down. Bake for 20-25 minutes, until the rolls are golden and the filling is bubbling.
-
5While the rolls bake, prepare the glaze by beating together the cream cheese, powdered sugar, milk, and vanilla extract until smooth.
-
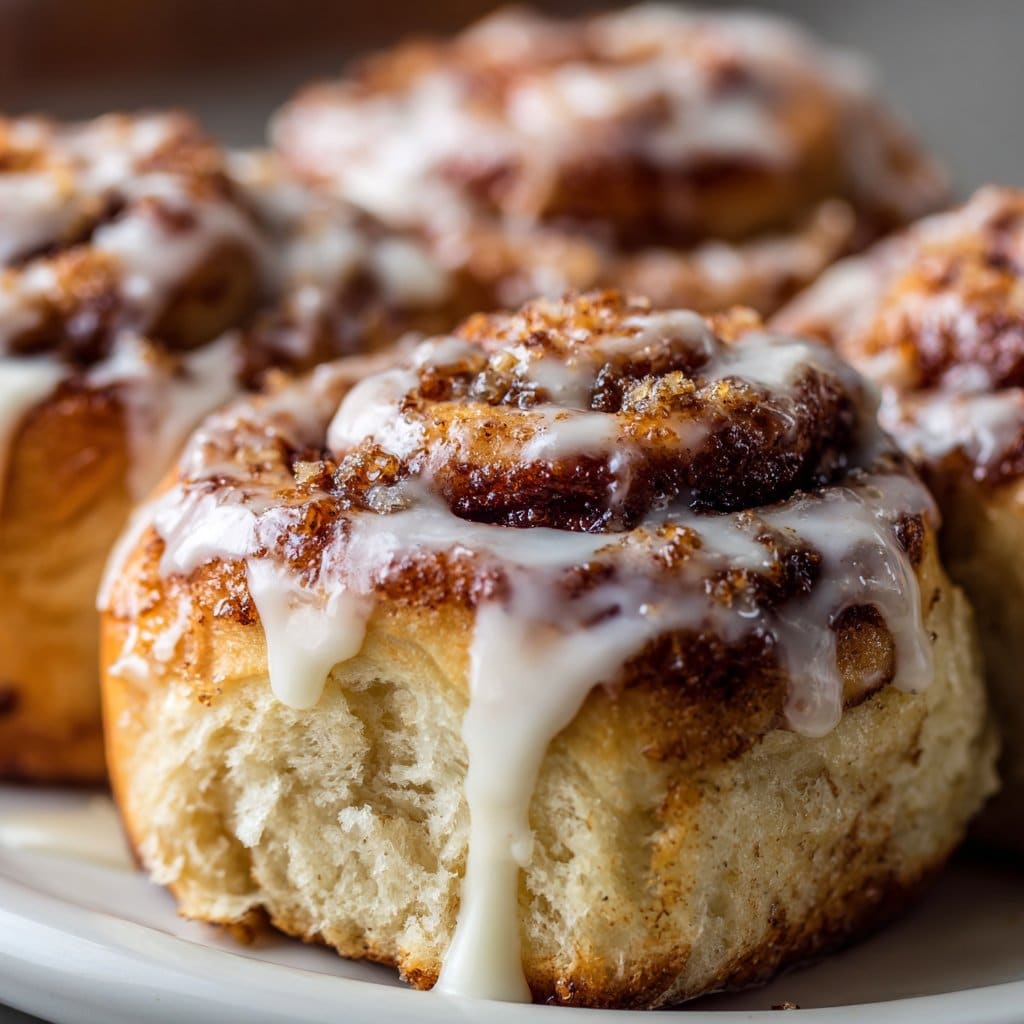
6Remove the rolls from the oven and let cool slightly. Drizzle the glaze over the warm rolls, slice, and serve.
Approximate Information for One Serving
Nutrition Disclaimers
Number of total servings shown is approximate. Actual number of servings will depend on your preferred portion sizes.
Nutritional values shown are general guidelines and reflect information for 1 serving using the ingredients listed, not including any optional ingredients. Actual macros may vary slightly depending on specific brands and types of ingredients used.
To determine the weight of one serving, prepare the recipe as instructed. Weigh the finished recipe, then divide the weight of the finished recipe (not including the weight of the container the food is in) by the desired number of servings. Result will be the weight of one serving.
Did you make this recipe?
Please consider Pinning it!!




