Let’s Talk About Lemon Blueberry Cheesecake Cookies (Pull up a Chair!)
Alright, so you know those days when you’re just itching for something sweet but can’t quite decide between cheesecake or cookies? (Story of my life honestly.) Well, these Lemon Blueberry Cheesecake Cookies came out of one of my classic kitchen indecision moments. I remember the first time I made them: my dog was eyeing the blueberries like they were some mysterious treasure, and my husband kept sneaking tastes of the dough. I had flour on my chin for hours. Classic. But I’ll tell you, by the time they came out of the oven and filled the kitchen with that lemony, berry smell—wow, it was like bottling up the start of summer. And, yes, we ate them standing around the counter before they even cooled. No regrets.
Why You’ll Love This Recipe (Or At Least Crave It All Week)
I make this whenever I want to win some major points with the family. My sister claims these cookies taste a bit like blueberry cheesecake from that one bakery in town, but honestly, I think they’re better because you get that soft cookie outside with a gooey center. And I’ll admit: there was a time I tried using frozen blueberries in a hurry and they went a bit mushy (learned my lesson there), but the flavor was still all there! If you like desserts that make your house smell like you actually know what you’re doing in the kitchen, you’ll be into this. Plus, if I can make ‘em without setting off the smoke alarm, you can too.
Gather Your Ingredients (Or Wing It, Like I Sometimes Do)
- 1/2 cup (115g) unsalted butter, softened (I sometimes swap in salted and just skip the extra pinch of salt—less measuring, more eating)
- 3 oz (85g) cream cheese, room temp (Honestly, off-brand works fine; my grandmother swears by Philadelphia but, eh, use what’s in the fridge)
- 1 cup (200g) granulated sugar
- 1 egg (large, but medium is fine if that’s all you’ve got)
- Zest of 1 lemon (or two, if you’re a citrus fiend like me)
- 2 tbsp fresh lemon juice (bottled will do in a pinch, but the real thing is worth it)
- 2 cups (250g) all-purpose flour
- 1/2 tsp baking soda
- 1/4 tsp salt
- 1 cup fresh blueberries (I tried frozen once—see above—but if you must, don’t thaw ‘em first)
- 1/2 tsp vanilla extract (I never measure this, I just pour until it smells right, but that’s probably 1/2 teaspoon?)
- Optional: 1/2 cup white chocolate chips (sometimes I go rogue and add these; my kids love it)
How I Make ‘Em (Not Always in This Order)
- First, preheat your oven to 350°F (180°C). I always forget this part and end up waiting forever for the oven—learn from my mistakes.
- Cream together the butter, cream cheese, and sugar with an electric mixer until it’s light and fluffy. This is where I usually sneak a taste because, well, who could resist?
- Add the egg, lemon zest, lemon juice, and vanilla. Mix until it’s all friends in the bowl. (It might look a bit curdled here; don’t panic, it sorts itself out.)
- In a separate bowl (or not, if you don’t mind washing up a little extra later), whisk together the flour, baking soda, and salt. Gradually add these dry bits to your wet mixture. Mix on low, or you’ll end up in a flour cloud—trust me.
- Gently fold in the blueberries. If you’re feeling wild, toss in those white chocolate chips now. The dough will look a little sticky, but that’s what makes them soft later.
- Scoop tablespoon-ish mounds onto a lined baking tray; I use parchment but a well-buttered tray works if it’s all you’ve got.
- Bake 10 to 13 minutes, until the edges are just golden. The centers will look a touch underdone—don’t overbake, or you lose the magic.
- Let cool on the tray for a few minutes (I always eat one warm. No self-control!) then move to a rack. Or a plate. Or straight to your mouth.
Stuff I’ve Figured Out (The Hard Way)
- If you use frozen blueberries, just toss them in straight from the freezer; otherwise, the dough turns blue. Unless you’re into that. Smurf cookies anyone?
- I once tried microwaving the butter to soften it and ended up with half-melted butter—didn’t ruin the cookies, but made for sticky hands.
- You can totally make these with lime instead of lemon. It’s different, but not in a bad way!
Some Wild Variations (And One Oops)
- Raspberry swap: I tried raspberries once. The flavor was great but they kinda disintegrate, so be gentle.
- Crushed shortbread: I mixed in broken shortbread cookies one time—super rich, almost too much, but if you’re into decadent, go for it.
- I once tried swirling in jam… It looked cool but got way too runny. Wouldn’t recommend unless you like sticky cleanup.
Do You Need Fancy Gear?
Honestly, a hand mixer is lovely, but elbow grease does the trick. No baking tray? Use the back of a cast iron pan (I did once—kinda weird but worked!)
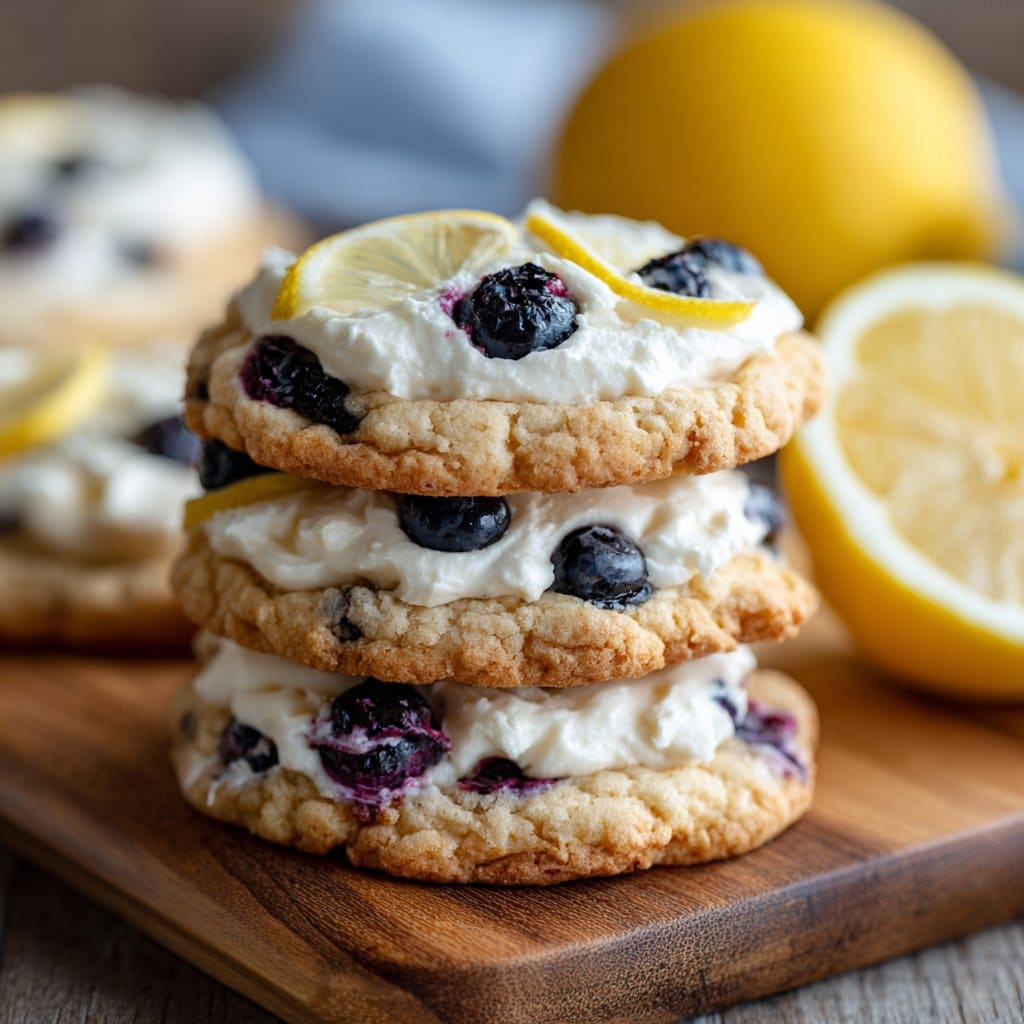
Where Do You Store These? (Not That They Last Long)
In theory, airtight container at room temp, and they’re good for 2-3 days. In reality, these cookies disappear in my house by the next morning. If you do have leftovers, the fridge makes them a bit firmer—sometimes I like them cold with tea.
How I Serve Them (Or: The Cookie Plate Vanishes)
We usually pile these up on a big plate and let people grab what they want. Sometimes I dust them with icing sugar, but only if I remember. My cousin has been known to sandwich a bit of extra cream cheese frosting in the middle—dangerously good. Oh, and they travel well (unless you eat half the batch in the car, like we did on that road trip to Brighton…)
Lessons Learned (A.K.A. Don’t Do What I Did)
- Don’t rush chilling the dough—if it feels too sticky, pop it in the fridge for half an hour. I tried to skip this once and had flat, sad pancakes instead of cookies.
- Let them cool a bit before moving or they’ll break apart (voice of experience here—patience is not my strong suit.)
FAQ: Stuff People Have Actually Asked Me
- Can I freeze the dough? Yep! I usually scoop it onto a tray, freeze, then toss the little dough balls into a bag. Bake ‘em straight from frozen, just add a minute or two.
- Why are my cookies flat? Could be the butter was too warm or maybe you overmixed. Or maybe your oven runs a bit hot (mine does—had to get an oven thermometer from Serious Eats, so handy!).
- Can I make them gluten-free? I’ve swapped in a cup-for-cup GF flour blend before (like Bob’s Red Mill) and they turn out pretty well, honestly.
- What about using other berries? Sure, but strawberries were a bit meh for me—maybe if you cut them really small. Blackberries are tasty though!
- How lemony are they? I’d say medium, but you can always add more zest if you like. My friend says I should double it, but I think it’s just right as is.
And—side note—if you ever find a stray blueberry rolling under your fridge after making these, don’t feel bad. Happens to the best of us.
If you need a good hand mixer, I got mine after reading reviews at Wirecutter. Changed my baking game for real.
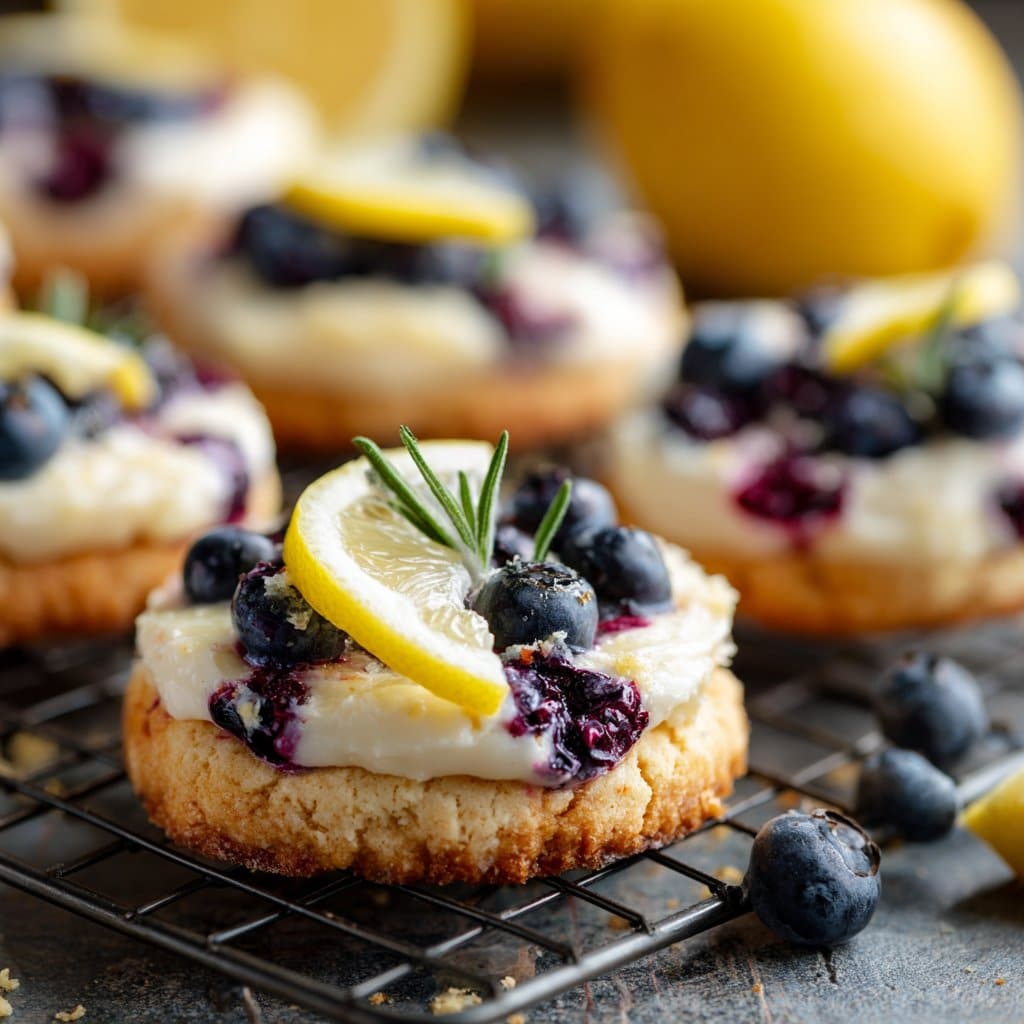
Ingredients
- 1 1/2 cups all-purpose flour
- 1/2 teaspoon baking powder
- 1/4 teaspoon salt
- 1/2 cup unsalted butter, softened
- 3/4 cup granulated sugar
- 1 large egg
- 1 teaspoon vanilla extract
- 1 tablespoon lemon zest
- 1 tablespoon lemon juice
- 3/4 cup fresh blueberries
- 4 oz cream cheese, softened
- 2 tablespoons powdered sugar
Instructions
-
1Preheat the oven to 350°F (175°C) and line a baking sheet with parchment paper.
-
2In a medium bowl, whisk together the flour, baking powder, and salt.
-
3In a large bowl, cream the butter and granulated sugar until light and fluffy. Beat in the egg, vanilla extract, lemon zest, and lemon juice.
-
4Gradually add the dry ingredients to the wet ingredients, mixing until just combined. Gently fold in the blueberries.
-
5In a small bowl, mix the cream cheese and powdered sugar until smooth. Scoop about 1 tablespoon of cookie dough, flatten slightly, add a small dollop of cream cheese mixture in the center, and cover with more dough to seal.
-
6Place cookies on the prepared baking sheet and bake for 13-15 minutes, or until edges are lightly golden. Cool on a wire rack before serving.
Approximate Information for One Serving
Nutrition Disclaimers
Number of total servings shown is approximate. Actual number of servings will depend on your preferred portion sizes.
Nutritional values shown are general guidelines and reflect information for 1 serving using the ingredients listed, not including any optional ingredients. Actual macros may vary slightly depending on specific brands and types of ingredients used.
To determine the weight of one serving, prepare the recipe as instructed. Weigh the finished recipe, then divide the weight of the finished recipe (not including the weight of the container the food is in) by the desired number of servings. Result will be the weight of one serving.
Did you make this recipe?
Please consider Pinning it!!




