Let Me Tell You About This Pierogi Casserole—It’s a Keeper!
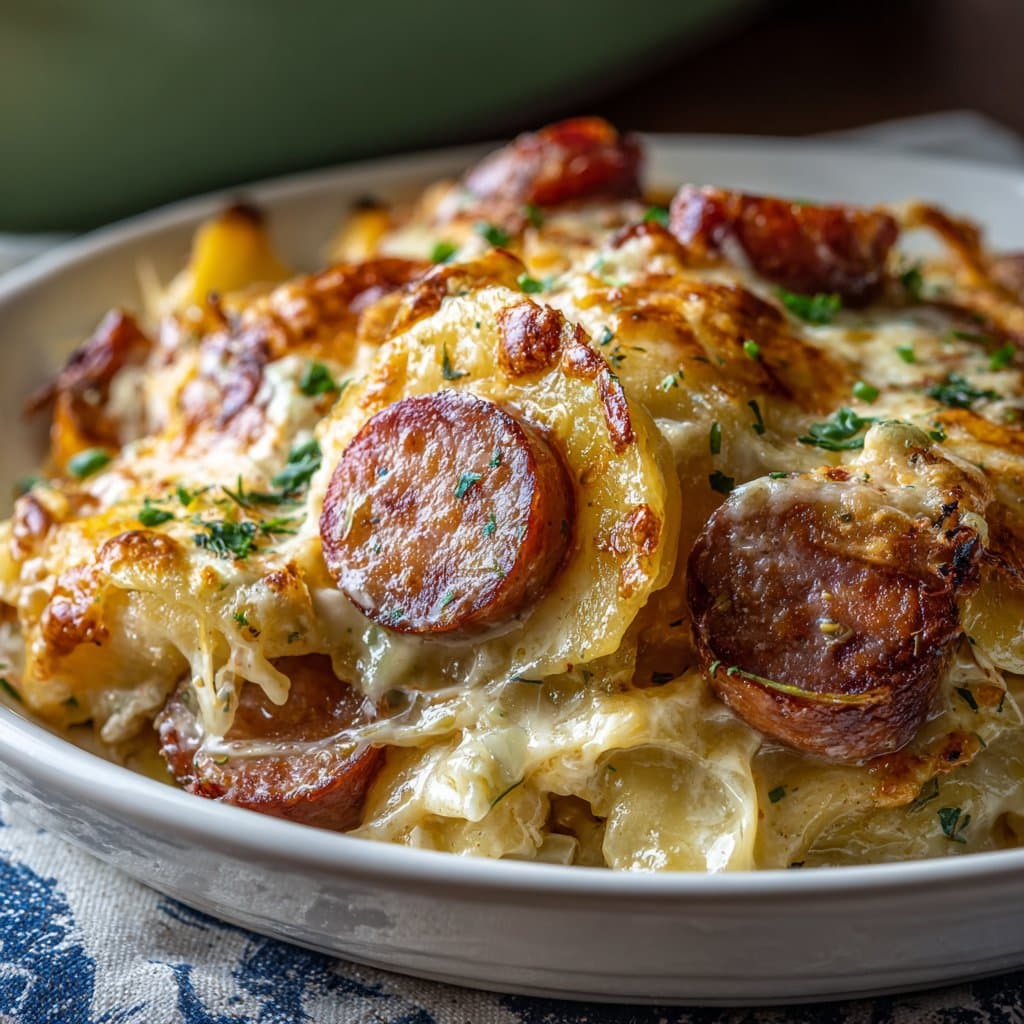
I have to say, this Savory Pierogi Casserole with Kielbasa came from a little kitchen accident (don’t all the best recipes?). Years ago, I tried to make pierogies for a family get-together and, let’s just say, my dough skills weren’t exactly Babcia-level. So I layered the whole mess like a lasagna, threw in some kielbasa, and—voilà!—the humble casserole was born. My cousin still teases me about it every time we meet. “Are you making that ‘lazy pierogi’ again?” she’ll ask. Well, yes, yes I am. And you know what? No one complains when it hits the table. Especially not when there’s extra cheese.
Why You’ll Love This (Or at Least Why I Do)
I make this whenever I want dinner to be effortful-looking but not actually hard. My family goes crazy for this because it’s the perfect combo of creamy, cheesy, and smoky—plus, it makes the house smell like you actually know what you’re doing in the kitchen (even if you’re faking it a bit, like me some nights). Honestly, this is the only way I can convince my kids to eat anything that resembles onions. And if I’m being honest, I love how it reheats—sometimes I think this casserole tastes better the next day, but don’t quote me on that. (Or do, but then you’ll have to hide the leftovers.)
Gathering Your Ingredients (There’s Room to Improvise!)
- 1 package of frozen potato and cheese pierogies (about 16–18, I use Mrs. T’s, but any brand works—my grandma insists homemade is best, but who has three hours?)
- 1 pound kielbasa, sliced into thick coins (sometimes I use smoked sausage if that’s all I have—don’t stress)
- 1 medium yellow onion, diced (or use a handful of pre-chopped onions if you’re in a hurry, no judgment)
- 2 cups shredded cheddar cheese (mild or sharp, or honestly, whatever’s in the fridge)
- 1 cup sour cream (Greek yogurt works in a pinch—my neighbor swears by it)
- 1/2 cup milk (I’ve even used half-and-half, but it gets pretty rich)
- 2 tablespoons butter (salted or unsalted—just use a little less salt later)
- 1 teaspoon garlic powder (fresh is lovely, but I forget it half the time)
- 1/2 teaspoon black pepper
- Pinch of paprika (optional, but adds a nice color)
- Chopped parsley or chives for topping (or just skip it if you’re feeling lazy)
Let’s Get Cooking (Don’t Stress, It’s Easy!)
- Preheat your oven to 375°F (190°C). Yes, you really should preheat, but sometimes I forget and just add five minutes to the bake time. It’s fine.
- In a big skillet, melt the butter over medium heat. Toss in the onions and cook until they’re soft and a little golden, about 5-6 minutes. This is where I usually sneak a taste (don’t tell anyone).
- Add the sliced kielbasa. Cook for another 3-4 minutes until the edges start to brown. Now, if your pan is getting crowded, just give it a stir and don’t worry—crowded pans build character.
- Meanwhile, spray a 9×13-inch casserole dish with cooking spray. Lay the frozen pierogies in a single layer. (If they overlap, it’s not the end of the world.)
- Spread the onion and kielbasa mixture evenly over the pierogies. It might look a bit weird at this stage—just keep going.
- In a bowl, whisk together the sour cream, milk, garlic powder, black pepper, and half the cheese. Pour this sauce all over the casserole. (Actually, I find it works better if you pour slowly and shimmy the pan a bit so it settles in.)
- Top with the rest of the cheese, sprinkle on paprika if you like, and pop it in the oven for 35–40 minutes. It should be bubbly and golden on top—sometimes I broil it for 2 minutes at the end for extra brown bits. But—watch it, or you’ll end up with cheese charcoal.
- Let it sit for 10 minutes before serving. This is the hardest part. Trust me, it’s worth waiting; unless you want to burn the roof of your mouth, like I did last Thanksgiving.
My Notes (from Many Messy Attempts)
- If you’re using homemade pierogies, cook them first or they’ll stay chewy. Learned that the hard way.
- Don’t skip the resting time. I always get impatient, but it really does help everything set up.
- Once, I tried using pepper jack cheese instead of cheddar. Not my best idea, but if you like spicy, maybe?
Variations I’ve Tried (and a Flop or Two)
- If you’re feeling wild, add some sautéed mushrooms or spinach between the layers. I actually love mushrooms, but my kids claim they’re “weird blobs,” so your mileage may vary.
- Swapped kielbasa for crumbled bacon once—tasted great, but I missed the smoky sausage bite.
- By the way, I once tried a veggie-only version with broccoli florets. Not a fan, but maybe someone else would like it. Or maybe not.
What Do You Need? (And What If You Don’t Have It)
- A big skillet or frying pan (honestly, I’ve even used a soup pot in a pinch; just takes a bit longer to brown things)
- 9×13-inch casserole dish (if you only have a smaller pan, just do two batches or pile it high)
- Mixing bowl and whisk (or a fork, if you’re like me and can never find the whisk when you need it)
Leftovers and Storage (If There Are Any!)
Cover leftovers and stick ‘em in the fridge. They’re good for about 3 days, but honestly, in my house it never lasts more than a day—it’s that popular. You can reheat in the microwave or pop it back in the oven; either way, it’s still tasty. I sometimes freeze portions for lunches, but the texture gets a bit softer (not bad, just different).
How to Serve It (Our Family Style)
We usually scoop big spoonfuls right onto plates and top with extra sour cream and chives. Sometimes I serve it with a simple green salad (or, let’s be real, just some pickles on the side). On cold nights, a bowl of this and a hunk of rye bread—that’s my idea of comfort food. Here’s a good Polish rye bread recipe if you want to go the extra mile.
Biggest Pro Tips I’ve Learned (The Hard Way…)
- Don’t rush the sauce step. I once tried mixing everything right in the casserole dish—nope, just made a lumpy mess.
- If you forget to spray the baking dish, the cheese will stick like nobody’s business. A little oil goes a long way.
- Broiling for color is great, but if you walk away—even just to answer the phone—expect a burnt top. (Ask me how I know…)
FAQ—Let’s Clear Up the Big Questions
- Can I use different pierogi flavors?
- For sure! Potato and cheese is classic, but I’ve used sauerkraut or mushroom ones with decent results. Meat-filled ones work fine too, just don’t tell my vegetarian aunt.
- Does it freeze well?
- Yeah, mostly. Freezing does make it a little softer once you thaw it, but if you’re not picky, it’s fine for quick lunches. I usually wrap slices in foil and stick them in a bag. Here’s a great guide on freezing casseroles if you want more details.
- Can I make it ahead?
- Definitely. I assemble everything in the morning, stash it in the fridge, then bake at dinnertime. Adds maybe 10 minutes extra baking when cold. Or, in a pinch, bake it all and just reheat later. Casserole is very forgiving.
- My sauce looks too runny—help!
- Give it ten minutes to rest out of the oven. It always thickens up as it cools, promise. If it’s still soupy, next time use a bit less milk or add a tablespoon of flour to the sauce mix. (Happens to the best of us!)
- Is there a way to make this lighter?
- Sort of… I’ve swapped in light sour cream and cut back on the cheese. Still tastes good, but let’s be honest, this dish is meant to be indulgent. Enjoy it as a treat!
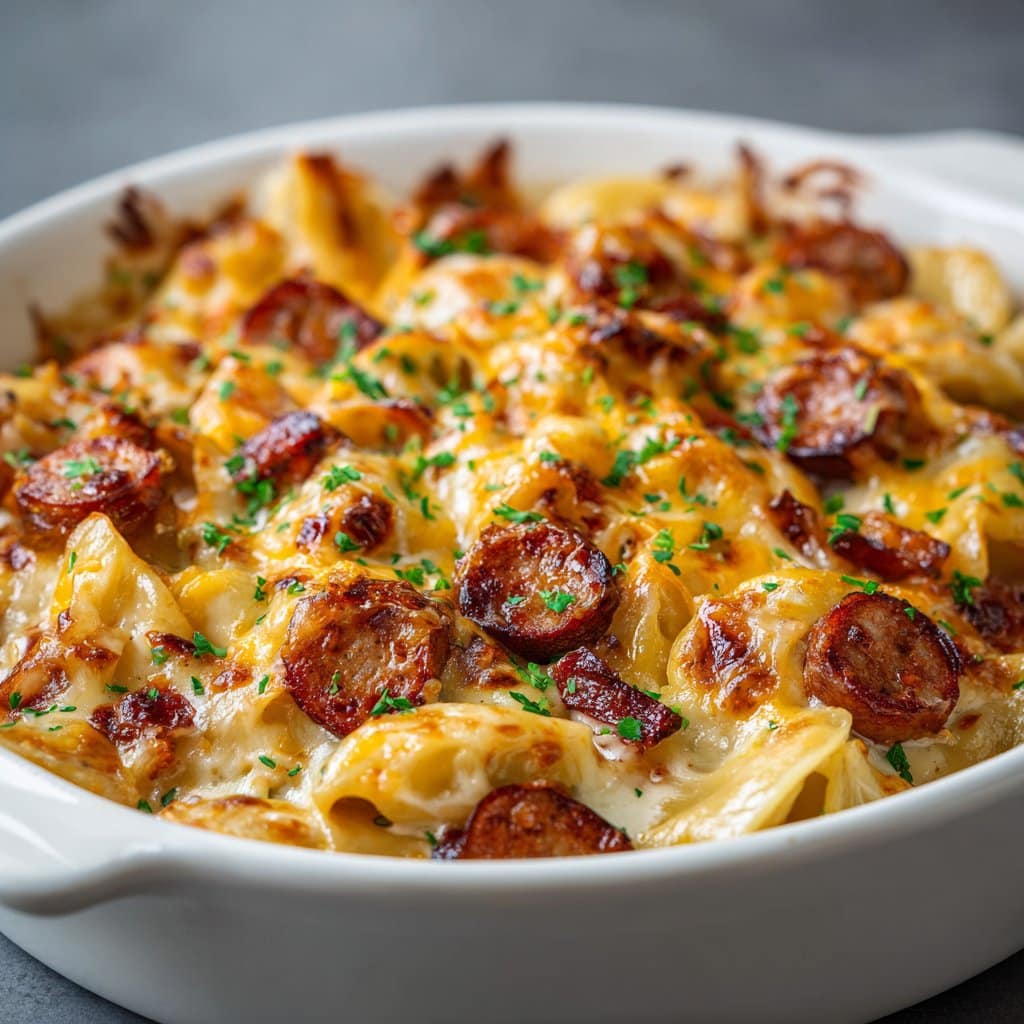
And that’s the whole shebang! If you give this Savory Pierogi Casserole with Kielbasa a whirl, let me know how it goes—or if you invent a version that’s even better. Oh, and if you’re looking for a deeper dive into Polish comfort food, I like Polonist for inspiration (and daydreaming about travel, but that’s another story).
Ingredients
- 24 frozen potato and cheese pierogi
- 14 oz kielbasa sausage, sliced
- 1 medium onion, diced
- 2 cups shredded cheddar cheese
- 1 cup sour cream
- 1 cup milk
- 2 tablespoons unsalted butter
- 1/2 teaspoon black pepper
- 1/2 teaspoon garlic powder
- 2 tablespoons chopped fresh chives (optional, for garnish)
Instructions
-
1Preheat the oven to 375°F (190°C). Grease a 9×13-inch baking dish with butter or nonstick spray.
-
2In a large skillet over medium heat, melt the butter. Add the diced onion and sliced kielbasa, and sauté until the onion is soft and the kielbasa is lightly browned, about 6-8 minutes.
-
3Arrange the frozen pierogi in a single layer in the prepared baking dish. Top evenly with the kielbasa and onion mixture.
-
4In a medium bowl, whisk together the sour cream, milk, black pepper, and garlic powder. Pour the mixture over the pierogi and kielbasa in the baking dish.
-
5Sprinkle the shredded cheddar cheese evenly over the top. Cover the dish with foil and bake for 25 minutes. Remove the foil and bake for an additional 15 minutes, or until the cheese is bubbly and golden.
-
6Remove from the oven and let cool for 5 minutes. Garnish with chopped fresh chives if desired before serving.
Approximate Information for One Serving
Nutrition Disclaimers
Number of total servings shown is approximate. Actual number of servings will depend on your preferred portion sizes.
Nutritional values shown are general guidelines and reflect information for 1 serving using the ingredients listed, not including any optional ingredients. Actual macros may vary slightly depending on specific brands and types of ingredients used.
To determine the weight of one serving, prepare the recipe as instructed. Weigh the finished recipe, then divide the weight of the finished recipe (not including the weight of the container the food is in) by the desired number of servings. Result will be the weight of one serving.
Did you make this recipe?
Please consider Pinning it!!




