Let Me Tell You About These Maple Pumpkin Cookies
Oh boy, where do I even start? So, the first time I tried making Maple Pumpkin Cookies, I was convinced they’d come out looking like little orange hockey pucks (don’t ask why). Spoiler: they didn’t—thank goodness. Now, baking these has sort of become my unofficial autumn tradition, right after switching to fuzzy socks. The smell alone makes life feel like a snuggly Sunday, you know? And, uh, full disclosure: last Thanksgiving, I had to fend off my cousin Steve, who apparently thinks these are fair game for breakfast (honestly? Not the worst idea).
Why I Keep Coming Back to This Recipe
I make these whenever a friend is coming over and I want to seem a little more together than I actually am (the scent gets me bonus points). My family kind of loses their minds over these—especially my mom, even though she pretends she only likes ‘savory’ stuff. And if I’m having one of those “I just want to bake and hope everything turns out fine” days, these are my go-to, since they’re pretty forgiving. (Plus, the dough is totally snackable—no eggs, wink wink.) Sometimes I get the urge to use a fancier maple syrup, but, to be totally honest, even the cheap stuff tastes good here.
What You’ll Need (Plus My Wild Suggestions)
- 1 cup pure pumpkin puree (canned is fine, but if you want to roast your own pumpkin… more power to you, I never have that patience)
- 1/2 cup unsalted butter, melted (sometimes I use coconut oil if I’m out of butter, and it’s decent, if a bit different)
- 1/2 cup real maple syrup (fancy stuff is nice, but budget syrup works; my gran swore by it!)
- 1 cup packed light brown sugar (or swap for coconut sugar if you’re fancy, which I am not)
- 2 cups all-purpose flour (I tried half whole wheat once—came out a little dense, but edible)
- 1 teaspoon baking powder
- 1/2 teaspoon baking soda
- 1/2 teaspoon salt
- 1 teaspoon ground cinnamon (add more if you’re heavy-handed like me)
- 1/2 teaspoon ground ginger (you can skip if you don’t have, but it really perks things up)
- 1/4 teaspoon nutmeg (pre-ground, fresh, whatever, who even notices?)
- Optionals: a handful of chopped pecans, white chocolate chips, or raisins (confession: raisins are a bit controversial in my house)
So, How Do You Actually Bake These?
- Preheat the oven to 350F (180C). Seriously, don’t forget this step, or you’ll just be staring at dough for 20 minutes longer than you need to.
- Grab a big mixing bowl. Dump in your melted butter and brown sugar; whisk until it’s goopy and smells all caramel-y. Add pumpkin puree and maple syrup. Stir again—yep, it’ll look a bit weird, but trust the process.
- Add the flour, baking powder, baking soda, salt, cinnamon, ginger, and nutmeg. I usually just heap the spices in by eye, but if you’re a perfectionist, measure away.
- Stir gently; you don’t want to over-mix (unless you like tough cookies—your prerogative). If you’re feeling wild, fold in pecans or those white chocolate chips here.
- Drop spoonfuls—or use a small cookie scoop—onto a lined baking tray. You can make them tiny or go for giant café-style cookies; totally up to you. I do about heaping tablespoons, and sometimes they spread, sometimes they don’t, life’s a mystery.
- This is usually when I sneak a chunk of dough. Not saying you should, but you could.
- Bake for anywhere between 11-14 minutes. Start checking around 11—sometimes they look underbaked, but they’ll set as they cool. If you like a crispier edge, go the full 14.
- Let them hang out on the tray for a few minutes—if you try to move them right away, they kind of fall apart. Learned that the hard way, oops.
What I’ve Figured Out the Hard Way
- I once tried subbing all the flour for almond flour—wouldn’t recommend unless you *enjoy* baking disappointment.
- If your dough feels too sticky, that’s normal—just pop it in the fridge for 15 minutes. Or, do what I do sometimes and just embrace the mess.
- The flavor gets even better the next day (assuming any are left), but they’re perfectly tasty warm outta the oven.
- Parchment paper = fewer stuck cookies, but I’ve used a greased baking sheet in a pinch, and it was… fine.
Weird (Sometimes Successful) Variations
- I’ve added a bit of orange zest once. Not bad, though you don’t want too much.
- Tried making them as bars instead of cookies in a square pan, and the center never set. Live and learn, right?
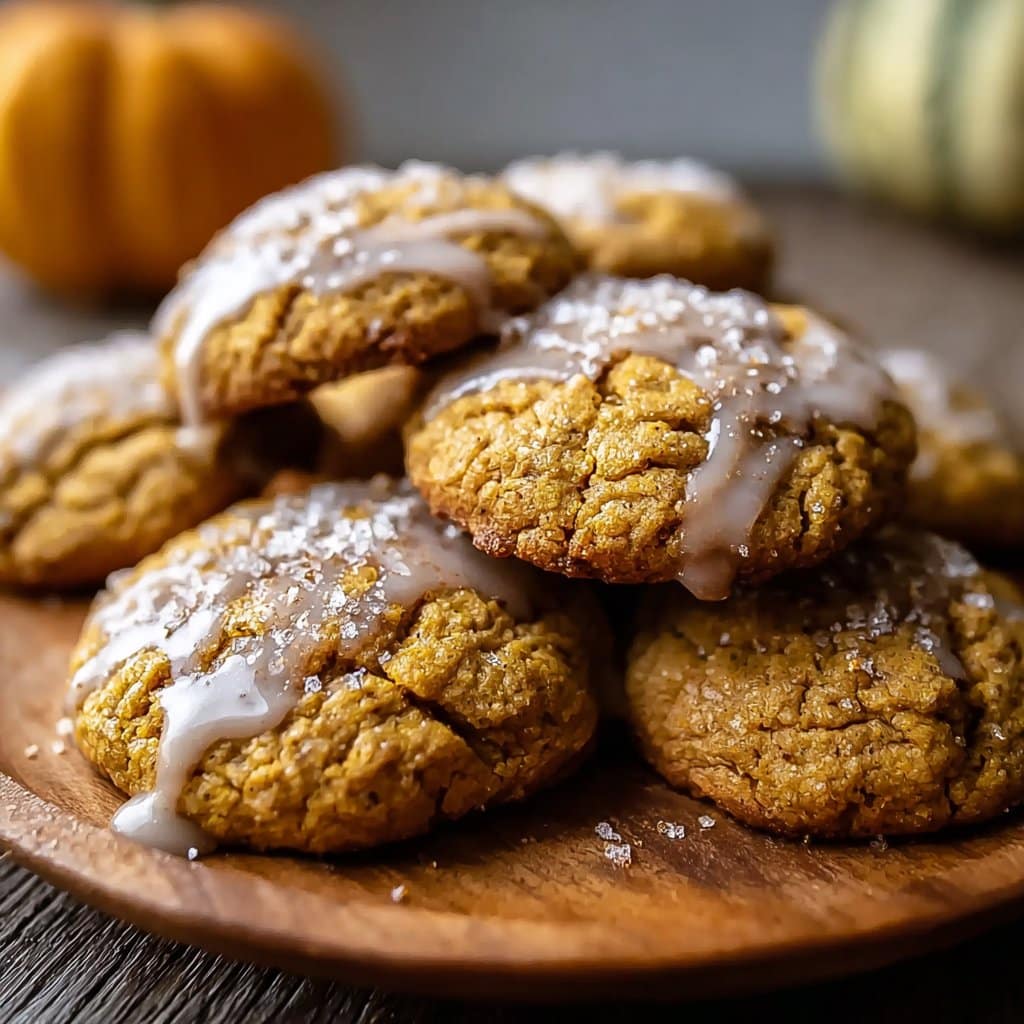
- Added a drizzle of maple glaze, which felt very ‘Instagram-worthy’ but was a little too sweet for my taste—my niece liked it, though.
- Subbed in half applesauce for butter once when I was running low. Not as rich, but totally works in a pinch.
If You Don’t Have All the Gadgetry…
You don’t need an electric mixer—just a whisk (for arm exercise, or if you’re feeling lazy, a fork works). No cookie scoop? Tablespoon it is. The only thing I wouldn’t skip is lining your baking tray; it seriously makes cleanup a breeze. If you want to see how other home cooks improvise, this King Arthur Baking post is oddly reassuring.
How to Store ‘Em—If That Even Comes Up
Technically, yes, you can put these in an airtight container and keep them at room temp for about 3 days. They freeze decently too, if you want to ration yourself (lol, says the person who finishes them in 24 hours). Fridge storage gives them a denser bite, which isn’t bad, just different. Here’s a piece on storing cookies—though honestly, mine never make it past day one anyway.
How I Like to Serve These (and a Family Quirk)
In our house, we pile them on a plate, slap on a big mug of coffee or tea, and call it breakfast (judge away!). My sister likes them with a scoop of vanilla ice cream, but she does have a bit of a sweet tooth. Sometimes, if I’m feeling extra, I warm one up and slather on butter, which probably defeats the purpose of calling them cookies, but whatever works.
Lessons Learned (So You Don’t Have to Repeat My Mistakes)
- Once I didn’t let the cookies cool on the tray at all, and I wound up with a heap of delicious crumbs. So just, y’know, trust that 5-minute rest.
- I tried to speed up the baking by cranking up the heat once. End result: burned bottoms, gooey tops. Not worth it.
Everybody’s Always Asking…
- Can I use real pumpkin instead of canned?
Totally—just keep it mashed and not too watery. Actually, mine sometimes comes out a bit stringy, but it’s fine! - Do I have to chill the dough?
I usually don’t, but it helps if you find the dough too sticky to manage. It’s not a must, though. - How sweet are these?
Pretty sweet, but not sugar-overload. You could cut 1/4 cup of brown sugar if needed (or just trust your taste buds—always a good bet). - Can I freeze the baked cookies?
Yep! Single layer is best so they don’t stick. On second thought, wrapping them in wax paper works too. - Is the maple really necessary?
Maybe not, but then you’d have just pumpkin cookies, and that’s fine, but not quite as autumn-vibey if you ask me. - Why do mine look so different from yours?
Ha, great question—I ask myself that with recipes online all the time. Maybe it’s the flour or oven or even the phase of the moon, who knows?
One of these days, I’ll update this recipe with a video, hopefully without the dog barking in the background. Oh! And if you’re looking for another cozy baking idea, check this pumpkin chocolate chip cookie recipe—it’s not maple-y, but it’s a classic.
Ingredients
- 1 3/4 cups all-purpose flour
- 1 teaspoon baking soda
- 1/2 teaspoon ground cinnamon
- 1/2 teaspoon ground nutmeg
- 1/4 teaspoon salt
- 1/2 cup unsalted butter, softened
- 1/2 cup granulated sugar
- 1/4 cup brown sugar
- 1 cup canned pumpkin puree
- 1 large egg
- 1/2 teaspoon vanilla extract
- 1/4 cup pure maple syrup (plus extra for drizzling or glaze)
Instructions
-
1Preheat oven to 350°F (175°C). Line two baking sheets with parchment paper.
-
2In a medium bowl, whisk together flour, baking soda, cinnamon, nutmeg, and salt. Set aside.
-
3In a large bowl, cream butter, granulated sugar, and brown sugar until light and fluffy. Add pumpkin puree, egg, vanilla extract, and maple syrup; mix until well combined.
-
4Gradually add the dry ingredients to the wet ingredients, stirring just until incorporated. Do not overmix.
-
5Drop heaping tablespoons of dough onto the prepared baking sheets, spacing about 2 inches apart.
-
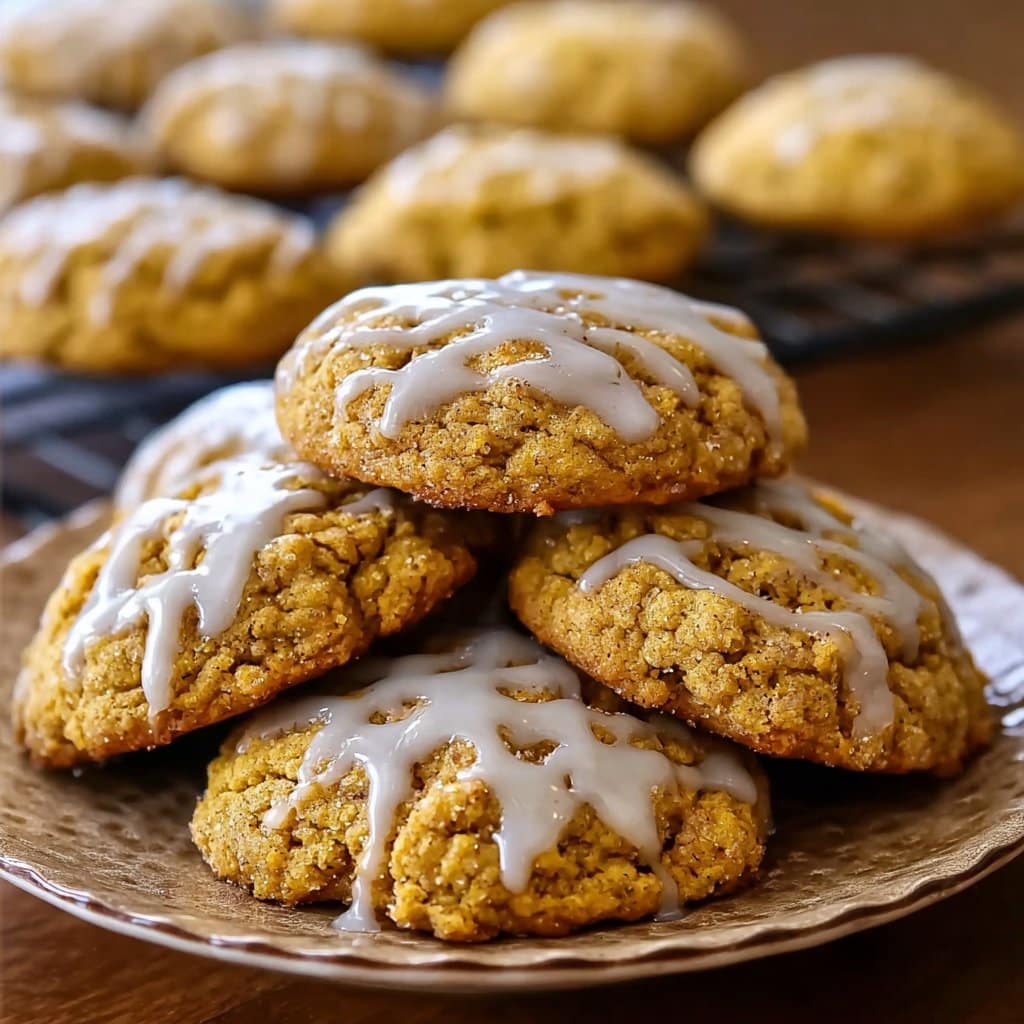
6Bake for 13-15 minutes, or until edges are set and centers are no longer wet. Cool completely before drizzling with extra maple syrup or your favorite maple glaze.
Approximate Information for One Serving
Nutrition Disclaimers
Number of total servings shown is approximate. Actual number of servings will depend on your preferred portion sizes.
Nutritional values shown are general guidelines and reflect information for 1 serving using the ingredients listed, not including any optional ingredients. Actual macros may vary slightly depending on specific brands and types of ingredients used.
To determine the weight of one serving, prepare the recipe as instructed. Weigh the finished recipe, then divide the weight of the finished recipe (not including the weight of the container the food is in) by the desired number of servings. Result will be the weight of one serving.
Did you make this recipe?
Please consider Pinning it!!




