Let Me Tell You Why I’m Obsessed With Mini Chicken and Waffle Sliders
So, here’s the thing: I never thought I’d be the person whipping out a tray of mini chicken and waffle sliders at brunch, but here we are. The first time I made these was for my cousin’s baby shower—mostly because I ran out of ideas and, honestly, patience for fancy stuff that flops. But everyone lost their minds for these little guys. My uncle even called them “the best invention since sliced bread” (yes, he’s dramatic, but he’s not wrong). Plus, there’s something hilarious about seeing grown adults get excited over food that looks like it belongs at a toddler’s birthday party.
Why You’ll Love This (Or: Why My Family Begs for Them)
I make these whenever I want to guarantee no leftovers (except maybe a few crumbs and some sticky fingers). My family goes bonkers because it’s like having fried chicken and pancakes in one bite, but cuter. Okay, sometimes I do cringe at frying, but baking works in a pinch—I’ll get to that later. And if you’ve ever been annoyed by soggy waffles, me too, but I finally cracked the code (waffle iron setting #3, in case you wondered).
What You’ll Need (And What I Swap In A Pinch)
- About 12 mini frozen waffles (I’ve used Eggo minis but the store brand is fine; homemade if you’re trying to be fancy)
- 2 chicken breasts (or thighs—juicier, but up to you), cut into 12-ish bite-sized pieces
- 1 cup buttermilk (sometimes I use milk with a splash of lemon juice, don’t tell my Southern grandma)
- 1 cup flour
- 1/2 cup cornstarch (it really makes them crispy, but more flour works too if you run out)
- 1 teaspoon paprika (smoked is nice, but regular is fine)
- Salt and pepper, just shake it on
- 1 egg (sometimes I skip if I’m out, but it’s better with)
- Vegetable oil for frying (canola or peanut oil is also fine)
- Maple syrup to serve (or honey if that’s what’s in the cupboard)
- Optional: hot sauce, pickles, a slice of cheddar (I’ve tried all these, some worked, some… not so much)
How To Make ‘Em (Don’t Worry If It Gets Messy)
- Marinate the Chicken: Plop the chicken pieces in a bowl with buttermilk, some salt, and a good shake of pepper. Let them sit for 15 minutes, or an hour if you remember ahead (I rarely do, honestly).
- Bread ‘n’ Fry: Grab two shallow bowls—one for flour, cornstarch, paprika, more salt and pepper; the other for the beaten egg. Dip the chicken in egg, then dredge in flour mix. Heat oil in a big skillet until it sizzles when you flick a drop of water in (careful—it spits!). Fry chicken pieces until golden brown, about 3-4 minutes per side. Drain on a wire rack or paper towels (this is where I usually sneak a taste and occasionally burn my tongue… classic).
- Waffle Time: Toast the mini waffles until crisp. If you use a waffle iron, have at it, but I just pop ‘em in the toaster. Don’t worry if they look a little too brown; crispy is good here.
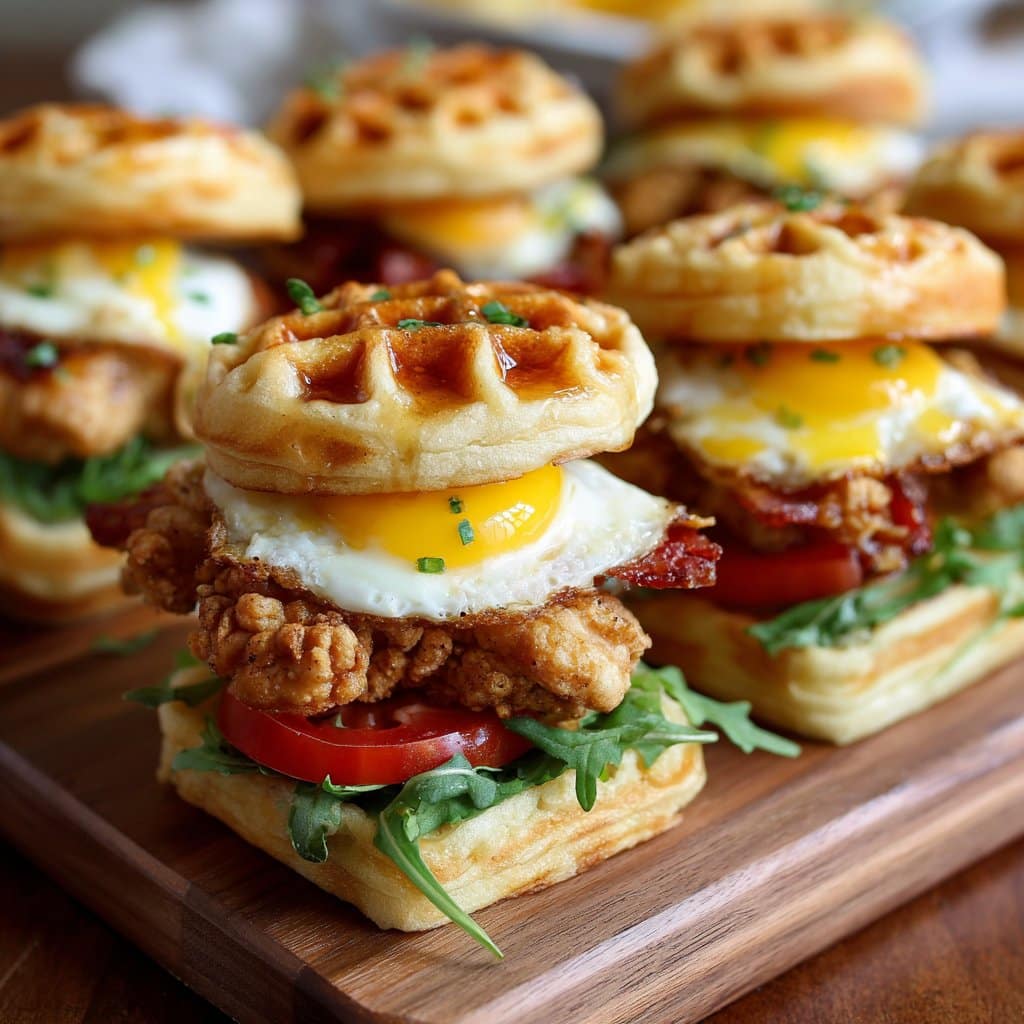
- Assemble: Layer a piece of chicken between two waffles. Hold it all together with a toothpick or a tiny skewer (which makes them look extra adorable, if you care about that kind of thing).
- Finish: Drizzle with maple syrup, or serve syrup on the side for dunking if you like to live on the edge. Add pickles or hot sauce if you’re feeling bold—and if the kids aren’t looking.
What I’ve Learned The Hard Way (Notes!)
- If you fry the chicken too hot, it burns on the outside and stays raw in the middle. Not fun. Actually, I find medium heat works best (took me three tries to accept this).
- Crispy waffles are key—soft waffles make a sad, floppy slider.
- Sometimes I freeze leftovers and reheat in the oven, and, honestly, they taste even better the next day. Go figure.
Variations I’ve Tried (A Few Wins, One Flop)
- Spicy: Add hot sauce to the marinade. Seriously good.
- Baked Chicken: Toss the breaded pieces on a parchment-lined tray, spritz with oil, bake at 425°F for about 18 mins, flipping halfway. Not quite the same, but less messy.
- Cheese: I thought cheddar would be genius. It tasted fine, but got messy and weirdly greasy—probably skip unless you’re a risk-taker.
- Vegan Version: Once tried tofu instead of chicken. It was… okay? But not a crowd-pleaser at my house.
What You Need Equipment-Wise (And What To Do If You Don’t Have It)
- Large skillet or Dutch oven for frying (if you don’t have one, I’ve used a wok in a pinch—works fine!)
- Toaster or waffle iron (even a grill pan for waffles if you’re feeling creative)
- Mixing bowls
- Wire rack or paper towels for draining, though sometimes I just stack ‘em on a plate. No one’s ever complained.
How To Store Leftovers (If You’re Lucky Enough To Have Any)
Pop them in an airtight container in the fridge; they’ll keep for 2-3 days, but honestly, in my house they never last more than a day! If you have more willpower than us, you can reheat in the oven at 350°F for about 10 minutes. I don’t recommend the microwave unless you like ‘em soggy (hey, some people do).
Serving Suggestions (Aka How I Win Brunch)
Set out a platter with syrup, hot sauce, and maybe some pickles on the side. Sometimes I’ll throw in a fruit salad because it makes me feel like I’m balancing all the fried stuff (or, you know, just for the color). My niece insists on a little whipped cream on hers—don’t ask me, but it’s actually not bad.
Pro Tips From My Past Mistakes
- Don’t rush the chicken marinating—even 15 minutes makes a difference. I once skipped it and everything tasted a bit, well, boring.
- Let the fried chicken rest before assembling or it’ll steam the waffles and make them soggy. Learned that the hard way after an impatient brunch debacle.
- If you’re making a ton, work in batches and keep finished sliders warm in a low oven. Otherwise the early ones will sulk and get cold.
FAQ (Because Friends Always Ask Me These Things)
- Can I use frozen chicken nuggets instead of making my own? Sure thing! I’ve done it when I was in a pinch. The homemade ones are better, but hey, life happens.
- Do I have to use toothpicks? Nope. You can just stack ‘em, but they might try to slide apart. It’s part of the fun or chaos, depending on your mood.
- How about gluten-free? Yeah, just use gluten-free waffles and flour (Bob’s Red Mill works for me, but any will do). Check out this GF waffle recipe I like.
- Can I prep ahead? Kind of. You can fry the chicken and toast the waffles ahead, then assemble and pop in the oven to warm just before serving. But, they’re best fresh—trust me.
- Can I grill instead of fry? Well, you can, but the crunch just isn’t the same. One friend swears by it, though, so maybe it’s just me.
Oh, and before I forget—if you’re ever wondering what to serve with these, I sometimes add this spicy sweet potato hash from Simply Recipes. It’s a thing of beauty next to all that maple-y, fried goodness.
Alright, now I’m craving these again. Let me know how yours turn out—and if you invent a version that trumps mine, I want details. Happy brunching!
Ingredients
- 12 mini frozen waffles
- 6 small boneless chicken tenders
- 1 cup buttermilk
- 1 cup all-purpose flour
- 1 teaspoon paprika
- 1/2 teaspoon garlic powder
- 1/2 teaspoon salt
- 1/2 teaspoon black pepper
- Vegetable oil for frying
- 1/4 cup maple syrup
- 2 tablespoons unsalted butter, melted
- Toothpicks for serving
Instructions
-
1Marinate the chicken tenders in buttermilk for at least 15 minutes to tenderize and flavor the meat.
-
2In a shallow bowl, mix together the flour, paprika, garlic powder, salt, and black pepper.
-
3Dredge each chicken tender in the seasoned flour mixture, coating well.
-
4Heat vegetable oil in a skillet over medium-high heat. Fry the chicken tenders for 4-5 minutes per side, or until golden brown and cooked through. Drain on paper towels.
-
5Toast the mini waffles according to package instructions. Brush with melted butter while warm.
-
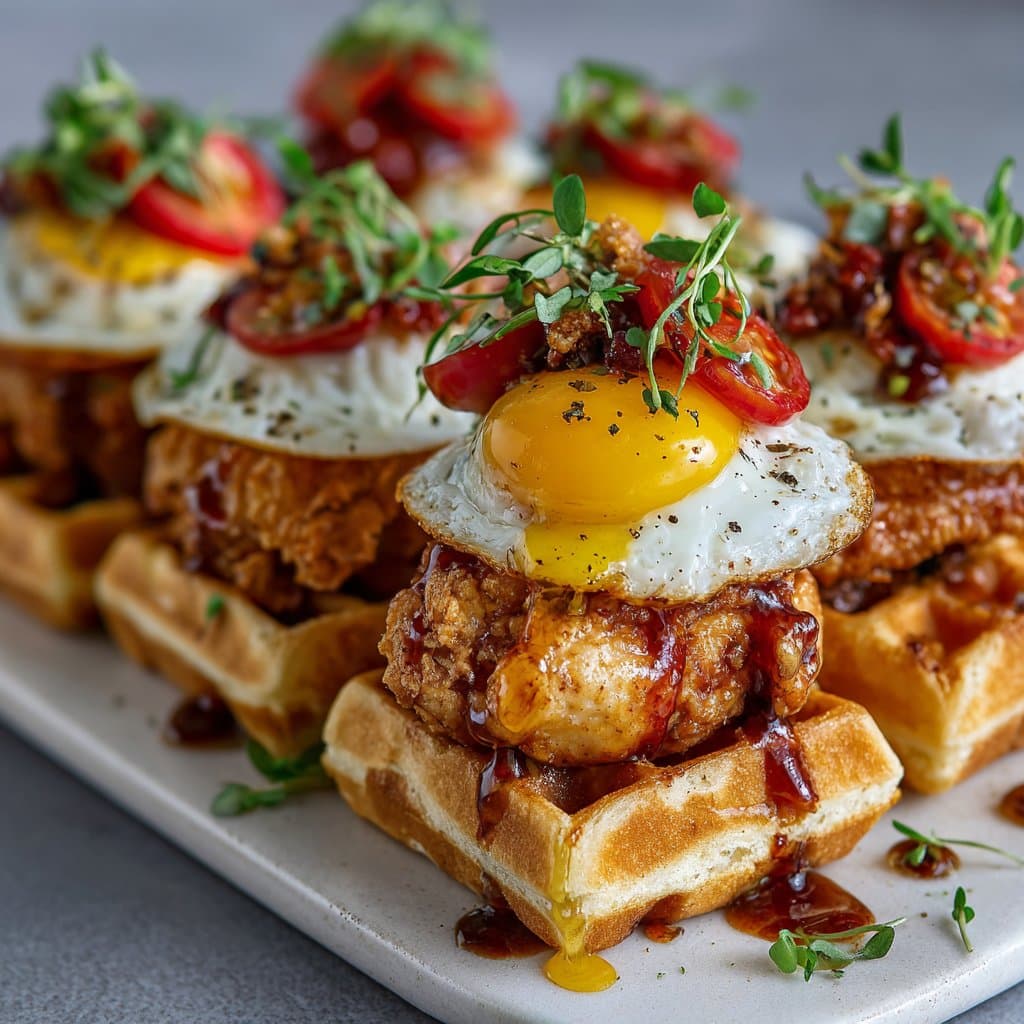
6Assemble each slider by placing a fried chicken tender between two mini waffles. Secure with a toothpick and drizzle with maple syrup before serving.
Approximate Information for One Serving
Nutrition Disclaimers
Number of total servings shown is approximate. Actual number of servings will depend on your preferred portion sizes.
Nutritional values shown are general guidelines and reflect information for 1 serving using the ingredients listed, not including any optional ingredients. Actual macros may vary slightly depending on specific brands and types of ingredients used.
To determine the weight of one serving, prepare the recipe as instructed. Weigh the finished recipe, then divide the weight of the finished recipe (not including the weight of the container the food is in) by the desired number of servings. Result will be the weight of one serving.
Did you make this recipe?
Please consider Pinning it!!




