So, Let’s Talk About This Bread (And Why I Can’t Stop Making It)
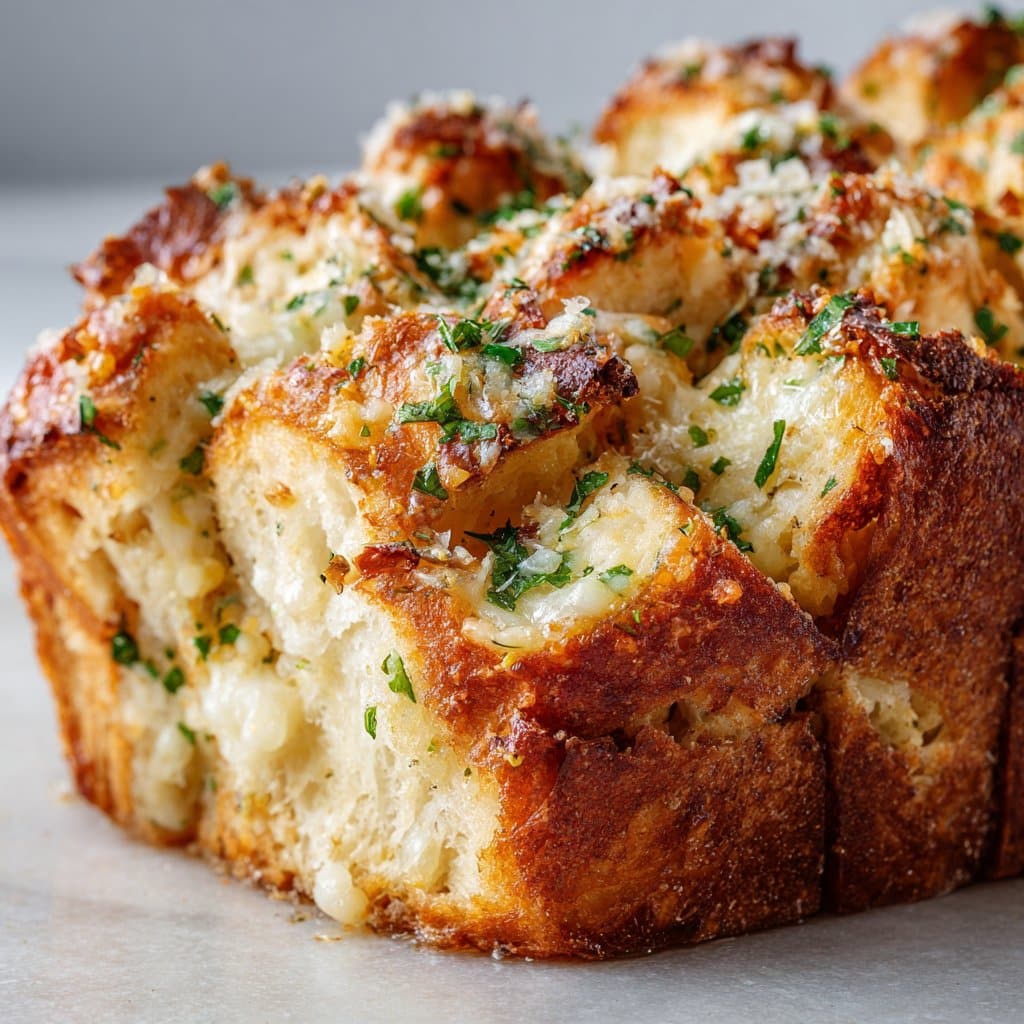
Alright, gather ’round, bread lovers. I have to confess—this Pull-Apart Garlic Cheese Bread That Disappears in Minutes has ruined me for ordinary garlic bread forever. I first threw it together on a rainy Sunday with whatever cheese I had in the fridge, and my neighbours ended up “dropping by” (I suspect the smell drifted down the hall). It was gone before the soup even made it to the table. I’ve since made it for book clubs, the in-laws, and even just as a cheeky midnight snack. And if I’m honest, sometimes I deliberately make a double batch so I can have a slice for breakfast. Not even sorry.
Oh, and once, the dog managed to snag a chunk off the counter—so even four-legged family members are fans. (Don’t worry, it’s all been out of reach since.)
Why You’ll Love This (Or Why My Family Does, Anyway)
I make this whenever I need a surefire crowd-pleaser—like, my family practically does a happy dance when they see me with a round loaf. It’s cheesy in the best way, super garlicky (I’m not subtle with the garlic at all), and you get all those crispy golden edges and soft, gooey middles. Sometimes it’s the only thing that gets my teenagers out of their rooms. And if you’ve ever been stuck with dry garlic bread (ugh), this one is the exact opposite; it’s rich and, honestly, a bit indulgent. But hey, sometimes you need a little comfort food that doesn’t judge.
(Full confession: The first time I made it, half the cheese slid off the loaf and burned on the tray, so now I always use a bit less cheese than seems right. Actually, I find it works better if you don’t force too much cheese in all at once!)
Here’s What You’ll Need (And What I Occasionally Swap In)
- 1 large round sourdough loaf (though I’ve used ciabatta in a pinch; just use what’s knocking about. My grandma swore by the local bakery’s, but supermarket bread is honestly fine too)
- 4-5 cloves garlic, minced (sometimes I cheat and use the jarred kind…shh)
- 1/2 cup (about 115g) unsalted butter, melted (I sometimes do part olive oil if I’m low on butter—tastes a bit different but still fab)
- 1 1/2 cups shredded mozzarella (cheddar works if that’s what you’ve got, or even a handful of that bagged pizza cheese blend)
- 1/2 cup grated parmesan (or pecorino if you’re feeling fancy)
- A handful of fresh parsley, chopped (dried works too, just use less)
- 1/2 tsp salt (I just eyeball this, but that’s probably bad advice—use your best judgment!)
- Pinch of black pepper or red pepper flakes (optional, but I like a little kick)
How to Make Pull-Apart Garlic Cheese Bread (Step by Slightly Messy Step)
- Preheat your oven to 180°C (350°F). Line a baking sheet with foil. Trust me on the foil—once I forgot, and the clean-up was a right faff.
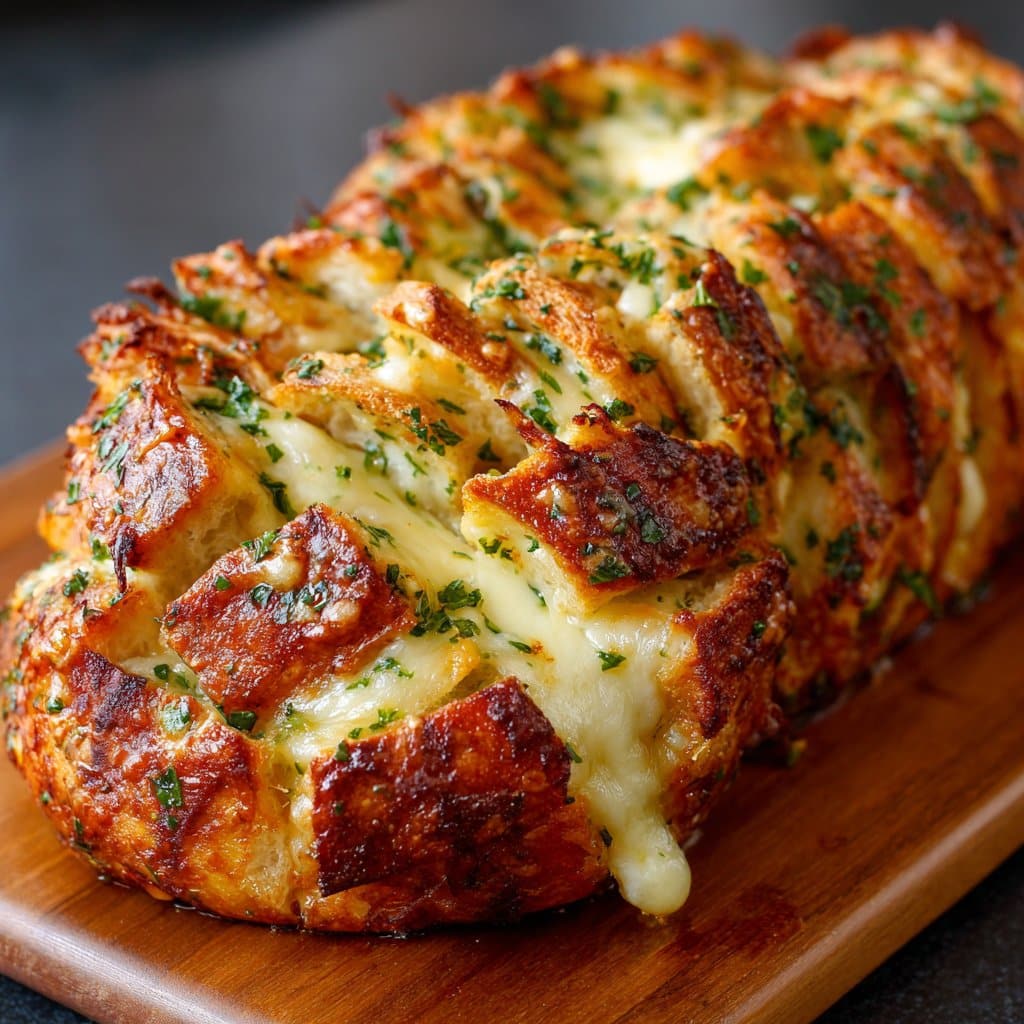
- Take your bread and with a sharp bread knife, slice it crosswise and lengthwise, just shy of the bottom. You want a sort of checkerboard pattern, so the bread holds together but you can stuff all that garlicky goodness in. (If it looks a bit mangled, no biggie. Once it’s baked, nobody notices.)
- In a bowl, stir together the melted butter, minced garlic, salt, and pepper. Here’s where I might sneak a taste, just to “test” for enough garlic. Not strictly necessary, but who’s counting?
- Carefully pull apart the bread cracks and drizzle the garlicky butter into all the nooks and crannies. Use your fingers, a pastry brush, or just pour and hope for the best. Then cram in your cheeses—alternate between mozzarella and parmesan for best results. (It’s a bit messy, but that’s half the fun.)
- Sprinkle over the parsley, and add another little drizzle of any leftover butter mixture if you want extra flavor.
- Wrap the whole loaf loosely in foil (so it doesn’t dry out) and bake for about 15 minutes. Then open up the foil and bake another 5–10 minutes until the top is golden and the cheese is bubbling like a tiny volcano.
- Let it cool just a tick before serving—otherwise, you’ll burn your fingers (been there, done that, ouch).
Stuff I’ve Learned From Making This (Aka “Notes”)
- If your bread is a bit stale, it actually works better—less soggy. I once tried with super fresh bread and it turned into a hot cheesy mess (still tasty, but a bit too floppy).
- Don’t bother trying to be neat when stuffing in the cheese. It’ll get everywhere, but that’s okay. The more rustic, the better, in my book.
- If you’re short on time, you can microwave the butter and garlic together to infuse the flavor—though the oven does it best.
Fun Variations (And One That Flopped)
- Pizza style: I’ve added pepperoni slices and a bit of tomato paste. Tastes like a deep-dish pizza got cozy with garlic bread.
- Herby twist: Rosemary and thyme instead of parsley. Really good with roast chicken.
- Mushroom version: I once tried sautéed mushrooms in the cracks. Nice idea, but they made the bread a bit too soggy for my liking.
No Fancy Gear? No Stress (Equipment Chat)
- Bread Knife: If you don’t have one, a serrated steak knife does in a pinch—it’s just slower (and watch your fingers, please).
- Pastry Brush: I often just use a spoon. Or my (clean) hands. Gets the job done!
- Baking Sheet: I’ve even used a pizza pan or a roasting tray, whatever fits in the oven really.
Storing (Not That You’ll Need To…)
Supposedly, you can wrap leftovers in foil and reheat in the oven the next day. But honestly, in my house it never lasts more than a day—sometimes not even an hour. If you do have some left, I like to pop it in a warm oven for about 10 minutes to crisp it back up.
How I Like to Serve It (And My Family’s Odd Tradition)
I love it with soup—especially this creamy tomato soup recipe from Smitten Kitchen. My partner dips the bread straight into chili, which is a bit unorthodox but, hey, it works. At parties, we just plunk it in the middle of the table and let everyone fend for themselves (survival of the fittest, honestly).
Pro Tips (Learned the Hard Way)
- I once tried rushing the baking—took it out too soon and the cheese wasn’t melted in the middle. So now I always check and give it an extra couple of minutes if I’m not sure.
- Don’t overstuff the cheese. It sounds counter-intuitive, but too much and you end up with cheese puddles all over the tray (which, okay, are still delicious but a pain to clean).
- If you use salted butter, cut back on the added salt. Otherwise, you’ll be reaching for a glass of water all night.
FAQ – Real Questions I’ve Gotten (And a Few I Asked Myself)
- Can I make this ahead?
Sort of. You can assemble it a few hours ahead, wrap in foil, and bake when you’re ready. But the fresher, the better. - What’s the best cheese combo?
I’m partial to mozzarella and parmesan, but honestly, I’ve thrown in everything from Colby Jack to that leftover blue cheese from a cheese board. (Not all combos are winners, but most are fine!) - Can I use gluten-free bread?
Yep, though the texture is a bit different. I tried the gluten-free sourdough from Genius Foods and it worked pretty well actually. - Do I need to use fresh garlic?
Fresh is best, but I’ve used the pre-chopped jar stuff in a pinch. Nobody complained. - Why did my bread turn out soggy?
Could be too much butter or cheese, or maybe the bread was too soft to start with. Try a day-old loaf next time; it soaks up the flavor but keeps its shape. - Can I freeze this?
Technically yes, but I don’t think it tastes quite as nice after. Still, desperate times call for desperate measures, so go wild if you must!
Oh, and if you’re looking for more ways to jazz up your bread game, check out the experiments on King Arthur Baking—I’ve nabbed more than a few ideas there. But honestly, this pull-apart garlic cheese bread is the one I keep coming back to. I think you’ll see why!
Ingredients
- 1 large round sourdough bread loaf
- 1/2 cup (115g) unsalted butter, melted
- 3 cloves garlic, minced
- 2 cups (200g) shredded mozzarella cheese
- 1/2 cup (50g) grated Parmesan cheese
- 2 tablespoons fresh parsley, chopped
- 1 teaspoon dried Italian herbs
- 1/4 teaspoon salt
Instructions
-
1Preheat your oven to 350°F (175°C). Line a baking sheet with parchment paper.
-
2Using a sharp bread knife, make diagonal cuts across the bread loaf, about 1 inch apart, without cutting all the way through. Repeat in the opposite direction to create a crosshatch pattern.
-
3In a small bowl, mix together the melted butter, minced garlic, chopped parsley, Italian herbs, and salt.
-
4Gently pry apart the bread sections and drizzle the garlic butter mixture evenly into the cuts. Stuff the shredded mozzarella and grated Parmesan cheese into the crevices.
-
5Place the stuffed bread on the prepared baking sheet. Bake for 20 minutes, or until the cheese is melted and the bread is golden and crispy.
-
6Remove from the oven, sprinkle with extra parsley if desired, and serve warm. Pull apart and enjoy!
Approximate Information for One Serving
Nutrition Disclaimers
Number of total servings shown is approximate. Actual number of servings will depend on your preferred portion sizes.
Nutritional values shown are general guidelines and reflect information for 1 serving using the ingredients listed, not including any optional ingredients. Actual macros may vary slightly depending on specific brands and types of ingredients used.
To determine the weight of one serving, prepare the recipe as instructed. Weigh the finished recipe, then divide the weight of the finished recipe (not including the weight of the container the food is in) by the desired number of servings. Result will be the weight of one serving.
Did you make this recipe?
Please consider Pinning it!!




