Let’s Talk About Mushroom Ravioli (Yes, You Can Make It!)
Look, the first time I tried making mushroom ravioli, I was convinced I’d end up crying over a pile of flour and weirdly damp dough. Spoiler: nobody cried, except my dog when she realised she wasn’t getting any. My cousin once called this the best thing I’d cooked all year – although to be fair, that was after her third glass of wine. Anyway, ravioli night has kind of become my low-key party trick; it’s like a magic trick that ends with dinner instead of a rabbit. Also, I usually eat way too many while I’m “testing” the filling—occupational hazard, right?
Why You’ll Love This (Or At Least, Why I Do)
I make this when I want to impress someone without looking like I’m trying too hard (or when I’ve got a fridge full of mushrooms I forgot about). My family goes absolutely bonkers for it, especially my brother, who claims he “doesn’t even like mushrooms” but somehow hoovers up a double portion. And if you’ve ever found pre-made ravioli a bit… meh? This is a whole different ballgame. Sure, the dough can stick sometimes (ugh), but honestly, there’s something about the smell of mushrooms and garlic that makes it all feel worth it.
What You’ll Need (With Some Cheeky Substitutions)
- 2 cups all-purpose flour (sometimes I use half semolina if I’m feeling fancy, but honestly, plain flour gets the job done)
- 3 large eggs (my grandmother always insisted on free-range, but supermarket eggs taste fine to me)
- About 300g mushrooms, chopped (cremini, button, or whatever’s lurking in your veggie drawer – once I even used portobello and it was fine)
- 2 cloves garlic, minced (or a spoonful of the stuff from a jar when I’m lazy)
- 1 small onion, finely diced (skip it if you must, but it adds depth. Or, as my mate Becky calls it, “flavour jazz.”)
- 2 tablespoons olive oil (or a wee dab of butter if you’re going wild)
- 1/2 cup ricotta (sometimes I swap in cottage cheese, but it’s a bit lumpy)
- Handful of grated Parmesan (or the stuff in a can in a pinch, but shhh, don’t tell the Italians)
- Salt and pepper, to taste
- Optional: pinch of nutmeg, fresh parsley, or a squeeze of lemon juice for zing
How To Make It (Don’t Stress If It Gets Messy)
- Dough time: Pile the flour on your counter, make a well in the middle and crack in the eggs. Use a fork to swirl the eggs, slowly pulling in flour from the sides. (Yes, it looks weird at first. It always does.) When it starts looking like dough, knead it for 7–10 minutes until it’s smooth. If it gets too sticky, flour your hands. If it’s too dry, a little water does the trick. Wrap it up in cling film and let it nap on the bench for at least 30 mins. Or just toss it in the fridge if your kitchen is too hot. No biggie.
- Mushroom magic: Heat the olive oil in a frying pan, medium-high. Toss in the onions (if using) and garlic, and cook until fragrant—don’t walk away now, or you’ll end up with burnt bits. Add the mushrooms, a pinch of salt, and let them cook down till they’re golden and smell amazing. This is usually where I sneak a taste, just to “check seasoning.” Cool it all down for a bit before mixing in the ricotta, Parmesan, nutmeg, and any herbs you fancy.
- Rolling time: Cut the dough into quarters. Roll each bit as thin as you can—like, see-through if possible. I use a rolling pin, but my cousin swears by her pasta machine (I borrowed hers once… still not sure I used it right). If you don’t have either, a wine bottle works! Lay out one sheet, dollop teaspoons of filling about 2 inches apart. Lay another sheet on top and press around the filling, pushing out any air pockets. Use a knife, pizza cutter, or even a glass to cut out ravioli squares. Press the edges with a fork – rustic is good!
- Cooking: Bring a big pot of salted water to a rolling boil. Drop in the ravioli—don’t overcrowd. They only need about 3–4 minutes; they’ll float when they’re done. (I always fish one out to check, sometimes a bit early. Impatience is my superpower.) Drain gently.
- Serving: I like to melt a little butter with a few sage leaves and drizzle it over, but honestly, a splash of olive oil with more Parmesan is lovely. Or go wild and make a cream sauce if you’re feeling indulgent.
Notes (The Stuff I Wish I’d Known Sooner)
- Don’t over-stuff the ravioli, or they’ll burst and make a mess (ask me how I know…)
- It’s totally fine if the shapes are wonky. Oddly enough, they always taste better when they look homemade.
- If the filling seems watery, let it cool uncovered. Otherwise, you’ll have slippery ravioli guts everywhere.
Variations (And Some That Didn’t Work)
- Threw in some spinach once—good idea! Added a bit of goat cheese another time, and wow, that was a winner.
- Tried truffle oil. Too earthy for me, honestly. Maybe I just got a weird bottle?
- Once, I attempted to make these with gluten-free flour. It… didn’t quite come together. The dough kept falling apart. Maybe you’ll have better luck?
Equipment (But Don’t Panic If You’re Missing Something)
- Rolling pin, or, as mentioned, a wine bottle does just fine!
- Pasta machine, if you’re fancy (or curious, like I was)
- Sharp knife or pizza cutter
- Big pot for boiling
- Slotted spoon (though a regular spoon with patience works too)
How I Store It (Emphasis on “If There’s Any Left”)
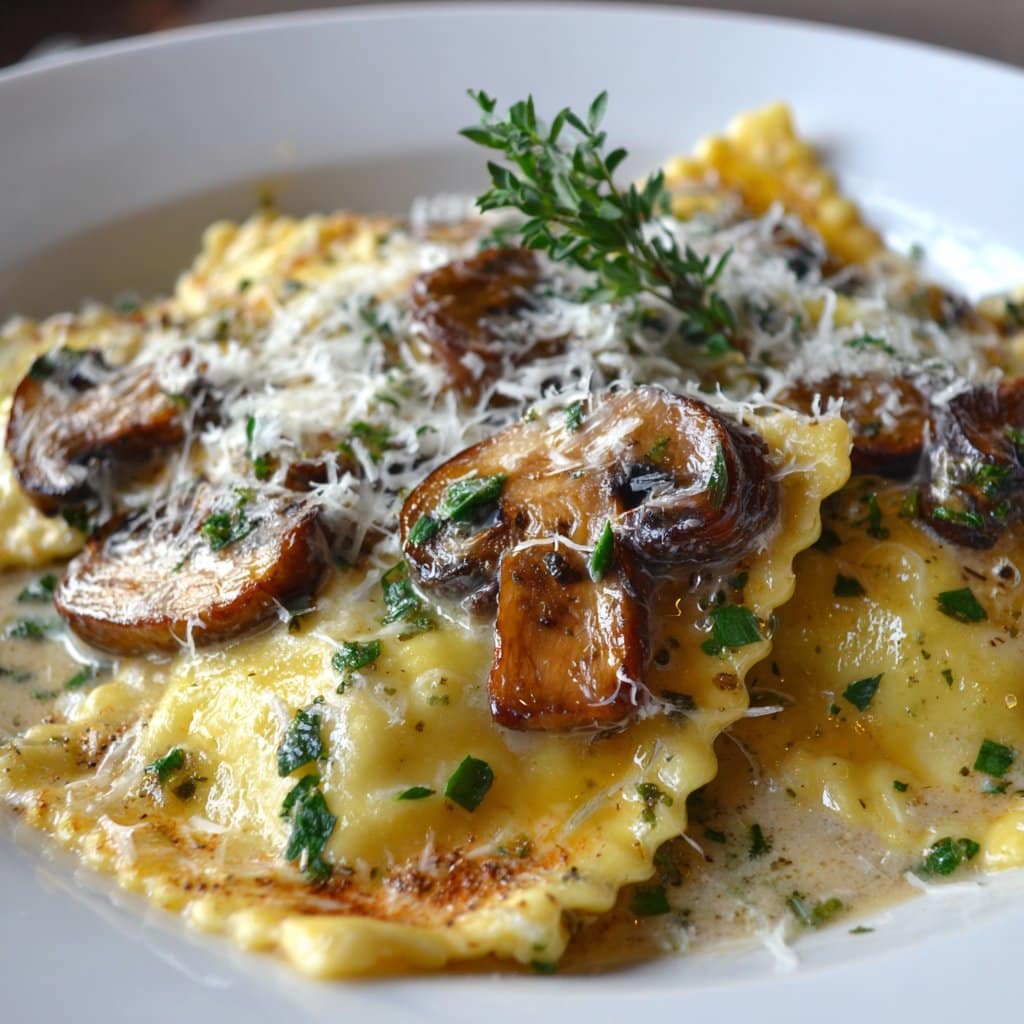
So, I technically recommend laying any extra ravioli on a tray in the fridge, covered with plastic wrap, for up to two days. You can freeze them too—just don’t stack them or you’ll end up chiseling them apart like an archaeologist. But honestly, in my house, these vanish faster than cold pizza at a sleepover.
How I Love to Serve It
I always go for melted butter with crispy sage leaves. My mum likes a splash of lemon, which is surprisingly bright and not as weird as it sounds. Sometimes I throw on toasted walnuts if I’m in a crunchy mood (don’t knock it till you try it). Or, you could check out this butter-sage sauce recipe—I’ve used it as inspiration more than once. Oh, and a simple green salad never goes astray.
Pro Tips (Learned the Hard Way, Trust Me)
- I once tried rushing the dough-resting step. Regretted it! Dough was a nightmare to roll out, like wrestling with a stubborn cat.
- Actually, I find it works better if you use a little flour between layers when stacking ravioli. Otherwise, you get a solid block by dinnertime.
- If you’re using fresh herbs, chop them fine—one time, I left leaves too big and folks kept picking them out.
FAQ (These Are Real Questions, Pinky Promise)
- Can I use store-bought pasta sheets? Yep! No judgment. Sometimes I do too, especially after a long day at work. Just cut to size and go.
- Any other fillings you like? Oh, heaps. Butternut squash and sage, or even leftover roast veg. Use your imagination (or whatever’s in the fridge).
- What’s the best mushroom for this? I reckon a mix is best. But, if you’re stuck, plain button mushrooms are cheap and cheerful; portobellos give it more oomph.
- Do I need a pasta machine? No way. My first few goes were with a rolling pin and some elbow grease. On second thought, a machine is quicker, but sometimes I think the hand-rolled ones taste better.
- Is it okay to freeze them? Absolutely, but separate ‘em with parchment or they’ll form one massive ravioli brick.
- Do you have any resources for learning to make pasta? Sure do. I love this Bon Appétit pasta guide—their videos make it look easy, but don’t worry if yours aren’t picture-perfect.
Random side note: if you’re ever in Italy (lucky you!), eat all the ravioli you can. I still dream about a plate I had near Lake Garda; I think I embarrassed myself with the speed I polished it off. Anyway, happy cooking! Let me know if you discover a weirder—yet delicious—variation, or if you just need moral support rolling out the dough.
Ingredients
- 2 cups all-purpose flour
- 3 large eggs
- 1 tablespoon olive oil
- 1/2 teaspoon salt
- 8 ounces cremini mushrooms, finely chopped
- 2 cloves garlic, minced
- 1/2 cup ricotta cheese
- 1/4 cup grated Parmesan cheese
- 2 tablespoons unsalted butter
- 1/2 cup heavy cream
- Fresh parsley, chopped (for garnish)
Instructions
-
1In a large bowl, combine flour and salt. Make a well in the center and add eggs and olive oil. Mix until a dough forms, then knead for 8-10 minutes until smooth. Cover and let rest for 20 minutes.
-
2Heat olive oil in a skillet over medium heat. Add chopped mushrooms and garlic, sauté until mushrooms are soft and moisture has evaporated, about 7 minutes. Let cool slightly.
-
3In a bowl, mix sautéed mushrooms with ricotta and Parmesan cheese. Season with salt and pepper to taste.
-
4Roll out the pasta dough into thin sheets. Place small spoonfuls of mushroom filling onto one sheet, cover with another sheet, and press to seal. Cut into ravioli shapes.
-
5Bring a large pot of salted water to a boil. Cook ravioli in batches for 3-4 minutes, until they float to the surface. Remove with a slotted spoon.
-
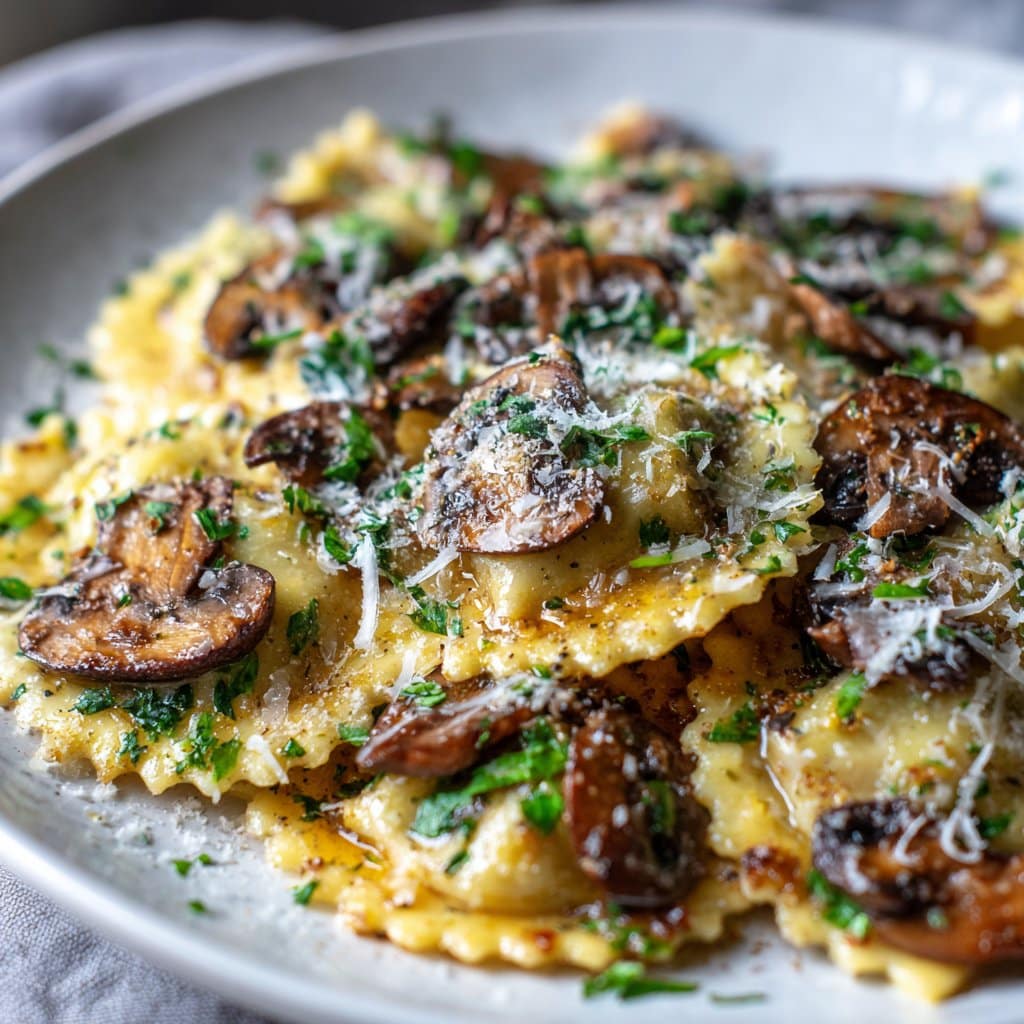
6In a skillet, melt butter over medium heat. Add heavy cream and simmer for 2 minutes. Toss cooked ravioli in the sauce and garnish with fresh parsley before serving.
Approximate Information for One Serving
Nutrition Disclaimers
Number of total servings shown is approximate. Actual number of servings will depend on your preferred portion sizes.
Nutritional values shown are general guidelines and reflect information for 1 serving using the ingredients listed, not including any optional ingredients. Actual macros may vary slightly depending on specific brands and types of ingredients used.
To determine the weight of one serving, prepare the recipe as instructed. Weigh the finished recipe, then divide the weight of the finished recipe (not including the weight of the container the food is in) by the desired number of servings. Result will be the weight of one serving.
Did you make this recipe?
Please consider Pinning it!!




