Let’s Talk Pie—The One That Got Away (With My Afternoon)
Alright, so, let me be honest. I first tried this no-bake chocolate peanut butter pie on a Friday when my friend Shelly called and asked if I could whip up something sweet for her get-together—zero advanced notice, classic Shelly. I’ll admit, that day was a blur of misplaced measuring cups and sticky fingers, but the pie? So good, nobody even commented when I showed up late (again.)
If you’re anything like me—distracted, low on patience, but hopeful for dessert—this pie is a godsend. No oven, no fuss. Somewhere between mixing and snacking on crust bits, you’ll wonder why you ever baked anything that took more than 10 minutes anyway.
For the record, my dog Eddie once managed to swipe a slice off the counter before it had even set. Not that I recommend sharing with your dog, but hey, that’s how enticing the smell is. (He’s usually a pretty picky eater, too.)
Why You’ll Love This Pie, Trust Me
I make this when the weather turns too sticky to stand near an oven or my kids start getting that wild look in their eyes for chocolate. Seriously, my family goes bonkers for this pie, especially because it’s ready in 4 hours (sort of—they always try to sneak bites early).
It’s my go-to for potlucks (less stressful than bringing a jello salad, don’t you think?). Plus, I used to really bungle baked pies—the burnt crusts, the fillings that somehow liquified in the middle—so this no-bake lifesaver cut my stress in half. And, if anyone’s counting calories—probably not on dessert night, let’s be honest—you can switch stuff up easily.
(Truthfully, I mostly make it so I can lick the chocolate off the spoon before washing up. Priorities!)
What You’ll Need—And Some Honest Substitutions
- 1 9-inch chocolate cookie pie crust (I know, store-bought is easy, but if I’m feeling fancy, I just crush a whole pack of Oreos with a bit of melted butter, about 1/4 cup; don’t stress the details)
- 3/4 cup creamy peanut butter (my grandma swears by Jif, but whatever’s in the pantry works just fine)
- 4 oz cream cheese, softened (full-fat is best, but I’ve swapped in Neufchâtel on a whim and no one noticed)
- 1 cup powdered sugar (confectioner’s sugar, but, OK, I once ran out and blitzed granulated sugar—results were…crunchier than usual)
- 8 oz whipped topping (like Cool Whip; okay, I’ve tried homemade whipped cream, and it sort of works, you just gotta whip it super stiff)
- 1 cup semi-sweet chocolate chips (the ones you steal for snacking work perfectly)
- 1/2 cup heavy cream (or honestly, I’ve thinned out full-fat milk in a pinch)
- Pinch of sea salt (totally optional, but I’m a fan of a little salt with all that sweet)
How I Piece This Together (Sometimes While Talking on The Phone)
- First, let the cream cheese soften. Don’t try to rush this by nuking it (learned the hard way—microwave hot spots are not your friend).
- Beat together the peanut butter and cream cheese until smooth. I use a hand mixer on lazy days but a wooden spoon works too, if you’ve got elbow grease. This is where I usually sneak a taste and then remember I’m supposed to be prepping for company, not just eating pie filling straight from the bowl.
- Add powdered sugar (sift if you remember, but who actually does?) and mix again until it’s combined and dreamy.
- Fold in the whipped topping gently—don’t overthink it, but don’t stir it like you’re angry at the bowl, either.
- Spoon this filling into your pie crust. Smooth the top. It’s never perfect and that’s okay—chocolate will cover a multitude of sins.
- Melt chocolate chips with heavy cream in the microwave: start with 30 seconds, stir, and go another 10-20 seconds if needed. Don’t panic if it looks a bit weird at first—keep stirring, and it’ll go glossy eventually. (If it breaks, just eat it as “cook’s treat.” Kids never notice.)
- Pour the warm ganache over the peanut butter layer. Jiggle the whole thing a bit to settle it—careful, the crust likes to crack, so don’t go wild.
- Chill in the fridge for at least 4 hours. I know, waiting stinks. But trust me, it needs to set up or else it’s just pudding in a pie shell… which, now that I think about it, wouldn’t be the worst thing in the world.
- (Bonus: Sprinkle a pinch of flaky sea salt on top if you’re feeling trendy. I tried gold leaf once on a dare—looked fancy but nobody cared.)
My Actually Useful Notes (From Trial & Error… Heavy on Error)
- This pie does taste even better the next day, but no one ever lets it survive that long in our house. One time I tried hiding a slice in the veggie drawer. Didn’t work; they found it.
- Store-bought crusts sometimes crack, but you can patch ‘em with melted chocolate or even peanut butter. Or just cover with extra whipped cream, honestly.
- Sneaking a bit of instant coffee into the ganache layer? Sounds weird, but amps up the chocolate flavor in a way that’s, well, more grown-up? Try it once, see what you think.
Things I’ve Tweaked—or Utterly Botched
- Swapped Nutella for peanut butter on a whim—tasted fab, but the pie never fully set (call it pie pudding, maybe?).
- Tried a graham cracker crust instead of chocolate cookies: it works, but it’s not remotely as chocolatey.
- Used almond butter once for a friend—less rich but still pretty tasty.
- Once I sprinkled crushed pretzels on top and, oops, they went soggy in the fridge. Stick with nuts or mini chocolate chips for crunch.
What You Actually Need in the Kitchen (Don’t Panic)
- Hand mixer or a good ol’ wooden spoon. If you don’t have either, grab a sturdy fork and channel your inner bicep. (I’ve done it, but it’s an arm workout, just warning you.)
- Microwave for melting chocolate, but a saucepan over low heat will work—just wash it right away or you’ll be scrubbing for ages.
- Bowl for mixing and a rubber spatula if you have one—if not, a big spoon is just fine. Pie don’t mind.
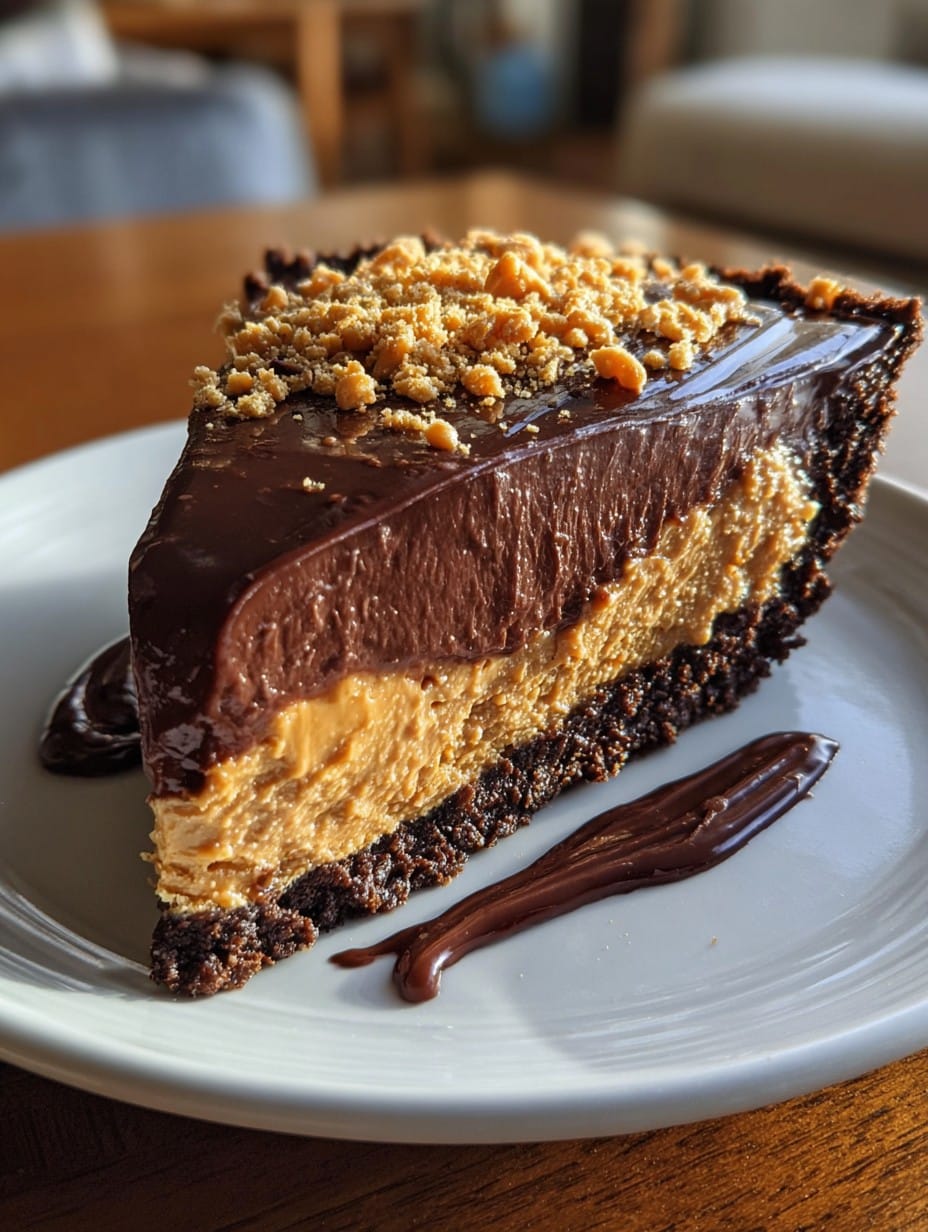
How to Store It (But… Good Luck Having Leftovers)
Keep it in the fridge, covered, up to three days, though honestly, in my house it never lasts more than a day—usually disappears the same evening. If, by some miracle, you have leftovers, a cold slice the next morning with coffee is a treat. I don’t recommend freezing because the whipped part goes a bit weird (I tried. Not great.)
Serving: Our Friday Night Routine
I like to slice it thick and serve with extra whipped cream or a couple of strawberries if I’m feeling fancy. My kids prefer it with a drizzle of melted peanut butter on top. Or, eat straight out of the pie pan with spoons (not that we’ve ever done that… much). It’s a crowd pleaser for birthdays, game nights, you name it.
If I Could Go Back in Time—My Pie Pro Tips
- Let the pie chill the full 4 hours. I once tried slicing too soon, and everything oozed out. Patience isn’t just a virtue; it’s a non-negotiable here.
- Use parchment under the crust if making your own—it helps with sticky situations (literally).
- Don’t overheat the chocolate. I once burned the ganache and spent way too long chipping it out of the bowl. Go slow, keep stirring.
- If you want clean slices, dip your knife in hot water between cuts. My sister calls this “pie surgery.” Thanks, Karen.
Pie FAQs—You Ask, I Ramble
- “Can I use natural peanut butter?”
- Yes, but it sometimes makes things a bit runnier because of the oil. Stir it up really well before using. If it’s too thin, maybe add a touch more powdered sugar or less whipped topping. Not rocket science.
- “Is there a dairy free option?”
- For sure! Try using a vegan cream cheese (I like Daiya) and coconut cream instead of regular whipped topping. The crust? Just check the label or make your own from Oreos (yep, they’re usually vegan!).
- “Can you freeze leftovers?”
- You can, but the texture gets a bit… odd. The filling gets icy. I’d just get friends to help finish it instead.
- “Do I have to use a pie dish?”
- Not really! Any shallow dish will work—rectangular, round… I’ve even made mini pies in ramekins for fun. If you’re interested in more pie dish ideas, Sally’s Baking Addiction has a guide that’s pretty thorough.
- “What’s your favorite peanut butter?”
- I bounce between brands, honestly. Sometimes I use store brand for big batches, but if I’m celebrating, I’ll spring for the good stuff. No shame, either way.
If you want to get nerdy, America’s Test Kitchen (here’s their hand mixer review) has a rabbit hole of gear comparisons. But don’t get lost there—just make the pie already!
Anyhow, if you make this, you gotta let me know how it turns out—or what substitutions you come up with. I collect them like baseball cards.
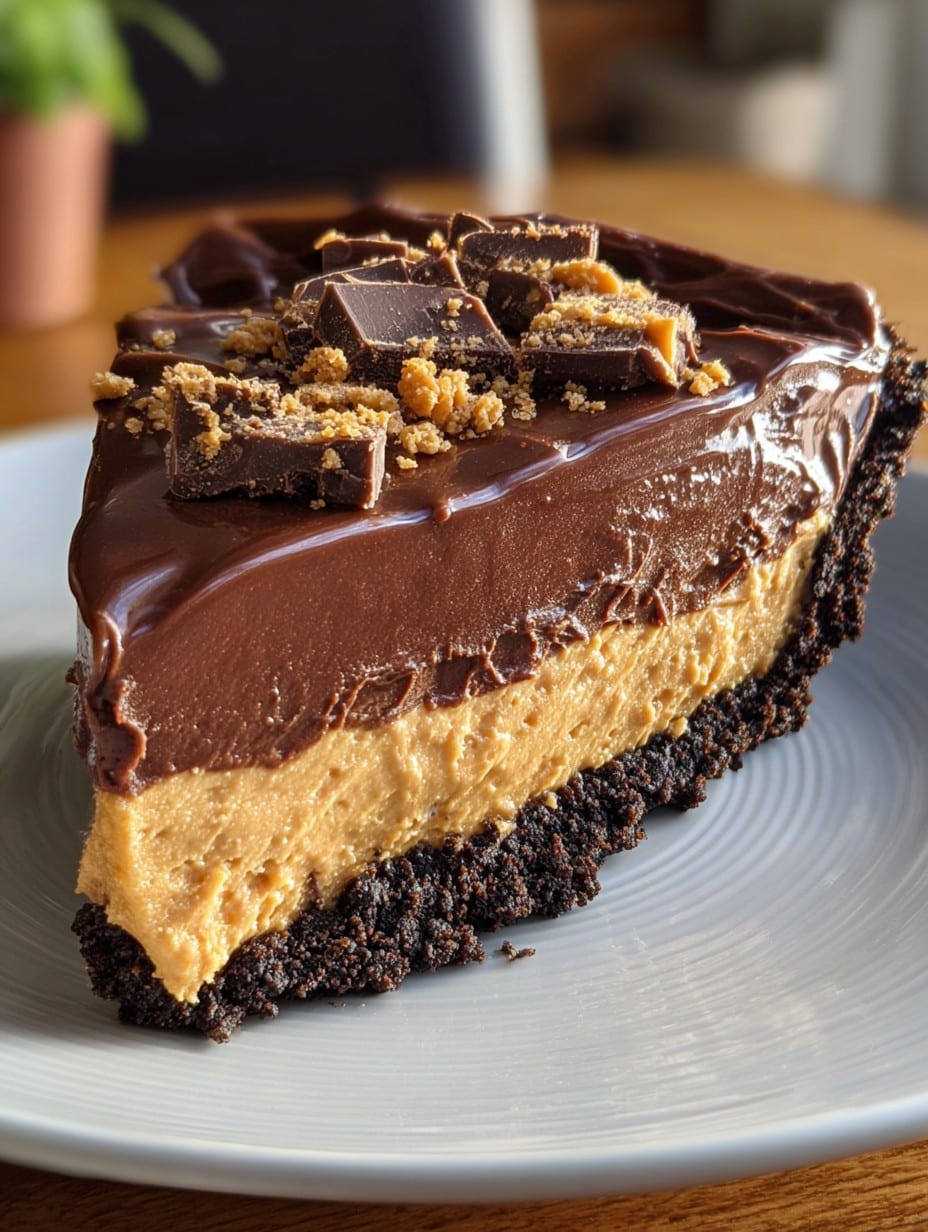
Ingredients
- 1 1/2 cups chocolate cookie crumbs
- 1/3 cup unsalted butter, melted
- 1 package (8 oz) cream cheese, softened
- 1 cup creamy peanut butter
- 3/4 cup powdered sugar
- 1 1/2 cups whipped topping (plus extra for garnish)
- 1/2 cup semi-sweet chocolate chips, melted
- 1/4 cup chopped peanuts (optional, for garnish)
Instructions
-
1In a medium bowl, mix chocolate cookie crumbs with melted butter until well combined. Press firmly into the bottom and sides of a 9-inch pie dish to form a crust.
-
2In a large bowl, beat together cream cheese and peanut butter until smooth. Add powdered sugar and mix until fully incorporated.
-
3Fold whipped topping into the peanut butter mixture until smooth and creamy.
-
4Pour filling into the prepared crust and smooth the top with a spatula.
-
5Drizzle melted chocolate over the pie and sprinkle with chopped peanuts, if desired.
-
6Refrigerate for at least 4 hours, or until set. Slice and serve chilled, garnished with additional whipped topping if desired.
Approximate Information for One Serving
Nutrition Disclaimers
Number of total servings shown is approximate. Actual number of servings will depend on your preferred portion sizes.
Nutritional values shown are general guidelines and reflect information for 1 serving using the ingredients listed, not including any optional ingredients. Actual macros may vary slightly depending on specific brands and types of ingredients used.
To determine the weight of one serving, prepare the recipe as instructed. Weigh the finished recipe, then divide the weight of the finished recipe (not including the weight of the container the food is in) by the desired number of servings. Result will be the weight of one serving.
Did you make this recipe?
Please consider Pinning it!!




