Let’s Talk About No-Bake Peanut Butter Lasagna (And Why I Can’t Stop Making It)
Okay, real talk: if you’d told me a few years ago that I’d be making something called No-Bake Peanut Butter Lasagna, I probably would’ve laughed and said, “Is this real life or just a fever dream after too much peanut butter?” But then, on a sweltering summer afternoon when the oven was absolutely out of the question, I cobbled together this dessert for my cousin’s birthday. She took one bite and, I swear, she did a little happy dance (that I still tease her about). Now it’s basically a fixture at any family get-together—or, let’s be honest, even on those nights where I’m just craving something sweet and easy and can’t be bothered to do any actual baking. If you love peanut butter, chocolate, and easy wins in the kitchen, you’re about to have a new favorite.
Why I Keep Coming Back to This
I make this when I need something crowd-pleasing and low-effort (or when it’s too hot to cook real food). My family goes completely bonkers for this—my nephew literally licks the pan, no shame. Plus, it’s one of those desserts that looks fancier than it is; you know, the kind you bring to a potluck and everyone suddenly wants your recipe. (I’ve made it with almond butter, too, when someone forgot to check for peanut allergies. Not quite the same, but it works in a pinch.) I used to get annoyed at recipes that required a zillion steps, but here, you just layer and chill. I mean, what’s not to love?
Things You’ll Need (And What You Can Sub In)
- 1 package (about 36) chocolate sandwich cookies (I usually go with Oreos, but the store brand honestly works just as well. Sometimes I use vanilla ones if I’m feeling wild.)
- 1/2 cup butter, melted (I’ve used coconut oil in a pinch—adds a little tropical flair.)
- 1 cup creamy peanut butter (My grandmother swore by Jif, but I’ve used natural PB too; just give it a good stir.)
- 1 package (8 oz) cream cheese, softened (Low-fat version is… fine, but I say go full-on for best flavor.)
- 1 cup powdered sugar (I measure this with my heart, but a cup is the goal.)
- 1 container (8 oz) whipped topping, thawed (Cool Whip or any generic works. Real whipped cream is fancier but does get a bit runny.)
- 1 package (3.9 oz) instant chocolate pudding mix
- 2 cups cold milk (whole or 2%—I’ve tried almond milk, but it doesn’t set as firmly.)
- Handful of mini chocolate chips (optional, but highly recommended for pizzazz)
- Chopped Reese’s cups or peanuts for topping (I sometimes skip this if I’m feeling lazy, or just use whatever’s in the candy jar.)
How I Usually Throw It All Together
- Crush the cookies: I toss the cookies in a zip-top bag and bash them with a rolling pin (my favorite part, honestly). You can use a food processor if you want, but this way feels more… therapeutic.
- Mix with butter: Pour the melted butter over the cookie crumbs, stir till it looks like damp sand. Press into the bottom of a 9×13 inch dish. Sometimes I use a smaller one for a thicker crust—up to you!
- Peanut butter layer: Beat the cream cheese, peanut butter, and powdered sugar together with a mixer (hand mixer is fine, or just elbow grease if you’re feeling strong today). Fold in about half the whipped topping. Spread that glorious mixture over the cookie crust. (This is usually when I sneak a taste. Quality control, right?)
- Chocolate pudding: Whisk pudding mix and milk in a bowl until thick—takes a couple of minutes. Spread over the peanut butter layer. Don’t worry if it smears a bit; we’re layering, not painting the Mona Lisa.
- Top with rest of whipped topping: Just dollop it on and gently smooth it out. No need for perfection.
- Decorate: Sprinkle with mini chocolate chips, chopped peanut butter cups, or nuts—or skip, if that’s not your thing. My kids love getting creative here, sometimes too much.
- Chill: Pop the whole thing in the fridge for at least 4 hours. Overnight is even better (I think it tastes better the next day, but good luck keeping everyone away from it that long!).
Notes from the Trenches
- If your pudding looks too runny, just give it an extra minute—it’ll thicken, promise.
- Once I forgot to soften the cream cheese and ended up with weird lumps. Not the end of the world, still tasty.
- I tried making it with chunky PB once. Interesting texture, but kind of threw off the silky vibe (wouldn’t recommend unless you’re into that sort of thing).
Some Variations I’ve Tried (And a Fail or Two)
- Swapped out the Oreos for Biscoff cookies—holy smokes, that was good!
- Chocolate hazelnut spread instead of peanut butter—tasty but almost too rich (didn’t stop us from eating it, though).
- Tried making a “healthier” version with Greek yogurt and natural sweeteners… yeah, everyone politely ate it, but nobody asked for seconds. Lesson learned!
What You’ll Need (and What I Use When I Can’t Find Stuff)
- Mixing bowls (I use whatever’s clean, honestly)
- Hand mixer (or a whisk and some determination)
- 9×13 pan (or smaller for thicker layers)
- Spatula, for spreading stuff nicely—though a big spoon works in a pinch
If you don’t have a hand mixer, just use a big wooden spoon and pretend you’re in a cooking show. It’s all about the vibe.
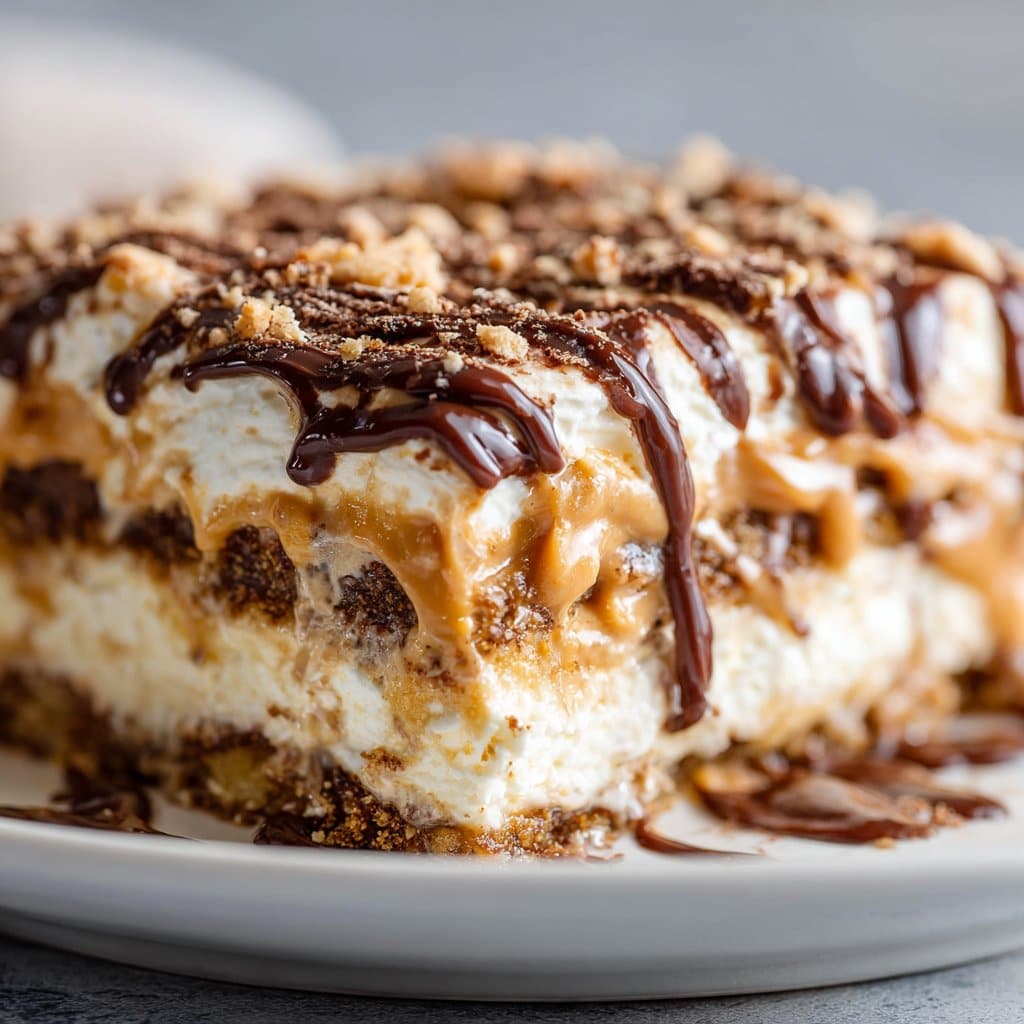
How I Store It (Or, Why There’s Never Leftovers)
In theory, you can cover the pan with plastic wrap and keep it in the fridge for 3–4 days. But, honestly, in my house it never lasts more than a day! I’ve been told by friends it freezes okay, just defrost in the fridge overnight—though the texture gets a bit softer.
How I Like to Serve It
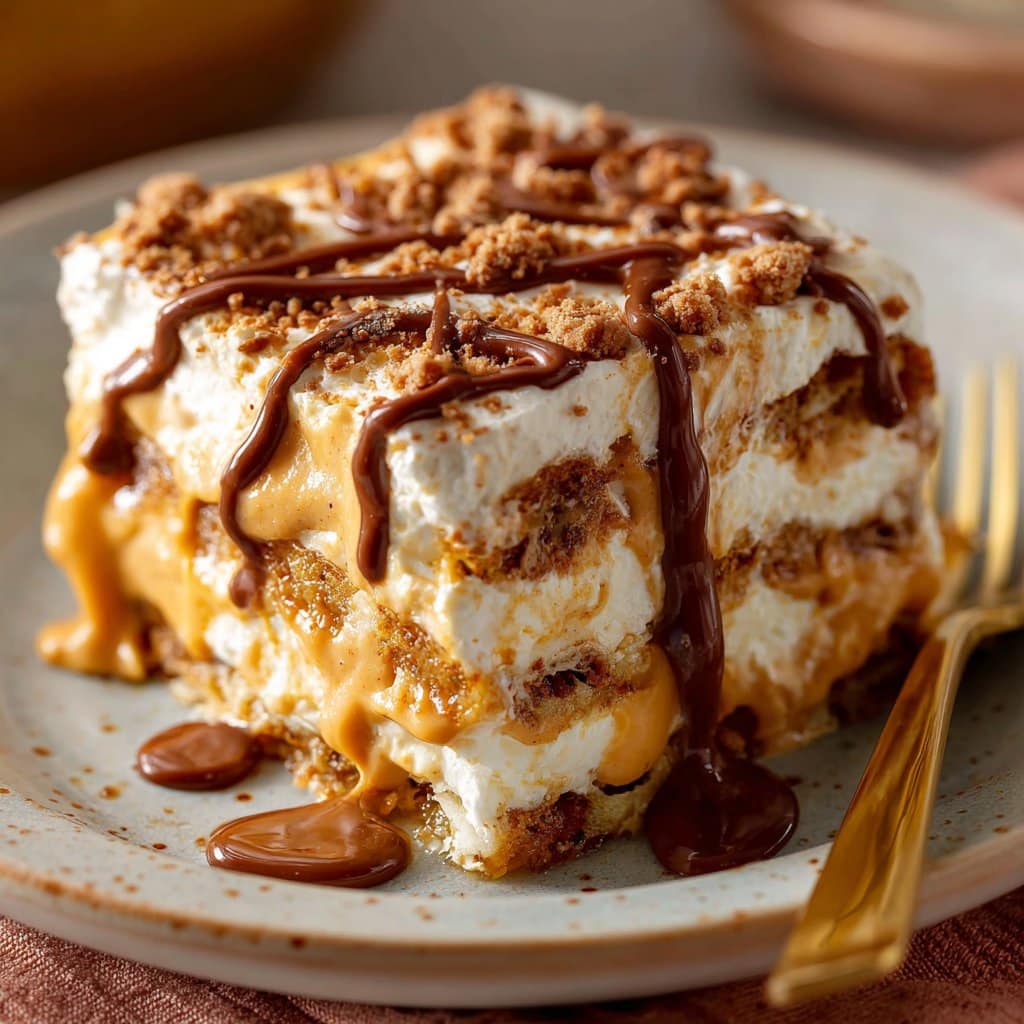
Straight from the pan with a big spoon is totally valid (no judgment). But if I’m feeling fancy, I’ll cut neat squares and pile them on a platter. Sometimes we’ll drizzle a little chocolate syrup or warm up a spoonful of peanut butter and zig-zag it on top. On birthdays, we stick a candle in it and pretend it’s cake—no one complains.
Pro Tips (AKA Lessons Learned the Hard Way)
- I once tried to rush the chilling step, thinking two hours would be “good enough”—nope, it was a gloopy mess. Let it chill for the full time. Actually, longer is better.
- Don’t use hot melted butter for the crust; it sort of cooks the cookies in a weird way. Let it cool off a bit first.
- Be patient when spreading—if the layers mix a little, it still tastes great. I used to stress about it but now, meh, it’s part of the charm.
FAQ: Answering the Questions I Actually Get
- Can I make this ahead? Definitely! I actually think it tastes better the next day—just give it a quick freshening with some extra topping if it gets squished.
- Can I use crunchy peanut butter? You can, but it changes the whole vibe. I say go smooth unless you’re really into texture.
- Milk alternatives? I’ve tried oat milk and almond milk. Works, but the pudding’s softer—sort of like soft-serve, which isn’t a bad thing, just different.
- How do I crush the cookies without a food processor? I just bash them in a bag with a rolling pin (or, once, a wine bottle—improvisation is the mother of invention, right?).
- Do I have to use whipped topping? Nah, real whipped cream is fine, but honestly, the store stuff holds up better if you’re making it ahead.
- Where’d you get the idea for this? I first saw something like it on Allrecipes ages ago; then I just kept tweaking till it was perfect for us. I also love the step-by-step photos on Spend with Pennies—so handy!
And, just as a totally random sidenote—if you’re ever stuck for dessert ideas, check out the King Arthur Baking recipe section. I lose hours there sometimes, not that I’m complaining. Anyway, hope this no-bake peanut butter lasagna makes your next get-together a smash—let me know how it goes, or if you find a new twist that beats mine!
Ingredients
- 24 chocolate sandwich cookies, crushed
- 1/4 cup unsalted butter, melted
- 1 cup creamy peanut butter
- 8 oz cream cheese, softened
- 1 cup powdered sugar
- 16 oz whipped topping, divided
- 2 cups cold milk
- 1 package (3.9 oz) instant chocolate pudding mix
- 1/2 cup mini chocolate chips (optional)
Instructions
-
1In a medium bowl, combine crushed chocolate sandwich cookies and melted butter. Press the mixture evenly into the bottom of a 9×13-inch dish to form the crust.
-
2In a large bowl, beat together peanut butter, cream cheese, and powdered sugar until smooth. Fold in 8 oz of whipped topping until well combined. Spread this mixture over the cookie crust.
-
3In another bowl, whisk together cold milk and instant chocolate pudding mix for about 2 minutes until thickened. Spread the pudding evenly over the peanut butter layer.
-
4Spread the remaining whipped topping over the chocolate pudding layer. Sprinkle mini chocolate chips on top if desired.
-
5Refrigerate the lasagna for at least 4 hours, or until set. Slice and serve chilled.
Approximate Information for One Serving
Nutrition Disclaimers
Number of total servings shown is approximate. Actual number of servings will depend on your preferred portion sizes.
Nutritional values shown are general guidelines and reflect information for 1 serving using the ingredients listed, not including any optional ingredients. Actual macros may vary slightly depending on specific brands and types of ingredients used.
To determine the weight of one serving, prepare the recipe as instructed. Weigh the finished recipe, then divide the weight of the finished recipe (not including the weight of the container the food is in) by the desired number of servings. Result will be the weight of one serving.
Did you make this recipe?
Please consider Pinning it!!




