So, the Backstory… And Maybe a Little Tangent
Alright, picture this: it’s a Sunday afternoon and I’m standing in my slightly-too-small kitchen trying to figure out what to make with the sad, slightly wrinkly tomatoes rolling around the counter. Enter: puff pastry tomato tart with herbed cheese. I first whipped this up for a friend’s picnic (that got rained out, go figure) and it’s been my not-so-secret weapon ever since. There’s something about the smell of pastry baking that just makes a house feel like a home, even if there are dishes everywhere and the cat’s plotting to steal the cheese. Actually, did you know cats shouldn’t eat cheese? Learned that the hard way. Anyway, let’s get into it!
Why You’ll Love This Tart (According to Me, Anyway)
I make this when I need a low-stress, high-wow dinner—especially if I’m in the mood to impress but don’t really want to do that much (don’t tell anyone). My family goes crazy for this because the tomatoes get all roasty and sweet on top, the cheese turns gooey, and nobody suspects you just threw it all together in under an hour. Also, if I’m being honest, it’s a nice way to feel a bit fancy without actually wearing real pants. Sometimes the puff pastry splits weird or the cheese gets oozy, but honestly, we just call that ‘rustic’ and everyone’s happy.
Ingredients (Plus My Oddball Swaps)
- 1 sheet puff pastry, thawed (I usually use store-bought, but if you’re feeling ambitious, here’s a wild homemade version)
- 3-4 ripe tomatoes, any shape—sometimes I use cherry tomatoes, sliced in half, just for fun
- About 120g (or a hefty handful) herbed soft cheese (like Boursin, goat cheese, or even a mix—my aunt swears by Philadelphia with fresh herbs, which works in a pinch)
- 1 tablespoon olive oil (or that garlic oil I sometimes forget about in the pantry)
- 1 small shallot, finely sliced (or use red onion, or skip if you’re not into onions)
- Fresh thyme or basil (or both, or neither—with dried herbs, use less)
- Salt and pepper, to taste (I’m heavy on the pepper—some say too heavy, possibly true)
- 1 egg, beaten, for brushing the pastry (optional, but makes it shiny and golden)
How I Actually Make It (With Honest Moments)
- Preheat your oven to 200°C/400°F. If you forget, like me, just wait a bit longer at the end. It works out.
- Unroll the pastry onto a baking tray lined with parchment. If it cracks, no big deal—just squish it back together. Sometimes I roll it a bit thinner if I want extra crispiness, but honestly, half the time I don’t bother.
- Score a border about 2cm from the edge, like drawing a frame. Don’t cut all the way through, just a gentle outline. This bit puffs up nicely. At this point, I usually sneak a little corner of raw pastry because, well, childhood habits die hard. Not recommending it, but hey, you do you.
- Spread the herbed cheese inside the border. I use a spoon, sometimes my fingers. Doesn’t have to be perfect—lumpy is fine, just make sure there’s decent coverage.
- Layer on those tomatoes: overlap the slices, scatter the cherry halves, whatever you’ve got. If you want to get artsy, go for a spiral. I rarely do, because I’m more ‘plop and go’.
- Top with shallots, herbs, a good drizzle of oil, and a shower of salt and pepper. Don’t worry if it looks a bit of a mess—it’ll look fancier once it’s baked.
- Brush the pastry edges with beaten egg, if you can be bothered. (Sometimes I forget and it still tastes good.)
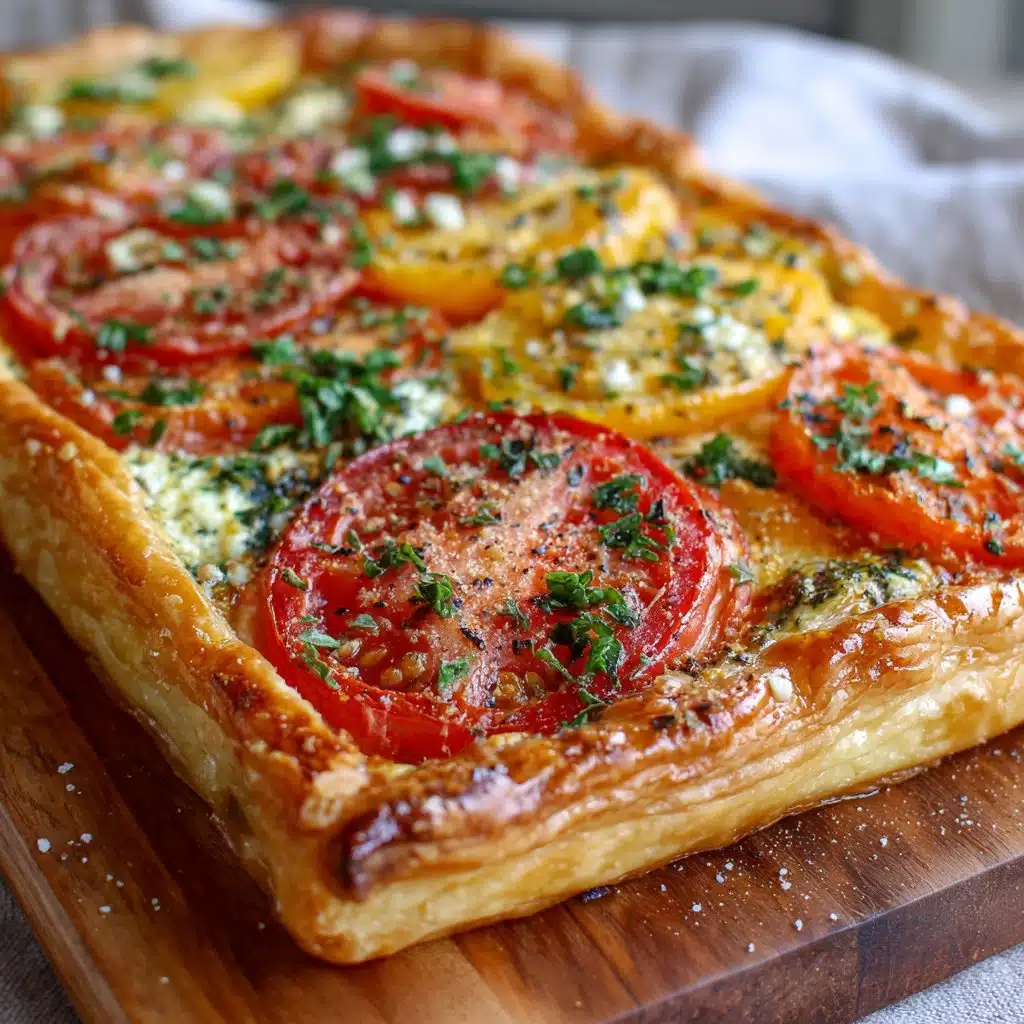
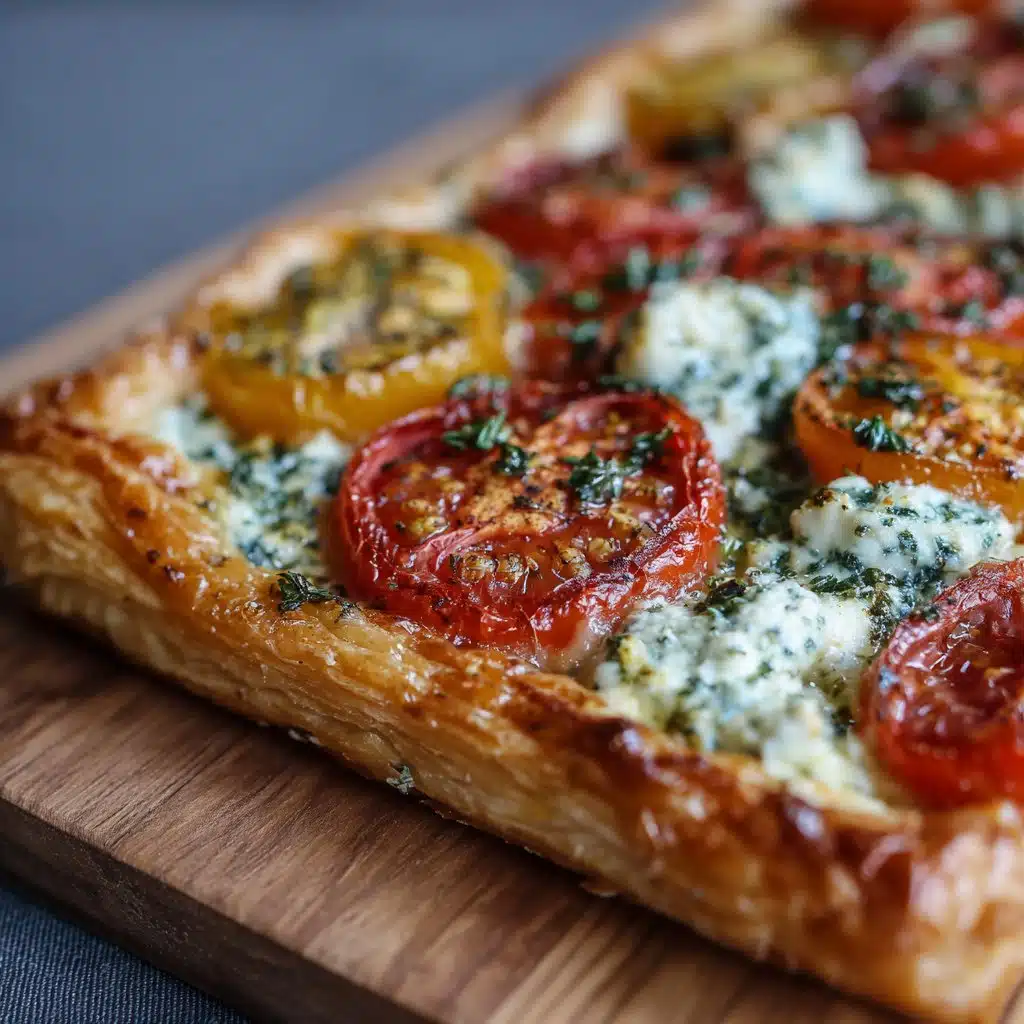
- Bake for about 25–30 minutes. The pastry should be golden and the tomatoes a bit shrunken. Sometimes the cheese bubbles out. That’s normal. If it’s looking pale, leave it in a few extra minutes. I always get a bit anxious and open the oven too soon—try not to, it really needs the time.
- Cool for a few mins before slicing, otherwise it falls apart. Or eat it hot and embrace the chaos. Either way’s good.
What I’ve Learned (a.k.a. Notes)
- If your puff pastry is too cold, it won’t rise as well. But if it’s too warm, it gets sticky. I guess room temp is best, but I’ve baked straight from the fridge before and it was fine.
- Too much tomato juice can make the pastry a bit soggy. I sometimes pat the slices dry, but then again, sometimes I forget. Extra crispiness isn’t guaranteed, but the flavor’s always there.
- I once tried this with low-fat cheese. It tasted okay but wasn’t as melty. Just saying.
- Oh, and it’s pretty forgiving if you want to add random odds and ends—like some leftover olives or roasted peppers.
What Happens If You Change Things Up (Variations)
- I’ve swapped in roasted red peppers for tomatoes—pretty tasty, actually.
- Once I tried a layer of pesto under the cheese. It was a bit much for me, but my friend loved it, so maybe give it a go if you’re a pesto-head.
- Different cheeses, like feta or ricotta, work. Mozzarella gets a bit watery, though, so… not my favorite.
- Adding thinly sliced zucchini works well, but on second thought, slice it super thin or it stays too crunchy.
Stuff You Need (and What to Do If You Don’t Have It)
- A baking tray (or any flat ovenproof thing—once used a pizza stone, which was a bit of a faff to clean but did the job)
- Parchment paper or greaseproof paper (foil works in a pinch, but the tart can stick—don’t say I didn’t warn you)
- Sharp knife for slicing, but honestly, a butter knife can manage if you’re not too fussy
How to Store It (If There’s Any Left)
This keeps in the fridge for a day or two, wrapped up or in a box. Reheat in the oven if you want it crisp (microwave gets it a bit floppy, but I still eat it). Though honestly, in my house this never lasts more than a day—someone always sneaks in for a midnight snack. If it does hang around, I think it tastes better the next day, actually. Cold tart breakfast? Yes please.
How We Serve It Around Here
I like to slice it up and serve with a leafy salad—just whatever greens are lurking in the fridge, sometimes with this lemon-herb salad dressing. My partner likes a dash of hot sauce on top, which I thought was odd at first but now I’m kind of into it. Sometimes we put out a bowl of olives. And if we’re feeling really posh, a glass of white wine. Or, you know, just eat it straight off the tray with your hands. No judgment here.
My Top Tips (Learned the Hard Way, Naturally)
- I once tried rushing the thawing and ended up with a pastry lump that would not flatten, so give it time to defrost properly—trust me.
- Don’t overload with tomatoes or cheese. I know it’s tempting, but it goes a bit soupy if you do.
- Let it cool for a few minutes before slicing—otherwise, it’s molten cheese mayhem. Unless you like that sort of thing; then, by all means, dive in.
- If you’re after more ideas for puff pastry, check out Sally’s Baking Addiction for some real crackers (as in, great recipes—not actual crackers).
FAQ—Because People Actually Ask Me These
- Can I use frozen tomatoes?
- Well, you can, but they’re a bit watery. I’d thaw and drain them first. Or just use fresh if you can swing it.
- Is homemade puff pastry worth the effort?
- Honestly? Not for me. Store-bought is a lifesaver. But if you love a challenge, go for it—I won’t stop you!
- What if I don’t have herbed cheese?
- Mix any soft cheese with chopped fresh herbs (parsley, chives, whatever you’ve got). Works like a charm.
- How do I stop it from getting soggy?
- Don’t overload with tomatoes and pat them dry. Baking on a hot tray can help, but honestly, a bit of juice isn’t the end of the world.
- Can I make this vegan?
- Sure thing! Use vegan puff pastry (most are, but double-check) and a herby vegan cheese. Tastes great, though sometimes the texture’s a bit different.
So there you go. Give it a try and let me know if your kitchen smells as amazing as mine. And if you discover a genius new ingredient, send it my way—I’m always up for another kitchen experiment (except, maybe, for durian—you first!).
Ingredients
- 1 sheet puff pastry, thawed
- 3 medium ripe tomatoes, sliced
- 120 g herbed cream cheese (such as Boursin or homemade)
- 1 tablespoon fresh basil, chopped
- 1 tablespoon fresh chives, chopped
- 1 tablespoon olive oil
- 1 egg, beaten (for egg wash)
- Salt and freshly ground black pepper, to taste
Instructions
-
1Preheat the oven to 400°F (200°C). Line a baking sheet with parchment paper.
-
2Roll out the puff pastry on a lightly floured surface to smooth the seams. Transfer to the prepared baking sheet.
-
3Spread the herbed cream cheese evenly over the pastry, leaving a 1-inch border around the edges.
-
4Arrange the tomato slices over the cheese in a single layer. Sprinkle with chopped basil, chives, salt, and pepper. Drizzle with olive oil.
-
5Fold the edges of the pastry inward to create a border. Brush the edges with beaten egg.
-
6Bake for 22-25 minutes, or until the pastry is golden and crisp. Let cool slightly before slicing and serving.
Approximate Information for One Serving
Nutrition Disclaimers
Number of total servings shown is approximate. Actual number of servings will depend on your preferred portion sizes.
Nutritional values shown are general guidelines and reflect information for 1 serving using the ingredients listed, not including any optional ingredients. Actual macros may vary slightly depending on specific brands and types of ingredients used.
To determine the weight of one serving, prepare the recipe as instructed. Weigh the finished recipe, then divide the weight of the finished recipe (not including the weight of the container the food is in) by the desired number of servings. Result will be the weight of one serving.
Did you make this recipe?
Please consider Pinning it!!




