Let Me Tell You About This Panna Cotta Adventure
You ever have that one dessert that makes you feel like you’re a fancy restaurant chef, even if you’re just in your slippers and yesterday’s t-shirt? That’s what Vanilla Bean Panna Cotta with Berries is for me. I made it the first time after a trip to Italy (I promise, this isn’t a humblebrag—it was a budget flight and I got food poisoning, but hey, at least the panna cotta was good). Ever since, it’s been my ace-in-the-hole when I want to impress people or just treat myself. I’ll admit, the first batch was a little, um, rubbery (my friend described it as “edible bouncy ball”)—but that’s all in the past. Now it’s my creamy, dreamy best dessert trick.
Why I Keep Making This (And Maybe You Will Too)
I make this when I want to look like I’ve put in way more effort than I actually have. (Seriously. It’s mostly waiting for it to set.) My family loses their minds for it—though my kids mainly pick off the berries and leave the panna cotta, go figure. It’s also a life-saver for dinner parties because you can make it ahead and not stress about dessert while you’re running around trying to find that one wooden spoon you swear you own. And if you’re thinking, “Gelatin dishes are a pain,” trust me, I used to feel the same way until I realized you just need to let it bloom (not as intimidating as it sounds!).
What You’ll Need (Plus My Grandma’s Two Cents)
- 2 cups (about 500ml) heavy cream (sometimes I use half-and-half if I’m trying to pretend it’s lighter—doesn’t set as firmly, but hey, it’s still tasty)
- 1 vanilla bean, split and scraped (or 2 tsp vanilla extract if you can’t find the beans, though my grandma would scowl at me for that)
- 1/3 cup (65g) granulated sugar (brown sugar gives a bit of a caramel vibe if you’re feeling experimental)
- 2 1/4 tsp powdered gelatin (one envelope, roughly)
- 3 tbsp cold water (tap is fine—no need for bottled nonsense)
- A pinch of salt (I sometimes skip this if I’m distracted and honestly, it still works)
- A couple handfuls of fresh berries—strawberries, blueberries, raspberries, whatever’s in season, or just those frozen mixed berries from the shop if you’re not feeling precious
- Optional: a squeeze of lemon, a splash of berry liqueur, or a drizzle of honey for the top
How I Actually Make It (Don’t Worry, It’s Not Fussy)
- First, sprinkle the gelatin over the cold water in a tiny bowl (or mug, if your tiny bowls are always in the dishwasher like mine). Let it sit for about 5 minutes. It’ll get weirdly solid—don’t panic, that’s normal.
- While that’s happening, pour your cream, sugar, vanilla bean (just scrape the seeds in and chuck the pod in too), and salt into a saucepan. Medium heat. Stir a bit. You want it warm and steamy, but not boiling. If you see tiny bubbles at the edge, you’re golden.
- Now, fish out the vanilla bean if you used one. Add your gelatin blob (that’s the technical term). Stir until it dissolves—should take a minute or so.
- Here’s where I usually sneak a taste. If it’s not sweet enough, toss in a smidge more sugar. If it’s too sweet (is that a thing?), well, more berries will balance it later.
- Pour the mix into whatever molds or cups you like. I use ramekins, but I’ve also done this in old jam jars or tea cups. Cover with cling film.
- Pop in the fridge for at least 4 hours (overnight is even better; I think the texture’s nicer). And yes, it looks a bit strange while setting. That’s normal.
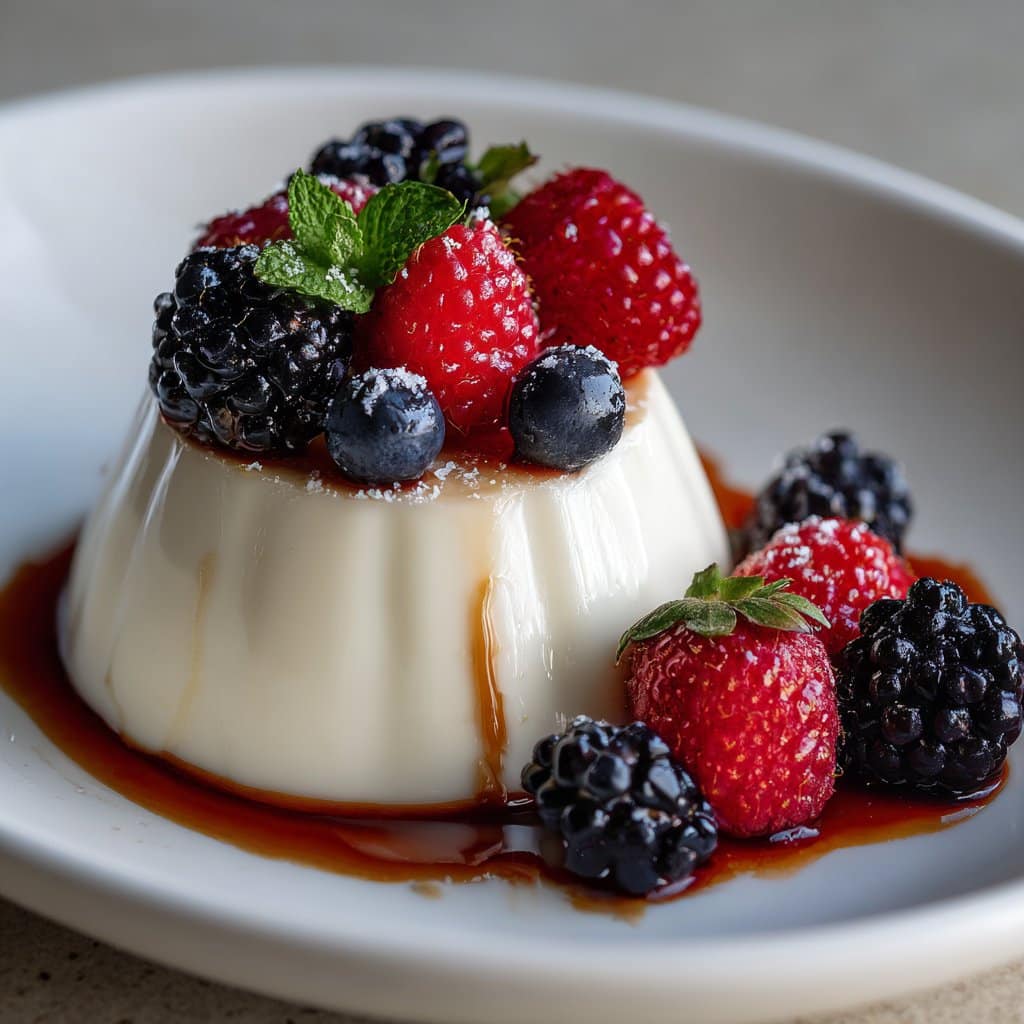
- To serve, run a knife around the edge and tip onto a plate, or just eat straight from the dish if you can’t be bothered (no judgment here). Top with berries and—if you’re fancy—a drizzle of honey or syrup.
Notes (Stuff I Learned the Hard Way)
- If you accidentally overheat the cream, it’s not going to split or anything, but the set might be less silky. Actually, I find it works better if you keep the heat fairly low.
- One time I added too much gelatin and it was… well, let’s just say you could bounce it off the table. Stick to the amount!
- Don’t stress about the berries. Soft, slightly sad berries are fine—they get better with a bit of sugar and lemon.
Variations I’ve Tried (Some Good, Some… Not So Much)
- Swap the vanilla for a bit of lemon zest and limoncello—very summery. My sister loved it.
- Made it with coconut milk instead of cream once. Tasted nice, but didn’t set as well. Maybe use half coconut milk, half cream?
- Tried coffee flavor by adding espresso powder. Didn’t love it, but my mate Dave thought it was brilliant. Go figure.
Do You Need Fancy Equipment?
I usually use ramekins, but honestly, I’ve used anything from wine glasses to old yogurt pots. No fancy molds needed. If you want that perfectly smooth look, a quick warm water dip on the bottom of the mold helps, but you can just run a knife around if you’re not fussed. And if you don’t have a whisk, a fork works for this (though your arm might get a workout).
How Long Will It Keep? (Spoiler: Not Long at My Place)
Technically, you can store these in the fridge for 2-3 days covered. But, I’ll be honest, they’ve never survived past breakfast the next day in our house. If you do have leftovers, don’t stack things on top—they’ll squish.
How I Like to Serve It (And a Quirky Family Tradition)
Best with berries and a little drizzle of honey or warmed-up jam. My mum always put a mint leaf on top, and now my kids do too (even though they pick it off). Sometimes I layer the berries on the bottom before pouring in the cream—looks pretty for parties, but tastes the same either way.
Pro Tips (Learned the Slightly Hard Way)
- Don’t rush the chilling. I once tried to set it in the freezer because I was late—ended up with weirdly icy edges. Yuck.
- If you use vanilla extract, add it after heating, or it loses its oomph.
- Using fresh berries? Toss them with a bit of sugar and lemon ahead of time. They get all syrupy and delicious.
FAQ (Because People Actually Ask Me These Stuff)
- Can I make Vanilla Bean Panna Cotta with Berries ahead?
- Yep, I almost always do. Actually, I think it tastes better the next day. Just remember to add the berries at the last minute so they don’t get all soggy.
- What if I don’t have gelatin?
- So, I’ve tried agar-agar once, but it set weirdly firm, sort of like jellybeans. Maybe try it if you’re vegan, but expect a different texture. This vegan version looks solid, though.
- Can I use frozen berries?
- Absolutely. Just thaw them and maybe toss with a bit of sugar. They’ll be a bit juicier, but that’s not a bad thing. BBC Good Food does this too.
- Can I double the recipe?
- Sure, but use a big enough pot. Ask me how I know. (Hint: sticky stove disaster.)
- Do I have to unmold it?
- Nope! Sometimes I just eat it right out of the cup. Less washing up, so bonus!
And one last thing: if you end up with extra cream, make whipped cream for your coffee. Or just eat it by the spoonful—no judgment, promise. For more panna cotta geekery, check out Sally’s Baking Addiction for troubleshooting and ideas. Happy cooking, mate!
Ingredients
- 2 cups heavy cream
- 1/2 cup whole milk
- 1/2 cup granulated sugar
- 1 vanilla bean, split and seeds scraped
- 2 1/2 teaspoons powdered gelatin
- 3 tablespoons cold water
- 1 cup mixed fresh berries (strawberries, blueberries, raspberries)
- 1 tablespoon honey (for drizzling, optional)
Instructions
-
1In a small bowl, sprinkle the powdered gelatin over cold water and let it bloom for 5 minutes.
-
2In a saucepan, combine heavy cream, whole milk, and granulated sugar. Add the vanilla bean seeds and pod. Heat over medium heat, stirring, until the sugar dissolves and the mixture is hot but not boiling.
-
3Remove the saucepan from heat. Discard the vanilla bean pod. Stir in the bloomed gelatin until completely dissolved.
-
4Pour the mixture evenly into 4 ramekins or serving glasses. Let cool to room temperature, then cover and refrigerate for at least 4 hours, or until set.
-
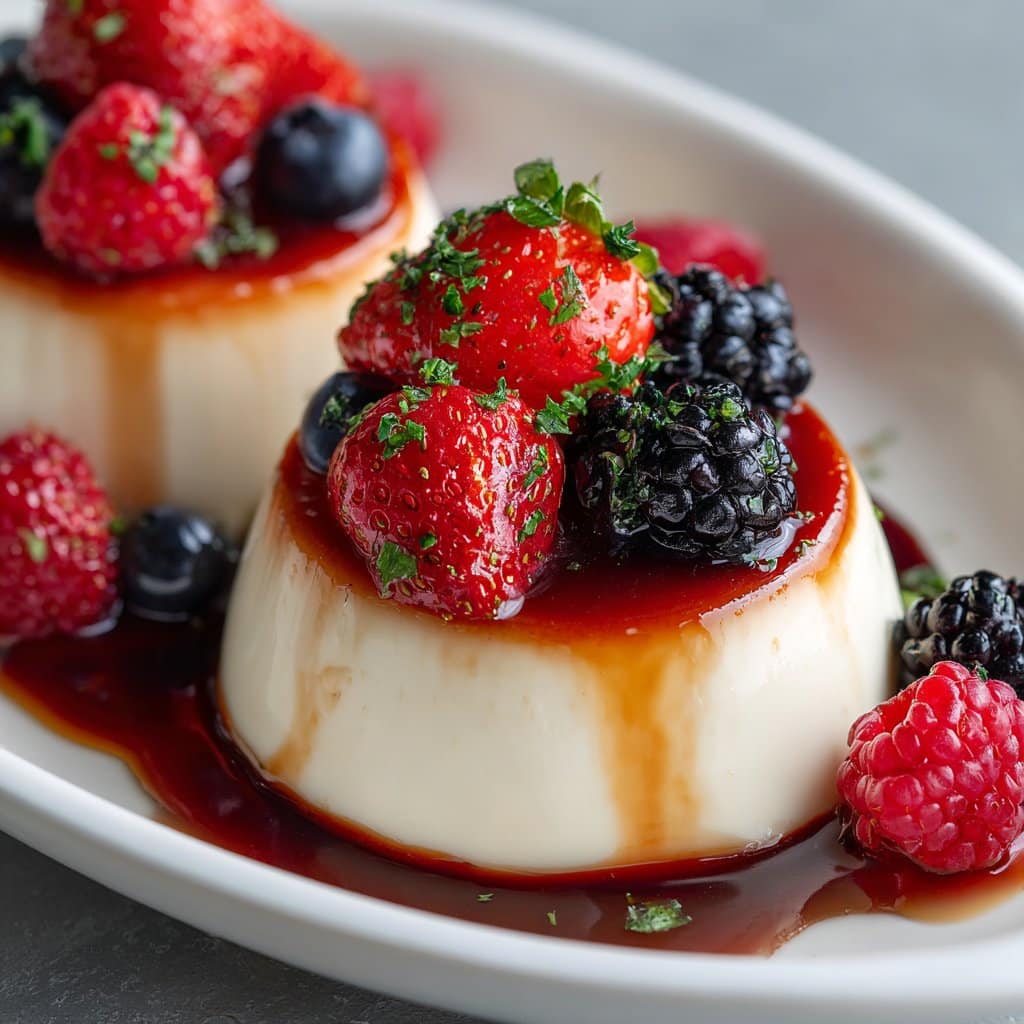
5Before serving, top each panna cotta with mixed fresh berries and drizzle with honey if desired.
Approximate Information for One Serving
Nutrition Disclaimers
Number of total servings shown is approximate. Actual number of servings will depend on your preferred portion sizes.
Nutritional values shown are general guidelines and reflect information for 1 serving using the ingredients listed, not including any optional ingredients. Actual macros may vary slightly depending on specific brands and types of ingredients used.
To determine the weight of one serving, prepare the recipe as instructed. Weigh the finished recipe, then divide the weight of the finished recipe (not including the weight of the container the food is in) by the desired number of servings. Result will be the weight of one serving.
Did you make this recipe?
Please consider Pinning it!!




