Catching Up Over Tots (And Why These Exist)
OK, listen, the first time I made these vegan baked sweet potato zucchini tots, my kitchen looked like I’d hosted a toddler finger-painting marathon, but honestly? Worth it. Sweet potato and zucchini are like the Lennon and McCartney of my veggie drawer. I started making these when I realized my nephews only eat veggies if they’re shaped like something you can dunk in ketchup. And you know those rare days you actually crave something crunchy and munchy, but you don’t want another beige freezer box? Yup, that’s how these were born. I even brought a batch to my neighbor (she’s from Yorkshire and says them as “toe-its” not “tots,” which still cracks me up) and she keeps hinting I should make them again. I suppose that means they’re decent!
Why I’m Obsessed With These (and Don’t Judge My Snack Habits)
I make this when I want to eat a massive pile of something hot and crispy that doesn’t come out of a McDonald’s drive-thru. My family goes crazy for this because, well, they’re bite-sized and somehow disappear the second I put them on the table. Actually, I think the last time I made these, my partner nearly started a food squabble over the last one. Also: They’re baked, not fried, so I don’t feel like I need to fend off a heartburn attack after. (On the downside, shredding zucchini is mildly annoying, but a cup of coffee helps.)
Gathering Ingredients (With My Many Swaps & Shortcuts)
- 1 medium sweet potato (about 250g) – or two small ones; sometimes I just use leftover roasted sweet potato, which works if you’re feeling lazy.
- 1 medium zucchini (around 200g, give or take; if you’re in a hurry, I sometimes use pre-shredded from the supermarket but it’s a bit pricy).
- 1/2 small onion, finely chopped (my grandmother used red onion, but any will do, pinky swear).
- 1/4 cup nutritional yeast, optional (it’s nice, but honestly, I skip it if I’ve run out).
- 1/2 cup breadcrumbs, plus a bit more for rolling; gluten free works fine, I’ve even blitzed up stale pita chips and it did the trick.
- 2 tbsp flour (chickpea, oat or plain; chickpea is my usual but you do you)
- 1 tsp garlic powder
- 1/2 tsp smoked paprika (or plain paprika if smoked isn’t your thing)
- 3/4 tsp salt
- 1/4 tsp black pepper
- Olive oil spray (or just rub some on with your hands, let’s be real)
How I Throw These Together (No Perfection Required)
- Bake or microwave your sweet potato until tender. Let it cool a bit so you don’t roast your fingers. (I stick it in a 200C oven for about 40 minutes, or if I’m in a pinch, microwave on high for 7 minutes.)
- Meanwhile, shred the zucchini. I usually just use my box grater; one time I tried the food processor and it turned kinda mushy, so, er, be gentle. Squeeze out as much water as you can – a clean tea towel or just your hands. Doesn’t have to be bone-dry, but not a puddle, either.
- Peel the sweet potato (if you want – skin’s fine, actually) and mash it in a big bowl. Add the shredded zucchini and onion next. Give it all a quick mix (this is where I taste to check the salt… and sometimes forget, but the end result seems to sort itself out.)
- Chuck in everything else (nutritional yeast, breadcrumbs, flour, garlic powder, paprika, salt, pepper) and mix til you’ve got a clumpy, sticky mess. Don’t panic if it’s a bit soft, that’s normal!
- Set your oven to 220C (425F). Line a baking tray with baking paper—unless you enjoy washing trays, then skip it and live on the wild side.
- With damp hands, grab a blob (about a tablespoon each) and roll it into a tot or nugget shape. They don’t need to look identical—nobody’s judging. Roll gently in breadcrumbs for extra crunch if you can be bothered.
- Space these out on your tray. Give them a squirt of olive oil spray (or gently brush it on—a little bit really helps).
- Bake for 25-ish minutes, flipping halfway. If they look a bit wonky at half-time, just nudge them back into shape. They’ll crisp up as they cool but I can never wait that long.
Stuff I’ve Figured Out The Hard Way (Notes)
- If your mix feels like soup, add more breadcrumbs; way too stiff? Splash in a tiny bit of non-dairy milk.
- Leaving the skins on the sweet potato is less faff and adds a smidge of texture. (Ok, it’s also because I’m lazy some days.)
- Truth be told, these stick a bit more to foil than to parchment. Learned that the crumbly way.
- You can totally freeze the uncooked tots, though I once forgot about a bag at the back of the freezer; three months later…not great. But fresh? Lovely.
Tinkering With The Recipe (Variations That Sorta Work)
- Lately, I threw in some grated carrot – worked fine, bit of a color party. Parsnips weren’t as exciting, but if that’s your jam, have at it.
- I once tried making these with spiralized sweet potato—too stringy; not recommended, but you might be less clumsy than I am.
- Swapping the onion for spring onion (scallions, depending where you are) is a nice twist when I want a sharper kick.
Gadgets & Gear (Or What I Use When I Can’t Find My Box Grater)
So yes, a box grater is easiest for the zucchini, but I’ve managed with a sturdy peeler and a sharp knife, just takes ages. Never owned an air fryer (maybe one day), but I hear they’re a game-changer for stuff like this—if that’s your thing, check out The Vegan 8’s air fryer tot method. Don’t stress if you don’t have parchment; just oil the tray well or expect minor stickage.
Storing Leftovers (Not That There’s Usually Any Left)
Pop any leftovers in an airtight box in the fridge—should last 2-3 days, but honestly, in my house they’ve never survived longer than 24 hours (gremlin children…). I actually think they taste better the next day, just warm them in the oven or a pan to get the crisp back.
How We Eat Them (Serving Ideas With a Nod to My Family)
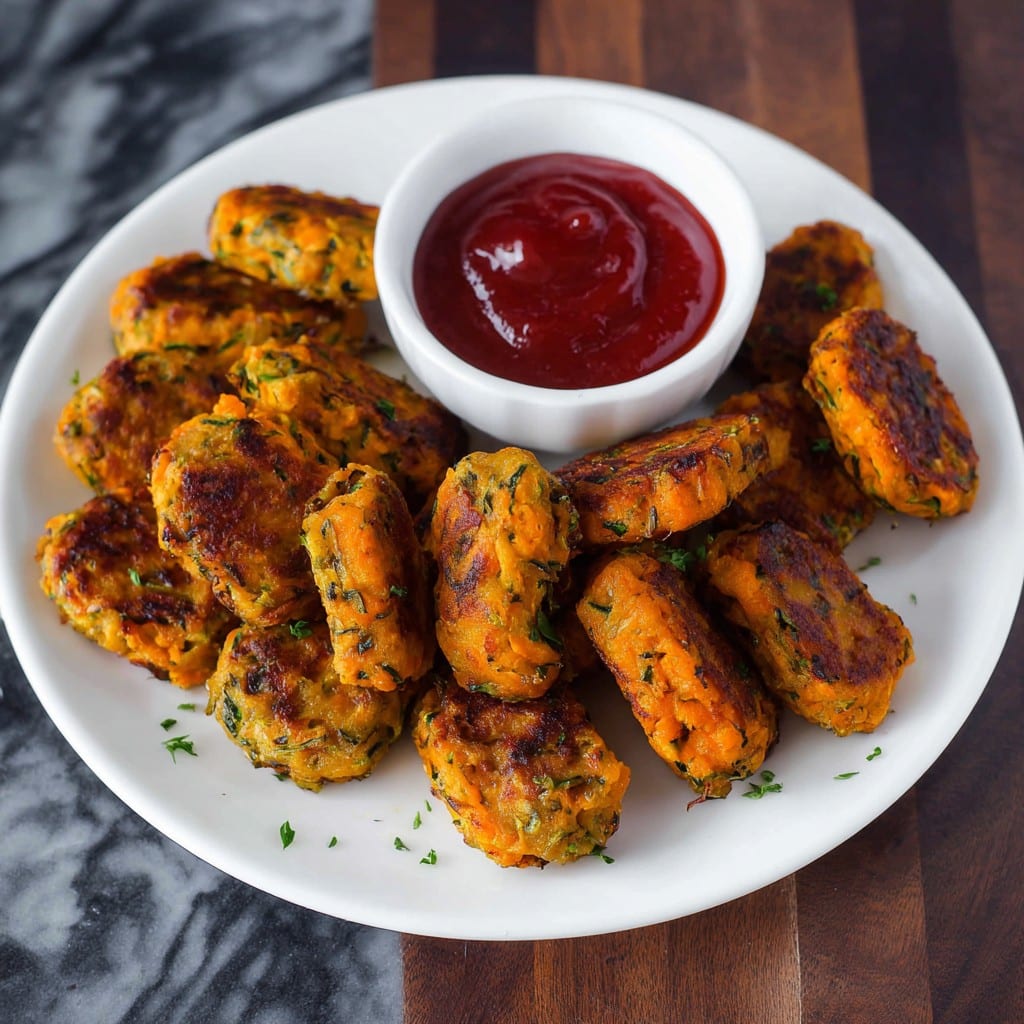
Classic ketchup dunking is obvious, but I love a mix of sriracha and vegan mayo. Sometimes I’ll pile them in a bowl with avocado slices (probably not traditional, but who’s policing?). My family has this unspoken rule of ‘whoever grabs three first, wins,’ so, you know, serve plenty.
Lessons I’m Still Learning (Pro Tips That Hurt To Discover)
- I once tried to skip squeezing out the zucchini—yeah, don’t do that unless you like limp, mushy tots.
- Overcrowding the tray = soggy undersides. It’s like a bad parking job; just space ’em fair.
- Be patient with the bake; undercooked = meh, but a few extra minutes gets you golden crunch.
FAQ (For When Friends Text Me While Shopping)
- Can I use yellow sweet potato or yams instead? Yep, I’ve done it—flavor’s a tad different, but works.
- Do I have to peel the sweet potato? Not really—though sometimes it gets a bit rustic. My kid says ‘yuck’ but I like it.
- Gluten free? Just go with gluten free breadcrumbs and flour; pretty straightforward swap.
- What can I serve them with? Oh, sky’s the limit—salads, in wraps, as a burger side, or honestly, just standing over the stove eating them off the tray. No judgment.
- Can I freeze them after baking? Sure, but reheat in the oven not the microwave so they don’t go limp. Trust me, I’ve tried both ways and only one is crunchy.
- For more plant-based snack ideas, my friend swears by the Minimalist Baker vegan tots recipe—not exactly the same, but a solid backup if your sweet potato stash runs out.
So, yeah. There you have it—Vegan Baked Sweet Potato Zucchini Tots, the best excuse I’ve found yet to get veggies into basically anyone. If you ever invent a faster way to clean grated zucchini off the floor, let me know. Happy snacking!
Ingredients
- 1 medium sweet potato, peeled and grated
- 1 medium zucchini, grated and squeezed dry
- 1/3 cup gluten-free breadcrumbs
- 2 tablespoons nutritional yeast
- 1 tablespoon ground flaxseed
- 1/4 teaspoon garlic powder
- 1/4 teaspoon onion powder
- 1/2 teaspoon salt
- 1/4 teaspoon black pepper
- 1 tablespoon olive oil (for brushing)
Instructions
-
1Preheat your oven to 400°F (200°C) and line a baking sheet with parchment paper.
-
2In a large bowl, combine grated sweet potato, grated zucchini (thoroughly squeezed to remove moisture), breadcrumbs, nutritional yeast, ground flaxseed, garlic powder, onion powder, salt, and black pepper.
-
3Mix well until all ingredients are thoroughly combined. If the mixture is too wet, add a bit more breadcrumbs.
-
4Scoop about 1 tablespoon of the mixture and form into small tot shapes. Place each tot on the prepared baking sheet.
-
5Brush the tops lightly with olive oil. Bake for 25 minutes, flipping halfway through, until golden brown and crispy.
-
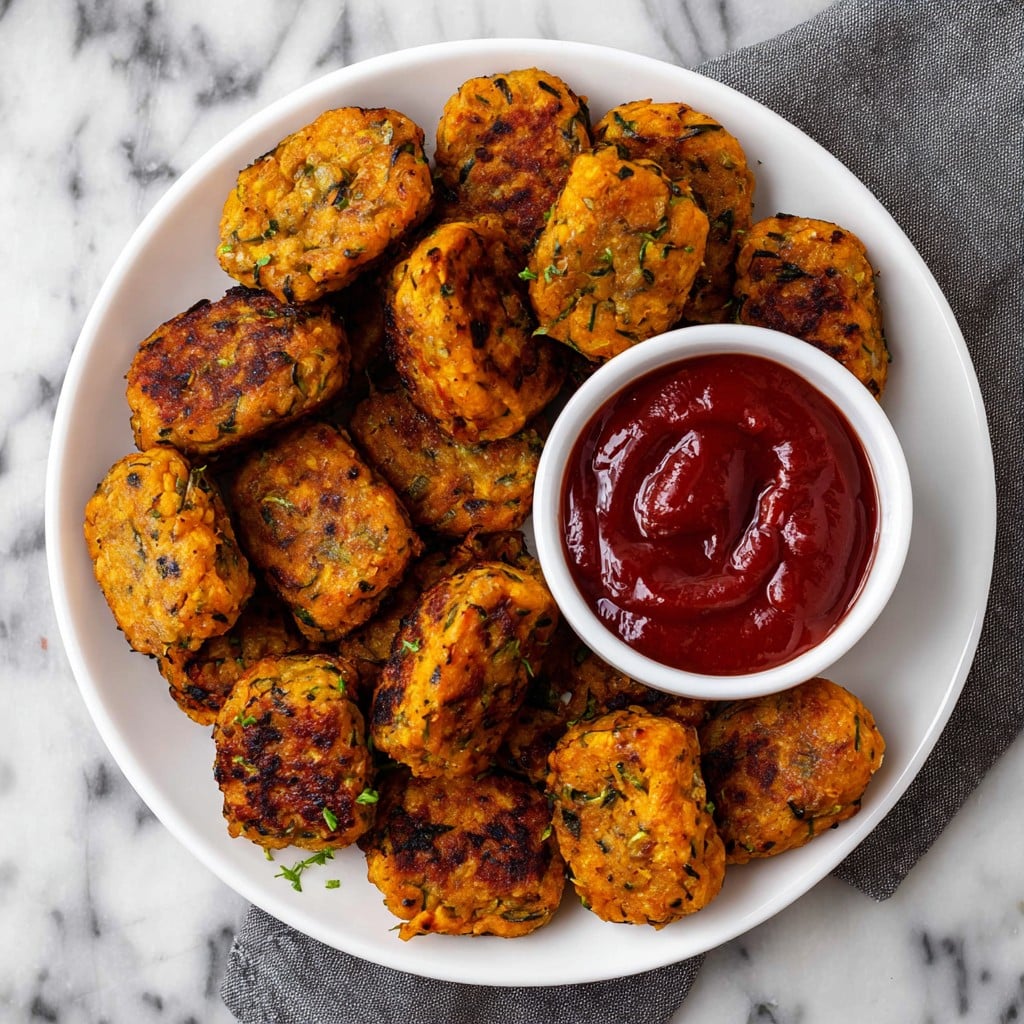
6Allow to cool slightly before serving. Enjoy with your favorite dip!
Approximate Information for One Serving
Nutrition Disclaimers
Number of total servings shown is approximate. Actual number of servings will depend on your preferred portion sizes.
Nutritional values shown are general guidelines and reflect information for 1 serving using the ingredients listed, not including any optional ingredients. Actual macros may vary slightly depending on specific brands and types of ingredients used.
To determine the weight of one serving, prepare the recipe as instructed. Weigh the finished recipe, then divide the weight of the finished recipe (not including the weight of the container the food is in) by the desired number of servings. Result will be the weight of one serving.
Did you make this recipe?
Please consider Pinning it!!




