Hello, Sweet Tooth — Pull up a Chair!
Alright, here’s a secret: I used to think homemade danish was for folks with pastry chef hats and a lifetime supply of patience. Honestly, I stumbled into making chocolate cream cheese danish during a snowstorm when I didn’t want to shovel the driveway for donuts. Now, every time I bake it, my kitchen smells like a roadside bakery—except my socks don’t get wet stepping outside. My son once called this “pain au gooey” (he’s learning French, sort of). It’s now a snow day tradition, even if the only snow is powdered sugar on the counter. Also, expect a little mess. It’s part of the charm.
Why You’ll Actually Love This (I Swear!)
I make this when I want something that feels way fancier than all that effort it really takes. My family goes wild for these because, I mean, chocolate plus cream cheese—what’s not to love? And if I’m honest, on nights I forget to defrost bread for toast, this is our “breakfast.” I’ve tried other quick pastries, but this one doesn’t end with me scraping burnt sugar off the pan (usually). If you’ve ever wanted an excuse to eat dessert for breakfast, this is your golden ticket. Side note: The first time I made this, I didn’t chill the dough enough and it looked like a lopsided croissant. Tasted just fine though.
Here’s What You’ll Need (No Judgement!)
- 1 sheet puff pastry (I mostly use frozen—thank you, Trader Joe’s; homemade is for days when I have zero actual plans)
- 100g cream cheese (full fat, but hey, reduced fat works in a pinch—my friend swears by vegan cream cheese and it’s not bad!)
- 3 tbsp sugar (sometimes I go with 2 if I’m feeling saintly)
- 75g dark chocolate (or milk chocolate, or whatever chocolate bits you’ve got hiding at the back of the cupboard. I once used Nutella. Do not regret.)
- 1 large egg (for brushing, but you can skip if you can’t find one buried in the fridge. A splash of milk works too.)
- 1 tsp vanilla extract (or, if you’re out, honestly skip—my grandma would use a bit of lemon zest instead and it was a vibe)
- Pinch of salt
What You Do (And What to Ignore)
- So, either remember to thaw your puff pastry overnight in the fridge (as if we’re that organized) or just leave it on the counter while you scramble—works out fine 90% of the time.
- Preheat the oven—mine runs hot, so I go for about 200°C (that’s 400°F) but you know your oven’s quirks better than I do.
- Mix cream cheese, sugar, and vanilla in a bowl. I use a fork. Fancier folks might use a mixer, but the fork is fine. Add a pinch of salt. Give yourself a taste—nobody’s looking.
- Roll out the pastry on a floured board. Basically aim for a rectangle-ish shape. If it’s a wonky oval, just pretend it’s “rustic.”
- Spread the cream cheese filling down the middle third. Sprinkle chocolate over the top—sometimes I chop a bar, other times I use chocolate chips. Depends what’s on sale, to be honest.
- Now here’s the fun (messy) part: Using a knife or pizza cutter (didn’t have one for a while; scissors work too), cut slanted strips along both long sides. Don’t cut all the way to the filling—leave about 2cm or you’ll have a cheese river. Fold strips over, alternating sides—looks like a criss-cross, or a weird braid. Or just fold it all up and call it art.
- For shine, brush with beaten egg. But as I said, a splash of milk or nothing at all is… fine. I skip sometimes and it’s barely noticeable under the powdered sugar avalanche.
- Bake for 18–22 minutes. Wait till it’s all golden and puffed and the smells in your kitchen are driving everyone slightly mad. Don’t worry if some goo seeps out—it’s part of the process. If it looks ugly, cover with more powdered sugar later.
- Let it cool a bit. (This is the hardest part. But the cheese filling is lava right out of the oven. Don’t learn that the hard way like I did.)
If You Want Real Talk: Notes
- Once, I tried using ricotta because I was out of cream cheese. It wasn’t bad, but it kind of slid around more than I liked.
- Sometimes I go overboard with chocolate and then it leaks out. On second thought, that’s not really a problem.
- Leftovers actually taste even better after a night in the fridge (not that we ever have leftovers but, theoretically, yes).
- If you forget the vanilla, pinch of cinnamon is nice too, but not essential.
Want to Change It Up? Here’s What I’ve Messed With
- Berries instead of chocolate are great if you want something a little lighter. Raspberries work well, frozen ones are fine.
- A swirl of peanut butter alongside the chocolate—heaven. Unless you don’t like peanuts, in which case just ignore this idea entirely.
- I once tried sprinkling sea salt on top. Not bad, but a bit too much for my taste buds. Your mileage may vary.
Gear You’ll Need (Or Not)
- Baking sheet (covered with parchment—or just a buttered pan if you don’t have it; a nonstick sheet is a life-saver, but I managed once by just tearing up an old brown paper bag. Not recommended, but hey, sometimes you improvise!)
- Sharp knife or pizza wheel. Scissors, in a pinch. I ruined a serrated bread knife this way once, so… don’t repeat my mistake.
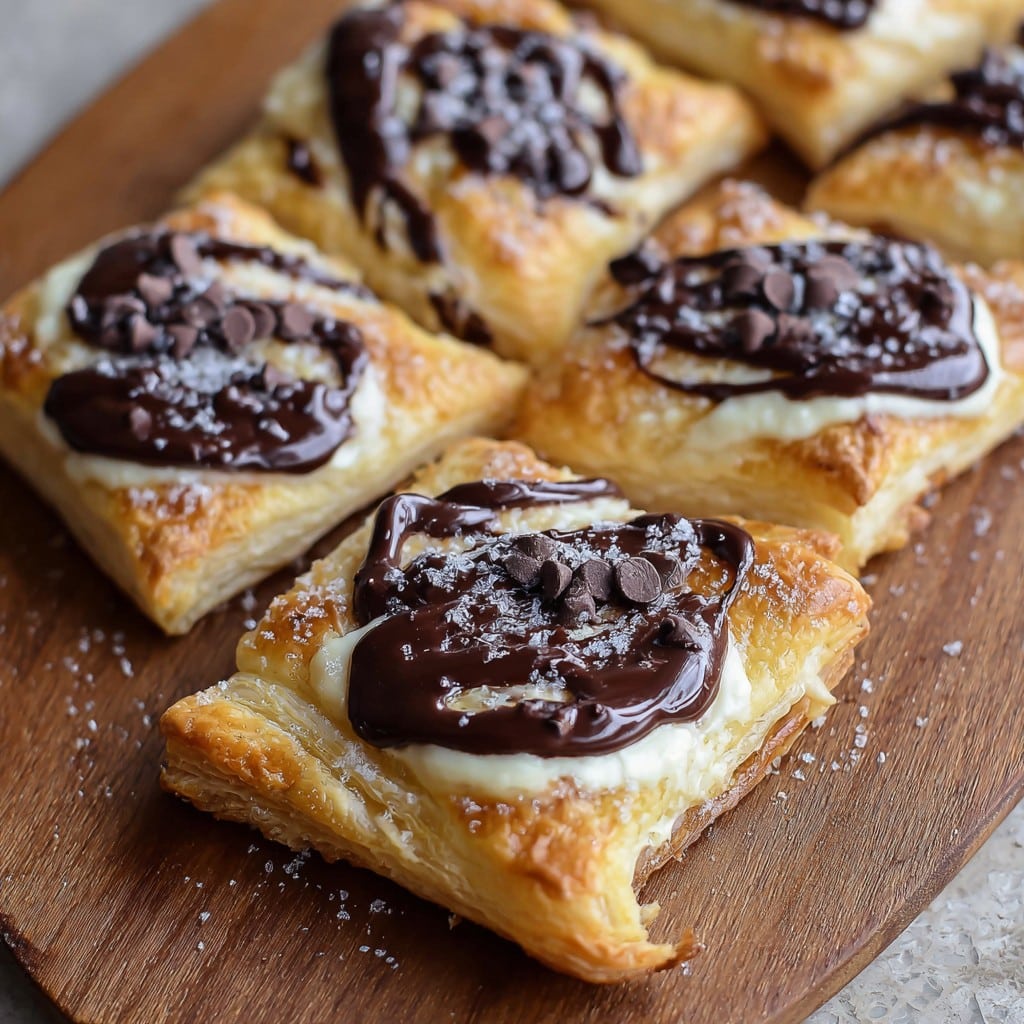
Storing Your Danish (Assuming You Need To)
Store leftovers (if, miracle of miracles, you actually have some left) in an airtight container in the fridge. They keep for up to 3 days but are best eaten in the first 24 hours. Truth is, these rarely survive breakfast in my house, so storage is more hypothetical than practical.
How We Eat It (Feel Free to Ignore Me)
We like ours sprinkled with a blizzard of powdered sugar and a strong cup of tea (Yorkshire, if you’re asking). Sometimes, if someone’s feeling fancy, a scoop of vanilla ice cream on the side—don’t knock it till you try it. It’s also pretty excellent while watching reruns of the Great British Bake Off—just saying.
Pro Tips—Learned the Hard (and Messy) Way
- Don’t skip chilling the pastry before baking. I rushed it once and everything oozed out the sides. Still tasted good, but looked a right mess.
- Use parchment if you can. Scraping burnt cheese and chocolate off a pan is, well, character building?
- If you want really crisp pastry, try baking on the lower oven rack. Or don’t. Sometimes you just want something quick and cozy, not a showpiece.
Real Questions I’ve Actually Gotten (No Joke!)
- Can I use phyllo instead of puff pastry? You can, but it’s more work and the result is flakier and messier. I honestly prefer puff.
- How do I stop the filling from leaking? First of all, a little leak is no biggie. But if you really want, chill the assembled danish before baking and don’t overfill—that’s what usually gets me when I’m greedy!
- Does it have to be egg washed? Nope! It’s just for shine. Skipping it doesn’t change the flavor at all.
- Can you freeze it? Sure, unbaked works best; wrap it and freeze, then bake straight from frozen—it’ll just take a few more minutes.
- My pastry’s a weird shape. What now? Welcome to the club! Trim the edges or just roll with it (pun maybe intended). It tastes good in any shape.
And before I forget—I picked up a few ingredient tricks here when I couldn’t remember how to thaw puff pastry, and I’m a big fan of Sally’s version for inspiration and troubleshooting, especially if you want to go the extra mile. And while you’re at it, check out BBC Good Food’s round-up if you get sucked into a baking rabbit hole (like I do at least twice a month).
So, there you have it. My not-so-perfect, kind-of-improvised, always-gone-too-fast chocolate cream cheese danish. If you try it, let me know if your socks stayed dry—and if by some miracle you have leftovers, send help. Or just invite me over.
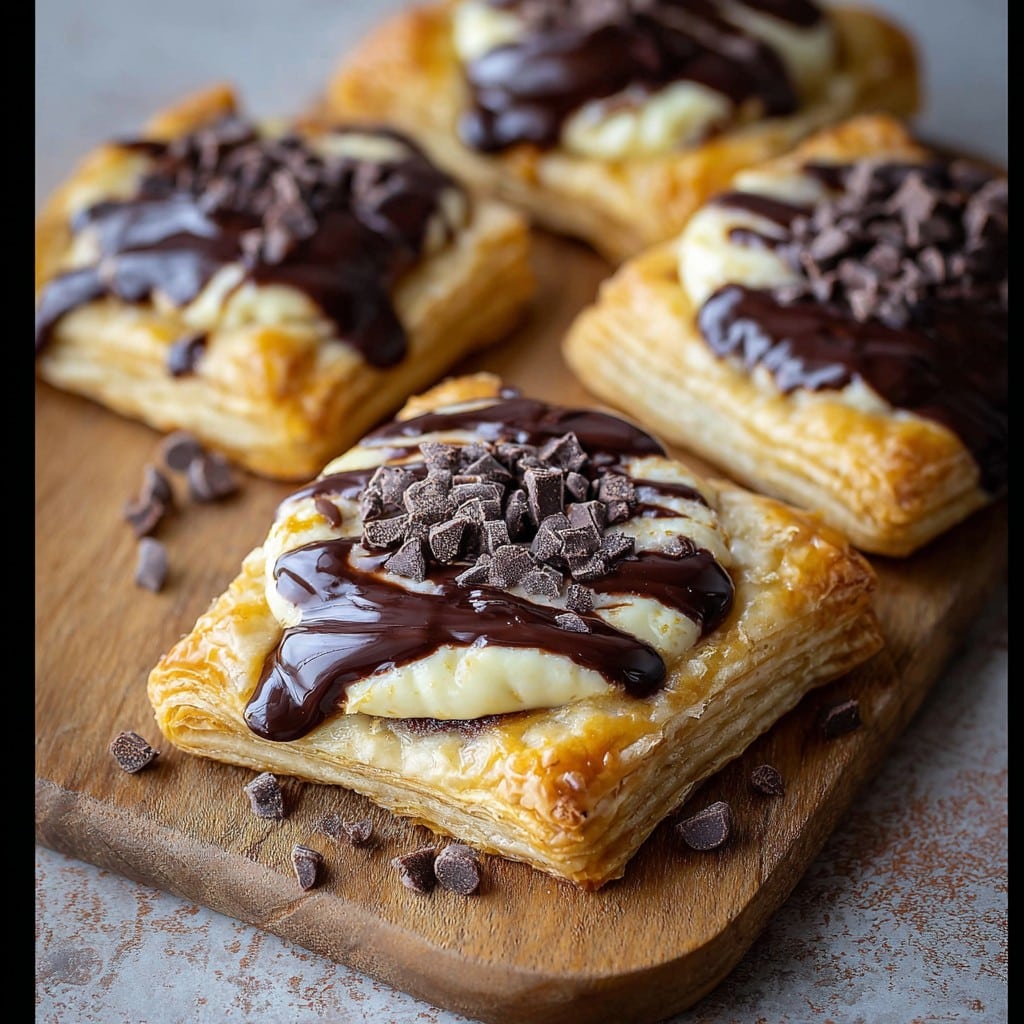
Ingredients
- 1 sheet puff pastry, thawed
- 4 oz cream cheese, softened
- 3 tbsp granulated sugar
- 1/2 tsp vanilla extract
- 1/2 cup semi-sweet chocolate chips
- 1 egg, beaten
- 1 tbsp milk
- Powdered sugar, for dusting
Instructions
-
1Preheat oven to 375°F (190°C) and line a baking sheet with parchment paper.
-
2In a bowl, mix together the cream cheese, granulated sugar, and vanilla extract until smooth.
-
3Roll out the puff pastry and cut into 6 equal rectangles.
-
4Spread a spoonful of the cream cheese mixture onto each rectangle, then sprinkle with chocolate chips.
-
5Fold the pastry over the filling and press the edges to seal. Brush each danish with the beaten egg mixed with milk.
-
6Bake for 18-20 minutes, or until golden brown. Let cool slightly and dust with powdered sugar before serving.
Approximate Information for One Serving
Nutrition Disclaimers
Number of total servings shown is approximate. Actual number of servings will depend on your preferred portion sizes.
Nutritional values shown are general guidelines and reflect information for 1 serving using the ingredients listed, not including any optional ingredients. Actual macros may vary slightly depending on specific brands and types of ingredients used.
To determine the weight of one serving, prepare the recipe as instructed. Weigh the finished recipe, then divide the weight of the finished recipe (not including the weight of the container the food is in) by the desired number of servings. Result will be the weight of one serving.
Did you make this recipe?
Please consider Pinning it!!




