Why I Keep Coming Back to These Crunchy Cheese Bites
So let me tell you, if you had walked into my kitchen last Christmas Eve you’d have seen me elbow-deep in Rice Krispies, cheddar everywhere, and humming (terribly) to ‘Fairytale of New York’. Seriously though, this weird but wonderful Rice Krispie Cheddar Crackers recipe has been in my rotation since my cousin brought them to a family BBQ yonks ago. I remember thinking, ‘Who puts cereal in crackers?’—but three (okay, four) helpings later, I was hooked. If you’re a fan of snappy, cheesy snacks that toe the line between “can I serve this to guests?” and “no one needs to know how many I ate,” you’re in the right spot.
Why You’ll End Up Making These Too
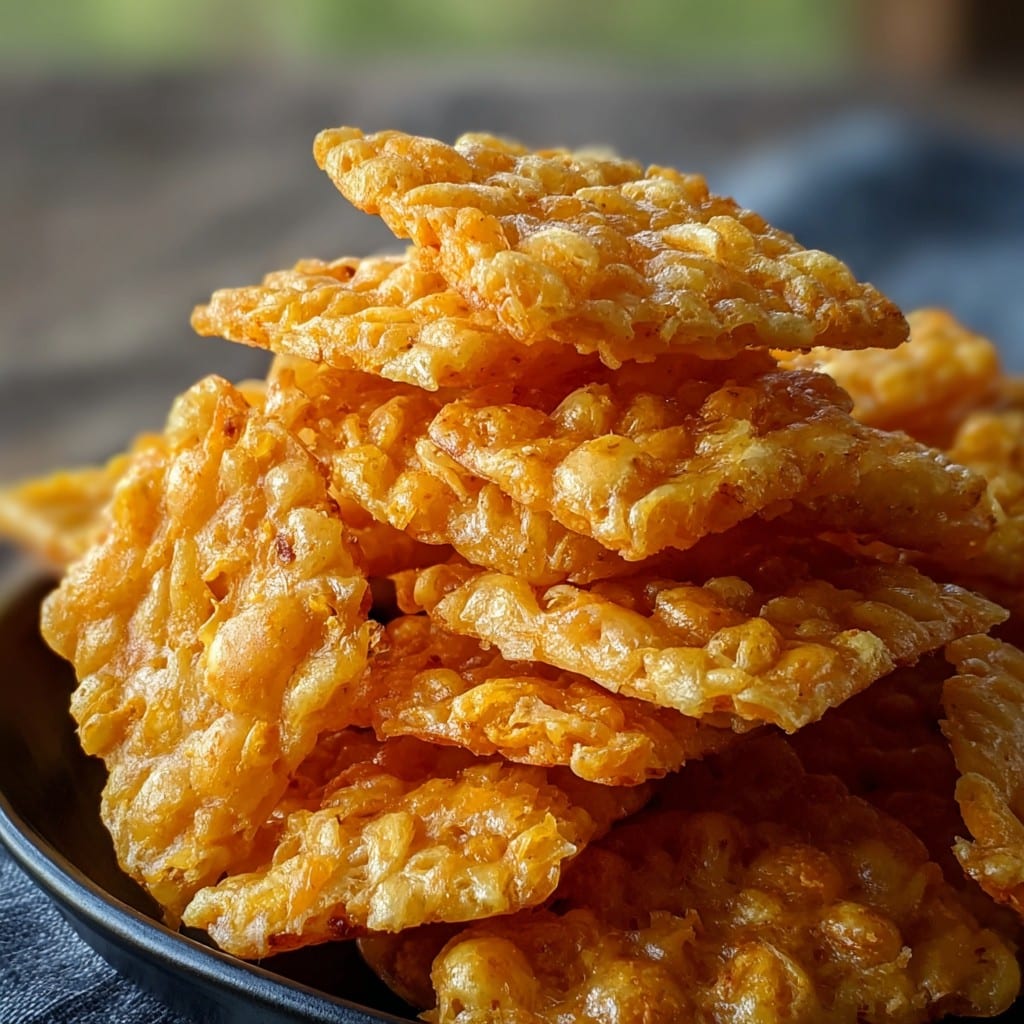
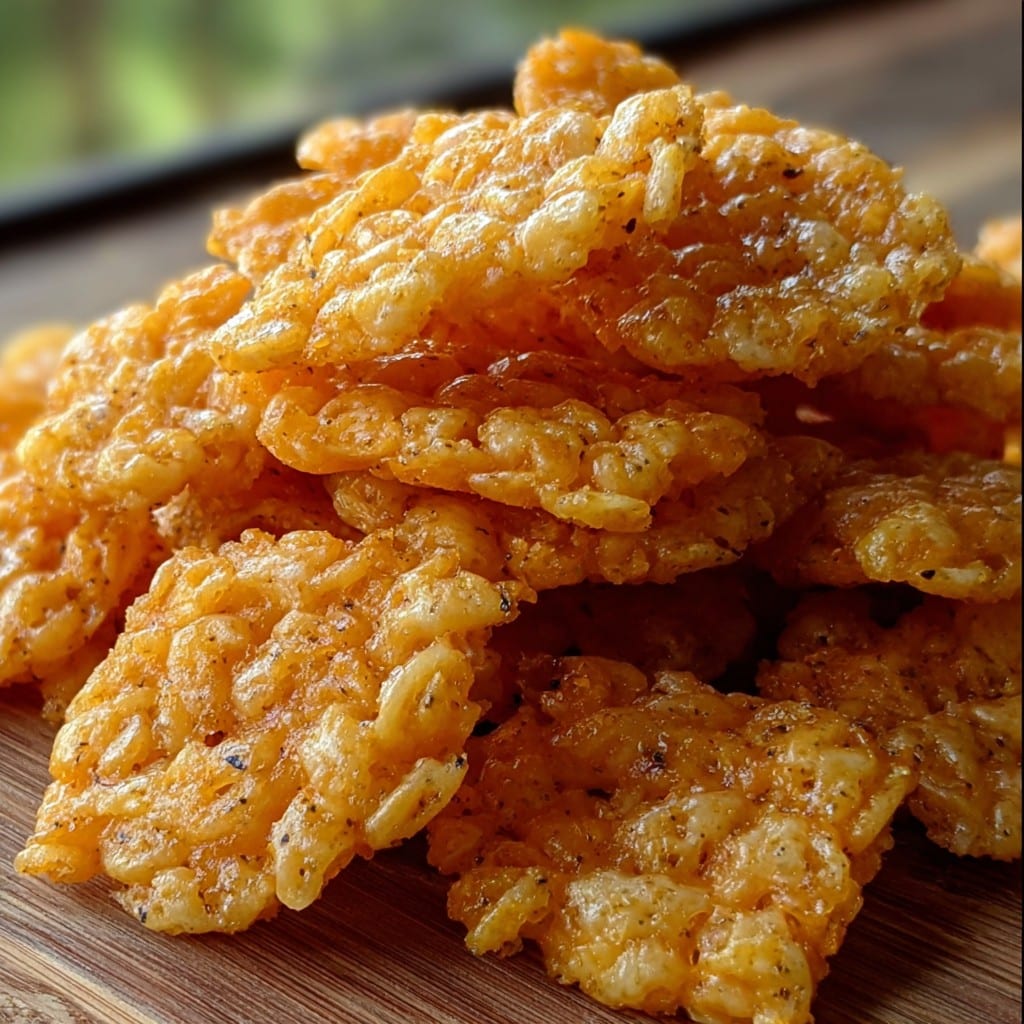
I make this when I’ve run out of nibbles and/or patience for fussy appetizers. My teenager goes wild for these (except when I try to sneak in the wholegrain Rice Krispies; don’t recommend). Actually, what I love is how they’re crunchy in a totally different way—not like a cracker from the shop, but almost popcorn-y? Oh, plus, you don’t need to roll out dough, thank goodness. Just don’t try using pre-shredded cheese—learned the hard way that it basically melts into a sad puddle.
What You’ll Need (And Some Swaps That Actually Work)
- 2 cups Rice Krispies (or the knockoff brand, if you’re as thrifty as me)
- 1 cup sharp cheddar, grated (Honest to Pete, extra sharp is better, but mild cheddar will do. Granny swore by Kraft in the blue bag, but I change it up.)
- 1/2 cup all-purpose flour (tried whole wheat once; it was…fine, just a bit heavy)
- 1/2 cup salted butter, softened (or margarine when I run out—nobody notices!)
- 1/4 tsp cayenne or paprika (optional but I can’t resist a smidge of heat)
- Pinch of salt (if your butter isn’t salted, or your cheese is on the mild side)
How I Actually Make These Rice Krispie Cheddar Crackers
- Mix up the Not-So-Dough: Chuck the softened butter and grated cheese in a big-ish bowl. Use a fork, or just get stuck in with your hands (I usually do; it feels right). You want it well-mixed, not fully smooth.
- Add the dry bits: Dump in the flour, cayenne, and salt. Mix again—it’ll look a bit crumbly, but that’s normal. Here’s where I normally end up with a bit on my shirt; consider it good luck.
- Gently stir in the Rice Krispies: Do this last and try not to smash them to bits. I just fold them in with a spatula, though sometimes a clean hand does the trick. (Don’t worry if it looks like a mess, that’s how you know you’re close.)
- Shape and chill: Scoop out small-ish lumps (walnut size; or bigger, what the heck) and roll into balls. Plop them on a parchment-lined baking sheet. Gently squash with your hand or a glass just a bit – too flat and they’re not the same.
- Pop in the fridge: This actually helps—just 15 mins is fine if you’re in a hurry, but if you skip it, sometimes they spread weird.
- Bake: Toss in a 350°F oven (that’s 180°C for my mates in the UK) for 12–15 minutes. Edges should be golden but if they look pale, just give them another minute or two. This is usually where I sneak the first bite (they’re hot, but I can never wait—I have no patience, apparently).
- Cool: Let them hang out on the tray for a couple minutes or they’ll fall to bits. Transfer to a rack or plate if you’re fancy, or just let people grab them straight from the tray (guilty as charged).
Things I Learned the Hard Way (Notes)
- If you use pre-shredded cheese, like from those big supermarket bags, they might spread more and go a bit greasy. Still edible—but not peak form.
- Once, I forgot to chill the shaped crackers. They ended up all merged together like one big crispy cheese continent. Tastes fine, looks a bit off.
- If you don’t have parchment, just grease the pan. And if you’re out of butter, well, margarine with a pinch more salt does ok.
Wild (and Not-So-Wild) Variations I’ve Tried
- Tossing in a handful of finely chopped chives—pretty tasty.
- Pepper jack cheese for a spicy kick. So good with a cold beer.
- Tried with brown rice cereal once… it got pretty chewy, wouldn’t do that again. Just being honest!
- A bit of smoked paprika is a game-changer, but the kids revolted when I swapped cheddar for Swiss—still ate them, though, because: cheese.
What You Might Want (But Don’t Need) Equipment-Wise
- Mixing bowl—metal, glass, whatever you’ve got (oddly, I like my ancient yellow plastic one; sentimental, I guess).
- Parchment paper or a very well-greased baking tray. Don’t sweat it if you’re out—just be ready for a tiny bit more cleanup.
- An oven, obviously. But if yours runs weirdly hot at the back like mine, just turn halfway.
- Cooling rack (but honestly, I just use a chopping board; works a treat).
How to Store (Assuming There Are Leftovers…)
Store them in an airtight tin or container. They’ll keep for 3–4 days at cool room temp, but to be honest? In my house, it never lasts more than a day—except that one time I made a double batch and buried the spares under the veggies in the fridge. Out of sight, out of mind, as they say.
How I Like to Serve Them (And a Silly Tradition)
I usually pile them in a little basket—sometimes with a dish towel (makes it look like I tried harder than I did). They’re good with soup, but even better on a snack table next to pickled onions and a cold cider. Uncle Pete insists we serve these before a game of Trivial Pursuit; no idea why, but now it’s the rule. If you’re feeling posh, pair with a sharp apple or chutney. Or just scoff them straight from the tray—no shame.
Little Lessons I (Sometimes) Remember (Pro Tips)
- I once tried rushing the chilling step, and they turned into one uneven cheese pancake. Don’t get impatient here—it is, sadly, worth it.
- A heavy hand with the cheese makes them extra delicious but makes the forming step messier, so don’t panic if your mixture looks sticky.
- On second thought, a silicone mat under them is the easiest cleanup. But meh, I forget half the time.
Real Questions I’ve Been Asked (FAQ)
- Can I freeze these crackers?
- Yeah, you can! Lay ‘em out in a single layer, freeze, then chuck in a bag. Reheat gently. But the texture sometimes goes a bit denser, just so you know.
- What if I don’t have Rice Krispies?
- Honestly, I’ve subbed in cornflakes, just crush them a bit. Not quite the same but still crunch-tastic (is that a word?).
- Can I make these gluten free?
- Probably! Use a GF flour and cereal, but check those labels. I’ve had a friend do it with good results, though one time hers were a bit soft—I’d bake a minute or so longer.
- Why do mine spread too much?
- Probably too much butter or not enough chilling. Or maybe the cheese grated extra-fine? It’s a little unpredictable sometimes; that’s part of the fun.
- Where did you first find this recipe?
- I wish I remember! Family recopies just sort of appear, don’t they? For actual detailed inspiration though, I checked this very helpful cheddar cracker guide and some fun ideas at Sally’s Baking Addiction when I lost my notes.
Bit of a tangent: one time I brought these to a picnic, only to discover I’d forgotten the cheese. Ended up buying a block, grating on the hood of my car—never again, but you do what you must in the name of snacks.
Ingredients
- 1 cup sharp cheddar cheese, grated
- 1/2 cup unsalted butter, softened
- 1 cup all-purpose flour
- 1/2 teaspoon salt
- 1/4 teaspoon cayenne pepper (optional)
- 1 1/4 cups Rice Krispies cereal
- 2 tablespoons cold water
Instructions
-
1Preheat the oven to 350°F (175°C) and line two baking sheets with parchment paper.
-
2In a large bowl, cream together the butter and cheddar cheese until smooth and well mixed.
-
3Add the flour, salt, and cayenne pepper to the butter-cheese mixture and mix until just combined.
-
4Stir in the cold water, then gently fold in the Rice Krispies cereal until evenly distributed.
-
5Roll dough into 1-inch balls and place on the prepared baking sheets; flatten each ball slightly with your fingers or a fork.
-
6Bake for 12-15 minutes, or until the edges are golden brown. Let cool before serving.
Approximate Information for One Serving
Nutrition Disclaimers
Number of total servings shown is approximate. Actual number of servings will depend on your preferred portion sizes.
Nutritional values shown are general guidelines and reflect information for 1 serving using the ingredients listed, not including any optional ingredients. Actual macros may vary slightly depending on specific brands and types of ingredients used.
To determine the weight of one serving, prepare the recipe as instructed. Weigh the finished recipe, then divide the weight of the finished recipe (not including the weight of the container the food is in) by the desired number of servings. Result will be the weight of one serving.
Did you make this recipe?
Please consider Pinning it!!




