Let Me Tell You About This Pumpkin Sourdough Bread
Alright, so here’s the thing—I never really planned to become that person who makes homemade pumpkin sourdough. But one blustery October weekend, I had an extra can of pumpkin lying around (a rare sight, believe me) and a craving for something warm and a little tangy. My first loaf was hilariously wonky—honestly, it looked more like a sunken pillow than bread. But the house smelled incredible and my cousin Alex swiped half the loaf before it even cooled. Now it’s a fall ritual. And anyway, what’s the worst that could happen? Well, maybe don’t ask that.
Anyway, if you’ve ever wanted your kitchen to smell like autumn exploded (in a good way), or you’re just on the hunt for a bread that’s got a bit more personality than store-bought white—this is for you.
Why You’ll Love This (Or At Least Find It Interesting)
I make this pumpkin sourdough bread homemade when the weather turns and I need something a bit more special than plain bread with soup. My family goes absolutely bonkers for it—except my youngest, who claims it’s “too orange,” whatever that means. It’s got this subtle tang from the sourdough and a gentle pumpkin sweetness—nothing like those sugar-loaded pumpkin spice lattes (though, no shade—sometimes I need one in hand while I bake). And if you’ve ever had a love-hate relationship with kneading dough, join the club; I’ve found this recipe pretty forgiving, though I do get a little flour on every surface, including myself.
What You’ll Need (Don’t Stress the Details)
- 1 cup active sourdough starter (if you’re in a hurry, I’ll admit I’ve used this method to supercharge a lazy one)
- 2 1/2 cups bread flour (actually, all-purpose works fine—my Gran would disagree, but she’s not here to see it)
- 1 cup pumpkin puree (canned or homemade; I’ve even swapped in mashed sweet potato when I was out)
- 1/4 cup warm water (ish—sometimes a splash more if my dough feels stiff)
- 2 tablespoons brown sugar (or honestly, honey if I want it more mellow)
- 1 1/2 teaspoons salt
- 1 teaspoon pumpkin pie spice (sometimes I get wild and just use cinnamon and nutmeg)
- Olive oil or butter, for greasing
How I Actually Make This (Give or Take)
- Mix it up: In a big bowl, stir together the starter, pumpkin, brown sugar, and warm water until it’s all friendly. Toss in your flour, spice, and salt. Mix until shaggy. This is where I usually get dough on my glasses—no idea how.
- Knead or don’t knead: You can knead it by hand for about 8–10 minutes, or use a mixer with a dough hook if you fancy (I’ve totally done both, depends how ambitious I feel). Don’t worry if it’s a bit sticky; just dust your hands with more flour. Or, as I sometimes do, just kind of slap it around until it stops protesting.
- First rise: Put it in a greased bowl, cover with a tea towel, and let sit somewhere warm for about 3–4 hours. You want it puffed up, not doubled. Sometimes it takes longer, especially if my kitchen’s chilly—so I stick it near a radiator. (Just don’t forget about it, like I did once. Oops.)
- Shape & second rise: Turn it out on a floured surface, shape into a round loaf (or plop it in a lined loaf pan if you’re feeling neat). Cover and let rise for another 1–2 hours. If it spreads out a bit, don’t panic. It bakes up alright.
- Bake: Preheat your oven to 425°F (220°C). Slash the top (I use a bread lame but a sharp knife works, too), then bake for 35–40 minutes. The crust should go golden and sound hollow-ish when you tap it. This is the point where I usually do the impatient dance around my kitchen.
- Cool (or try to): Let it cool on a wire rack. Or, you know, slice it warm and risk smooshing it, which I always do. Smells too good to wait.
Notes (AKA: What I Learned the Hard Way)
- If you overdo the pumpkin, the dough gets weirdly sticky—been there, got the orange fingerprints.
- Actually, I find it works better if you let the loaf cool for at least 30 minutes before slicing (easier said than done).
- If your starter is, erm, looking a bit sad, check out this guide to pep it up.
Tried-and-Tested Variations (Plus One Fail)
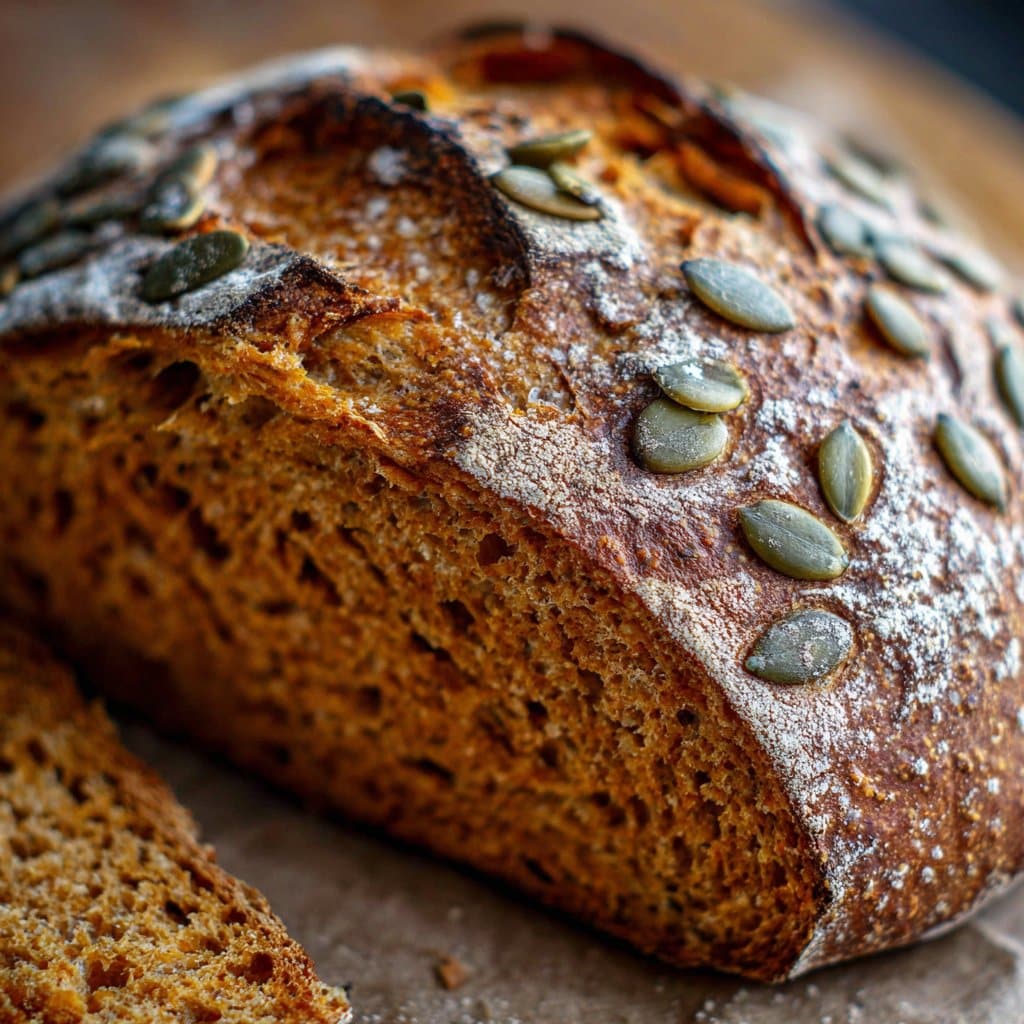
- Chopped walnuts or pepitas sprinkled on top? Delicious.
- Once, I mixed in a handful of dried cranberries—tasted like autumn in a loaf.
- But the time I threw in chocolate chips, it came out oddly bland. Wouldn’t recommend, but maybe you’ll prove me wrong.
Don’t Have All the Gear?
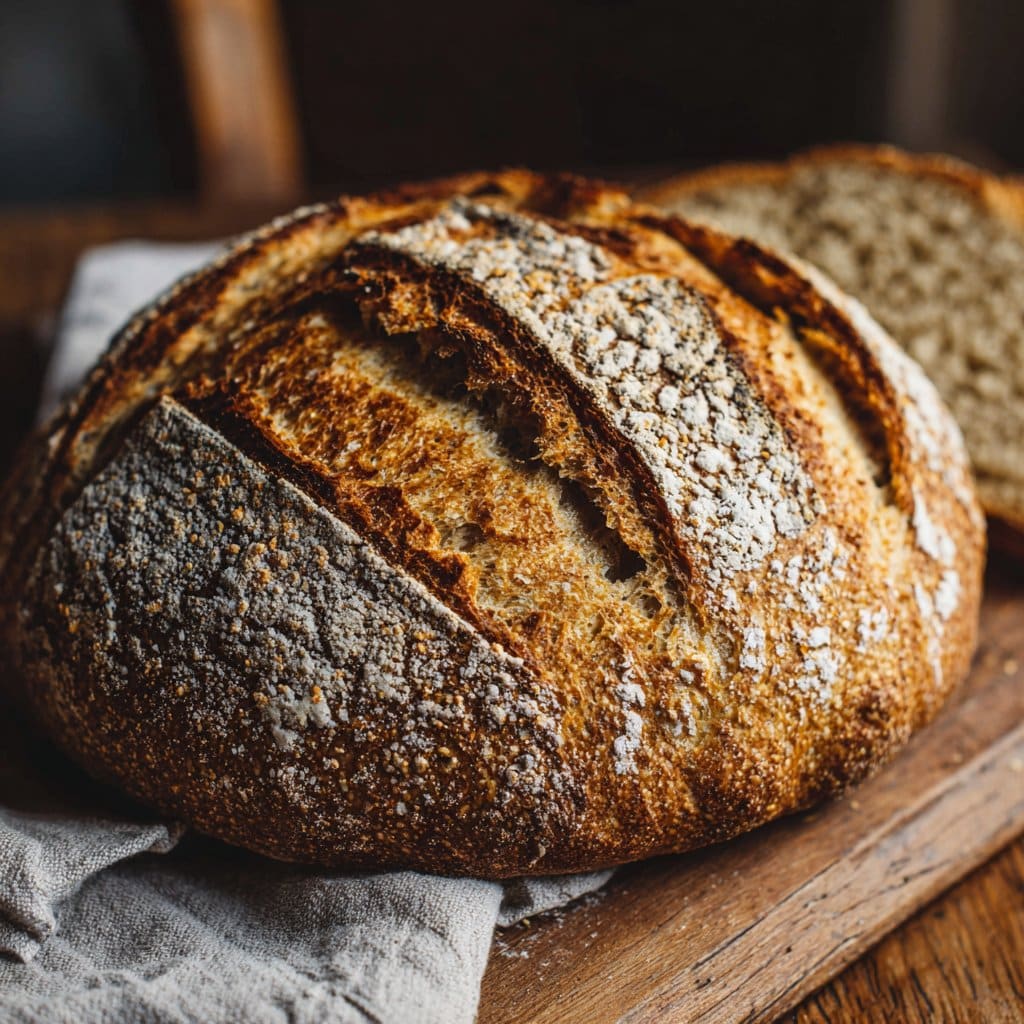
Look, a Dutch oven gives the best crust, but I’ve totally baked this on a regular tray with a little pan of hot water underneath (steam = better crust). No bread lame? Just use your sharpest kitchen knife—worked for me when the fancy blade got lost behind the toaster.
How to Store It (If It Lasts That Long)
Wrap leftovers in a tea towel or pop in a bread box. Keeps 2–3 days at room temp—though honestly, in my house it never lasts more than a day! If you want to freeze it, slice first—makes toast a breeze.
Serving Suggestions (Our Family’s Weird Traditions)
My favorite way is thick slices with salted butter and a mug of coffee (sounds basic, but hits the spot). Or, for a treat, drizzle with honey and a sprinkle of flakey salt. My brother dunks his in tomato soup—not classic, but surprisingly tasty.
Pro Tips (Learned the Hard Way, Trust Me)
- I once tried rushing the first rise by cranking up the heat—ended up with a loaf that tasted more like yeast than pumpkin. Slow and steady is best.
- Don’t skimp on the salt. I did once, and the bread was just… sad.
FAQ (Questions I’ve Actually Had Thrown at Me)
- Can I use canned pumpkin? Oh, absolutely. I’m usually too lazy to roast my own, and it turns out fine with canned.
- What if my starter’s not super bubbly? It’ll still work! Might rise a bit less, but the taste’s still good.
- Does it freeze well? Yup! Just slice before freezing and pop those slices straight in the toaster.
- Can I make it sweeter? Sure, add more sugar (or even maple syrup). But I like it on the less-sweet side, personally.
Alright, if you’ve read this far, you probably deserve a loaf just for your patience. I hope you give this pumpkin sourdough bread homemade a shot—and if you end up with flour on your pants, well, join the club.
Ingredients
- 3 cups bread flour
- 1 cup pumpkin puree
- 1 cup active sourdough starter
- 1/2 cup warm water
- 2 tablespoons honey
- 1 1/2 teaspoons salt
- 1 teaspoon ground cinnamon
- 1/2 teaspoon ground nutmeg
Instructions
-
1In a large bowl, combine bread flour, cinnamon, nutmeg, and salt. Mix well.
-
2In a separate bowl, whisk together pumpkin puree, sourdough starter, warm water, and honey until smooth.
-
3Add the wet ingredients to the dry ingredients and mix until a shaggy dough forms. Knead for 8-10 minutes until smooth and elastic.
-
4Cover the bowl and let the dough rise at room temperature for 4-6 hours, or until doubled in size.
-
5Shape the dough into a round loaf and place it in a floured proofing basket. Let rise for another 1-2 hours.
-
6Preheat oven to 425°F (220°C). Transfer the dough to a baking sheet, score the top, and bake for 40-45 minutes until golden brown. Cool before slicing.
Approximate Information for One Serving
Nutrition Disclaimers
Number of total servings shown is approximate. Actual number of servings will depend on your preferred portion sizes.
Nutritional values shown are general guidelines and reflect information for 1 serving using the ingredients listed, not including any optional ingredients. Actual macros may vary slightly depending on specific brands and types of ingredients used.
To determine the weight of one serving, prepare the recipe as instructed. Weigh the finished recipe, then divide the weight of the finished recipe (not including the weight of the container the food is in) by the desired number of servings. Result will be the weight of one serving.
Did you make this recipe?
Please consider Pinning it!!




